Keep retainer accounts funded automatically with recurring payment schedules, eliminating manual reminders.
Steps
- Go to Recurring Payments under Accounting.
- Click on New Recurring Payment button.
-
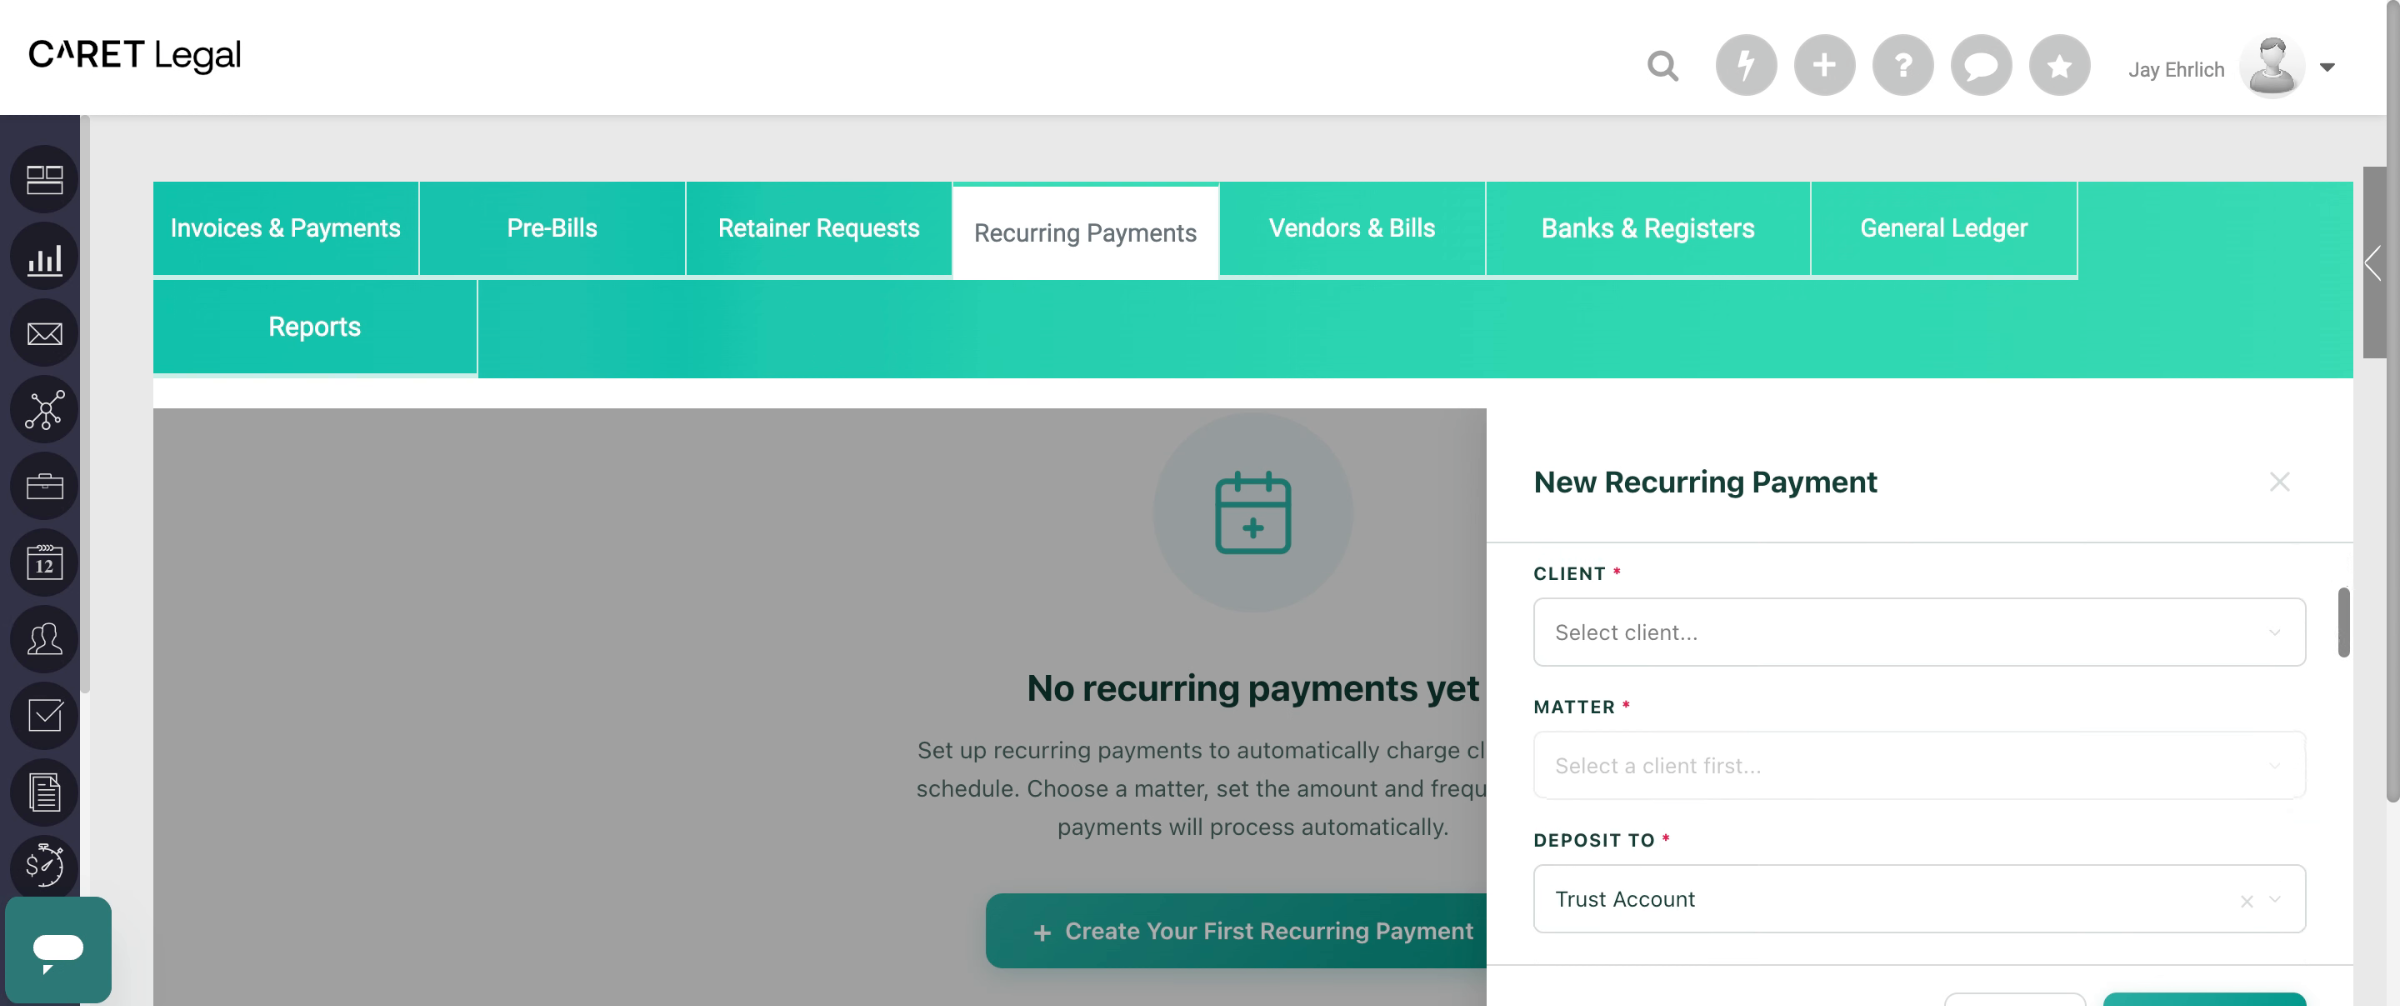
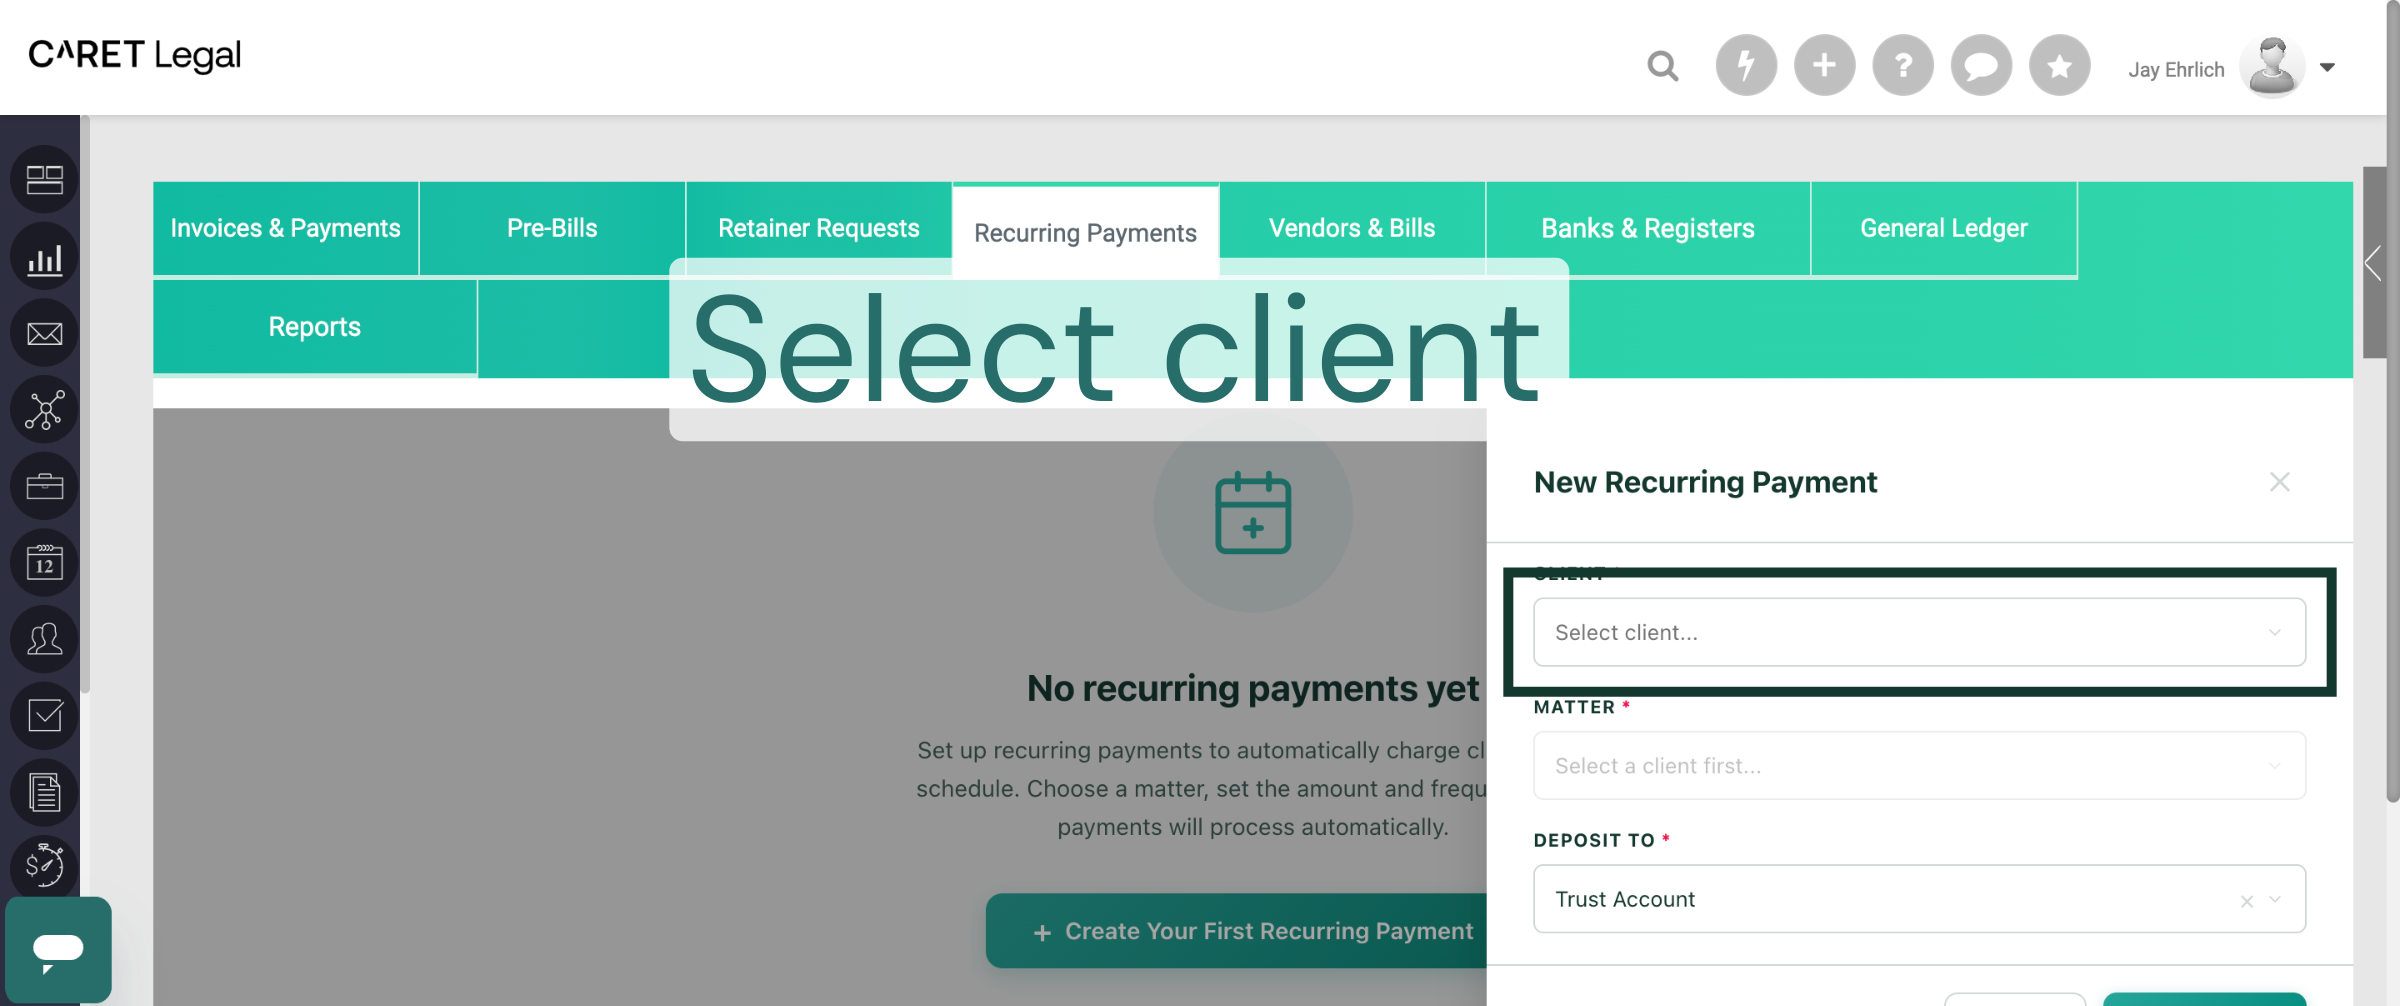
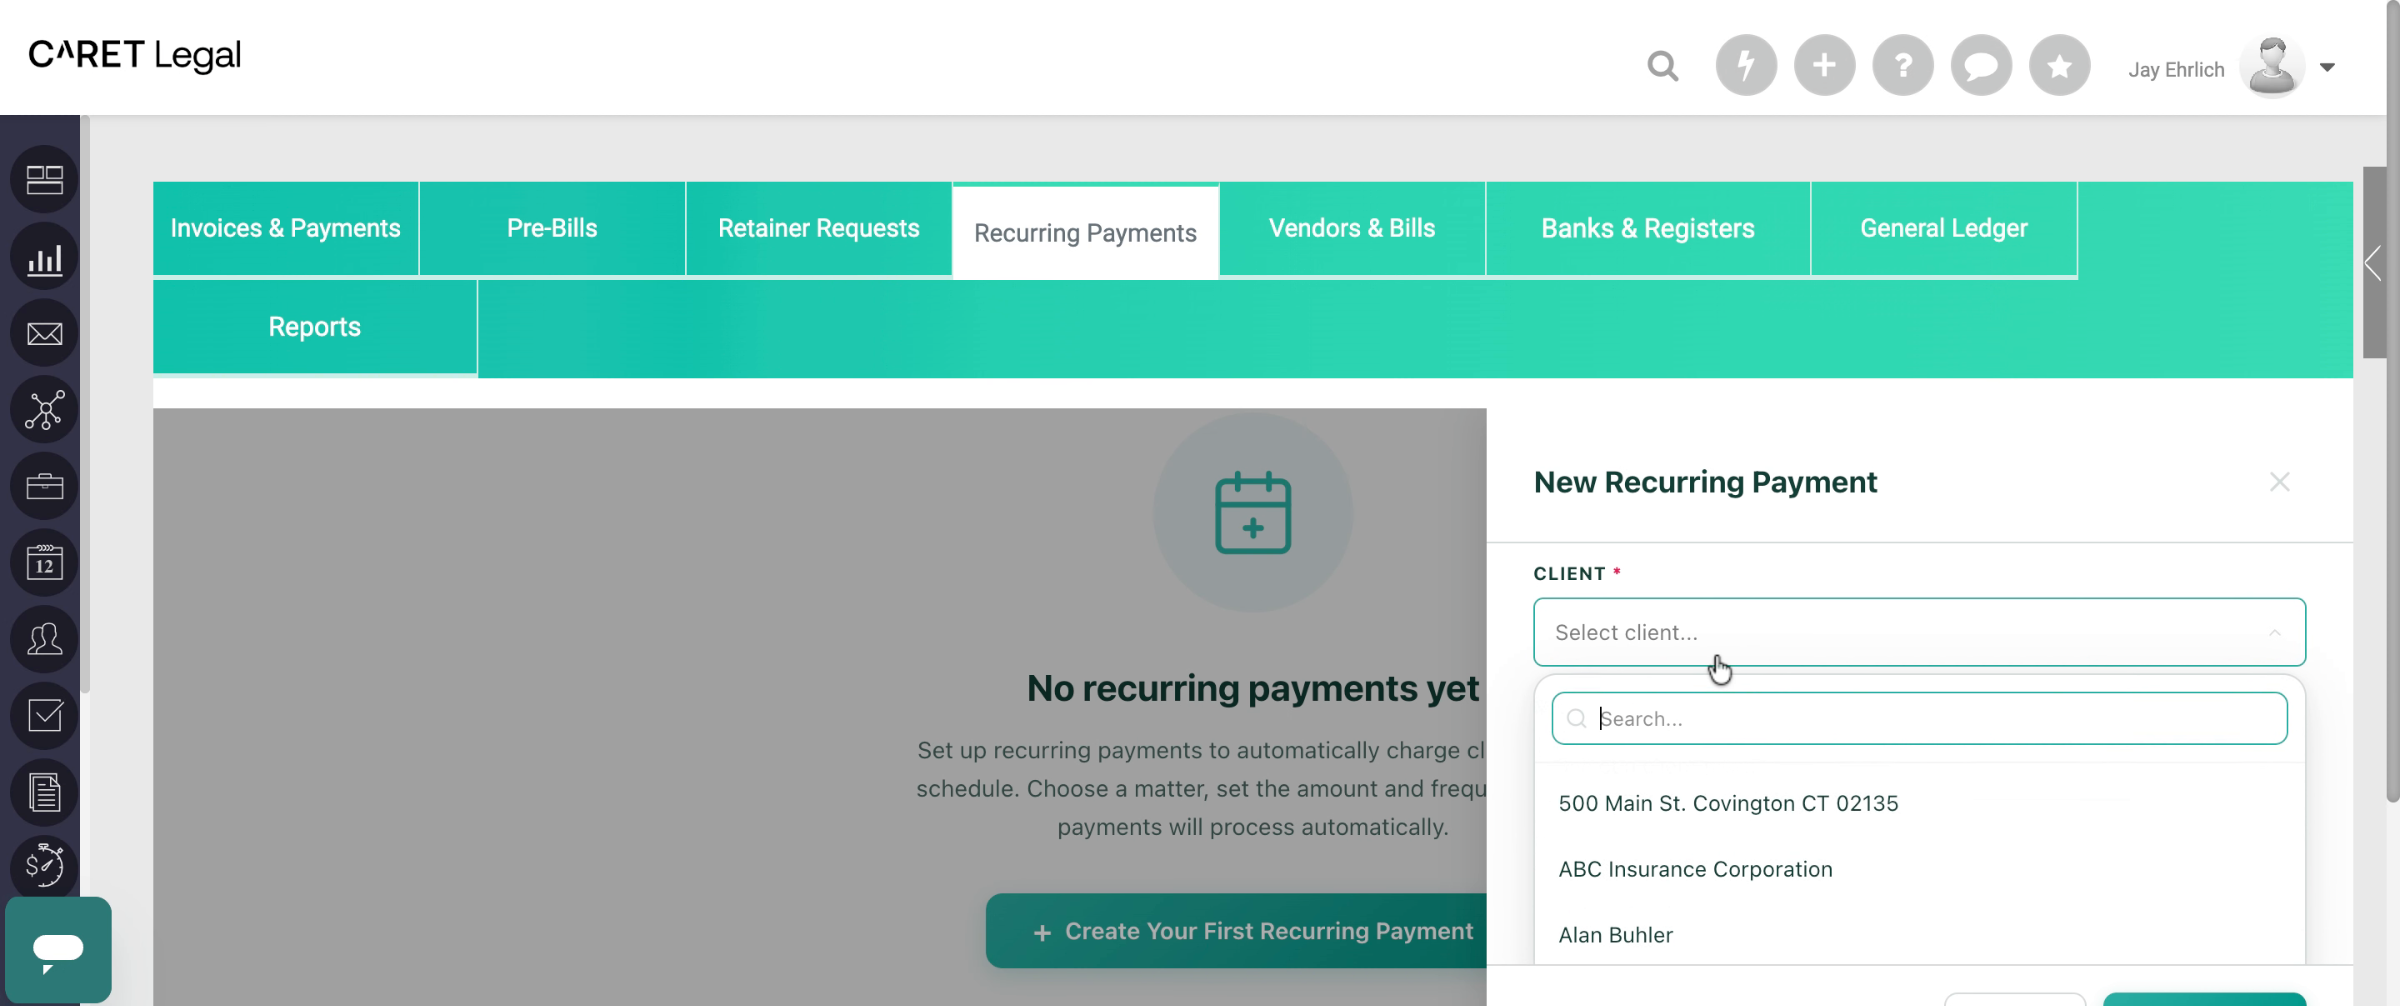
In the New Recurring Payment modal, select the payer, matter, and the “deposit to” account.
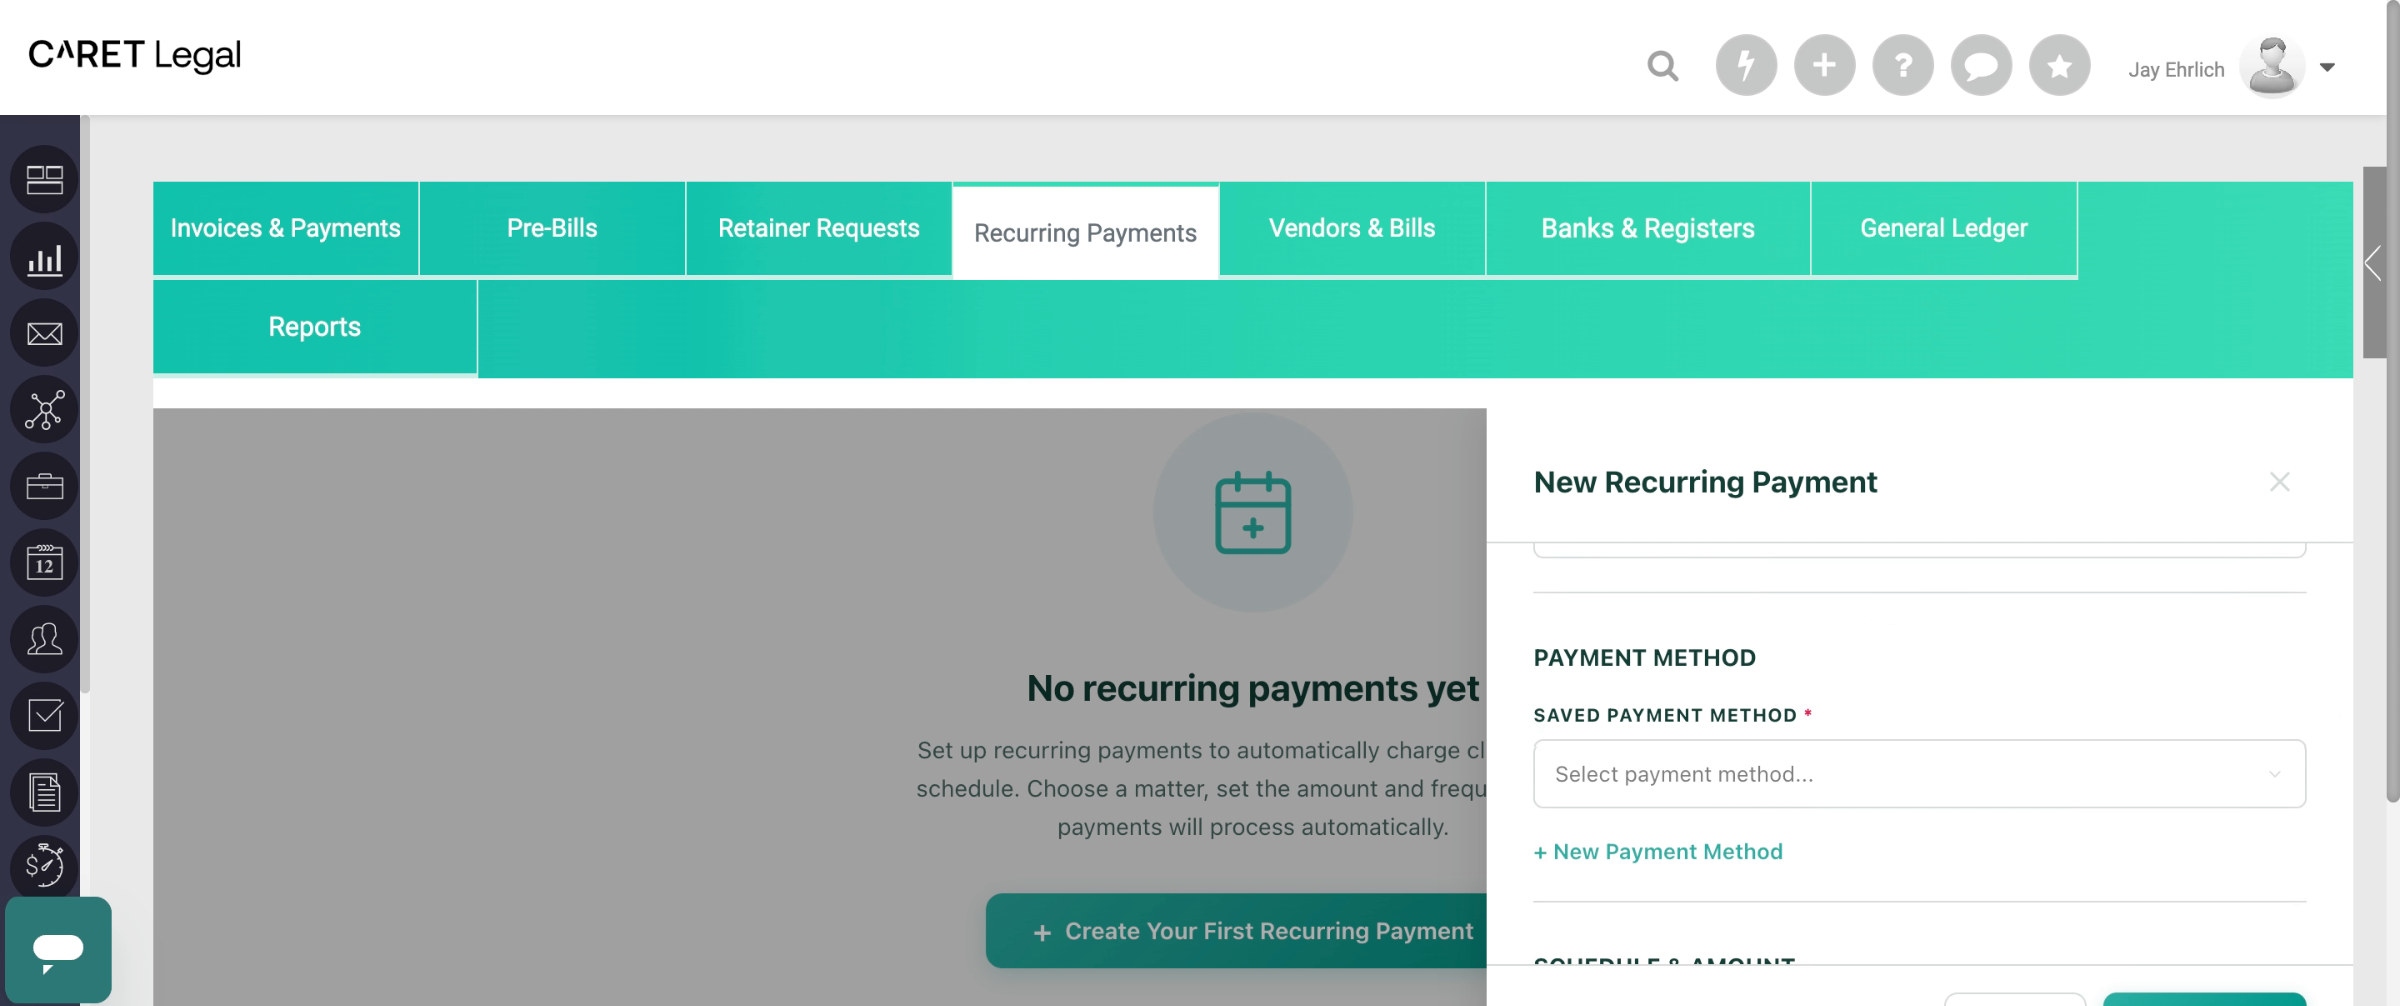
- Choose a saved payment method or add a new one.
- Set the schedule (frequency and amount).
- When setting the schedule, you cannot select "Today" to start the schedule. The schedule will need to start "Tomorrow"
- Payments are processed every morning at 6:00 AM ET.
- Add the description.
- Save — CARET collects automatically going forward. You can view, update, or cancel it anytime from Recurring Payments tab.
Tip: Supported payment methods today are credit card, debit card, and ACH
🌟 Welcome! We're so glad you're here! In this friendly tutorial, we’ll walk you through the simple steps to set up recurring payments using CARET Legal. You’ll discover how to easily navigate the Accounting module and create those recurring payment schedules in no time. Let’s get started together!
Go to secure.zolasuite.com
1. Introduction To Recurring Payments
To begin, log in to CARET Legal and head to the Accounting module.
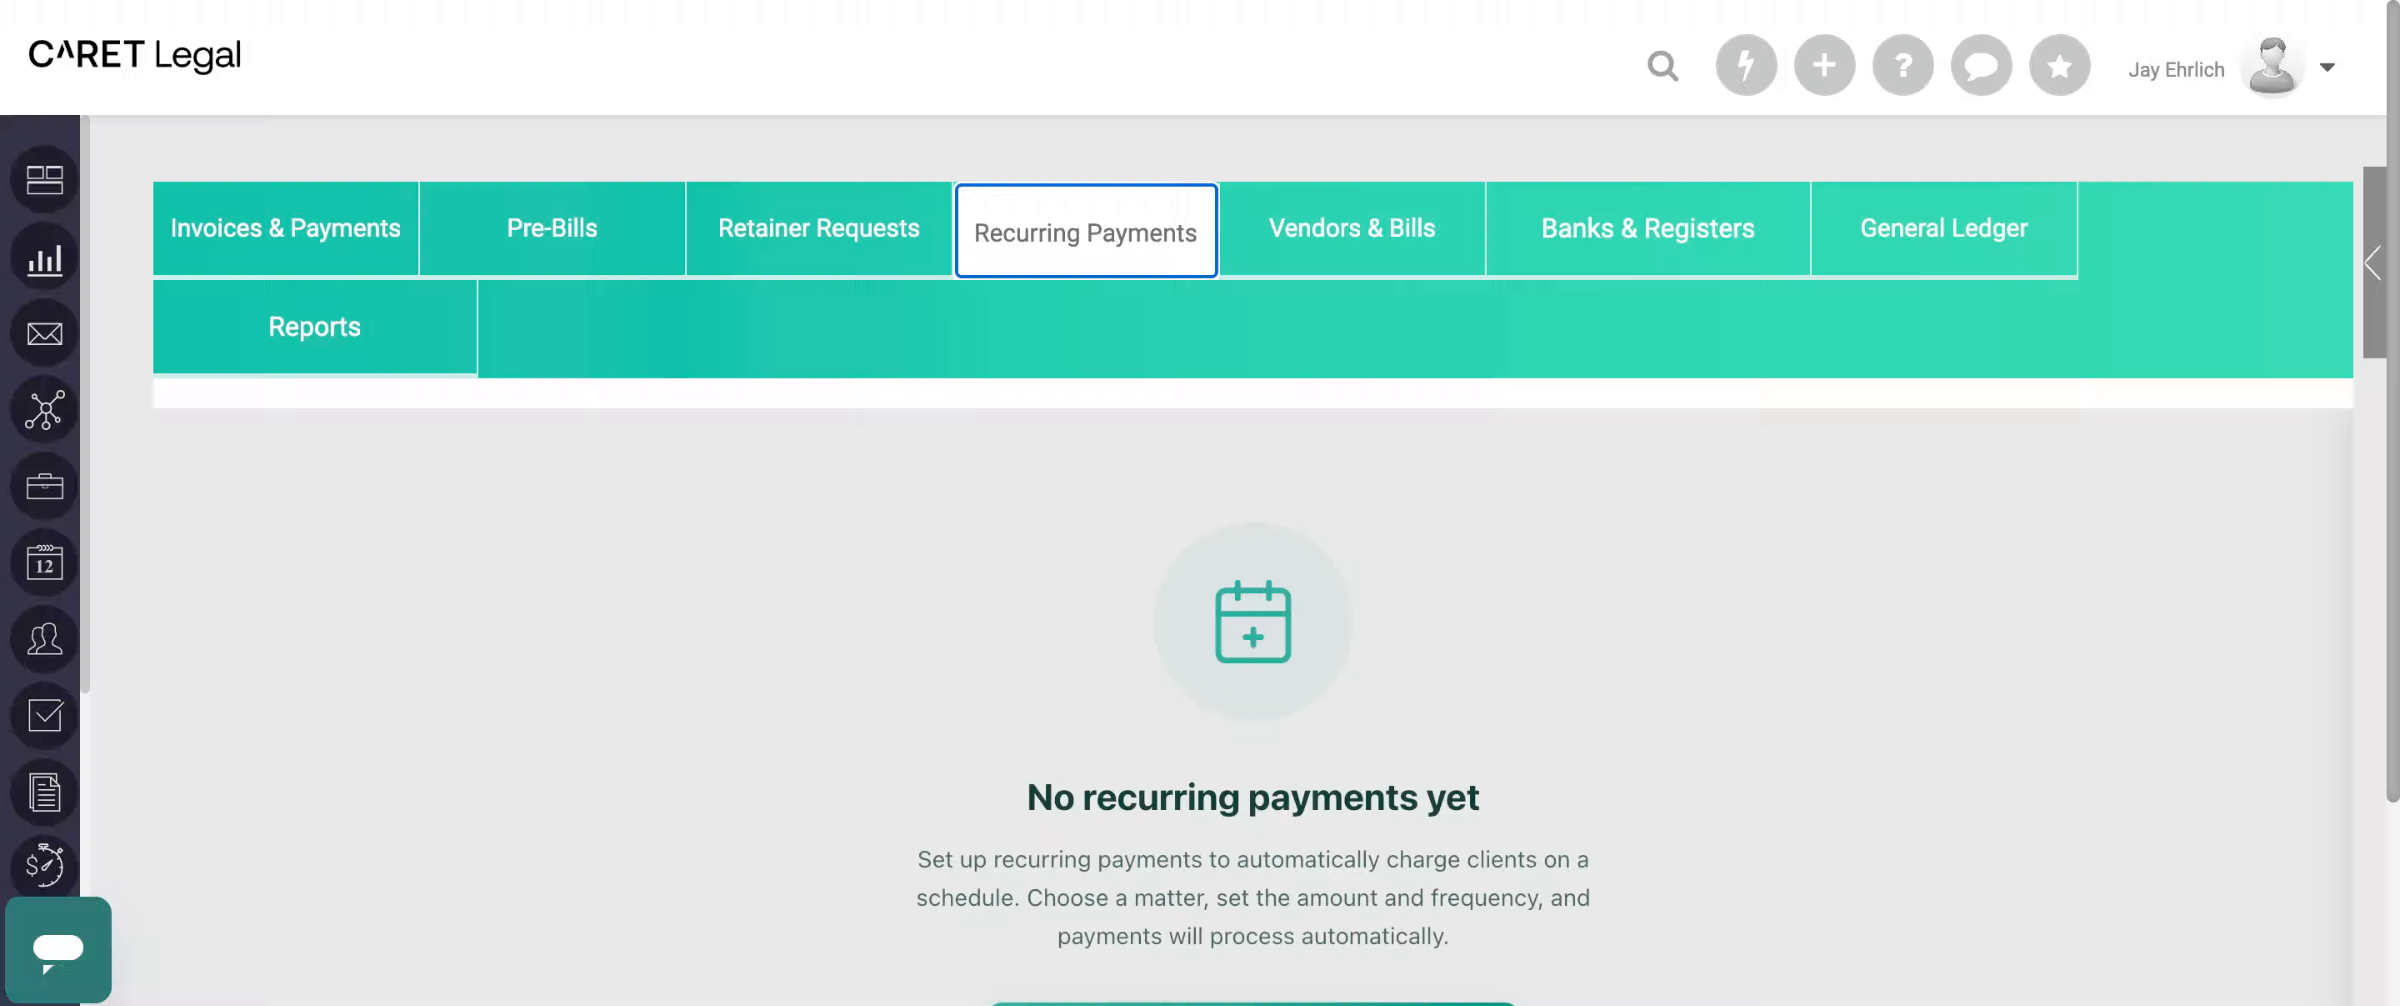
2. Locate Recurring Payments Tab
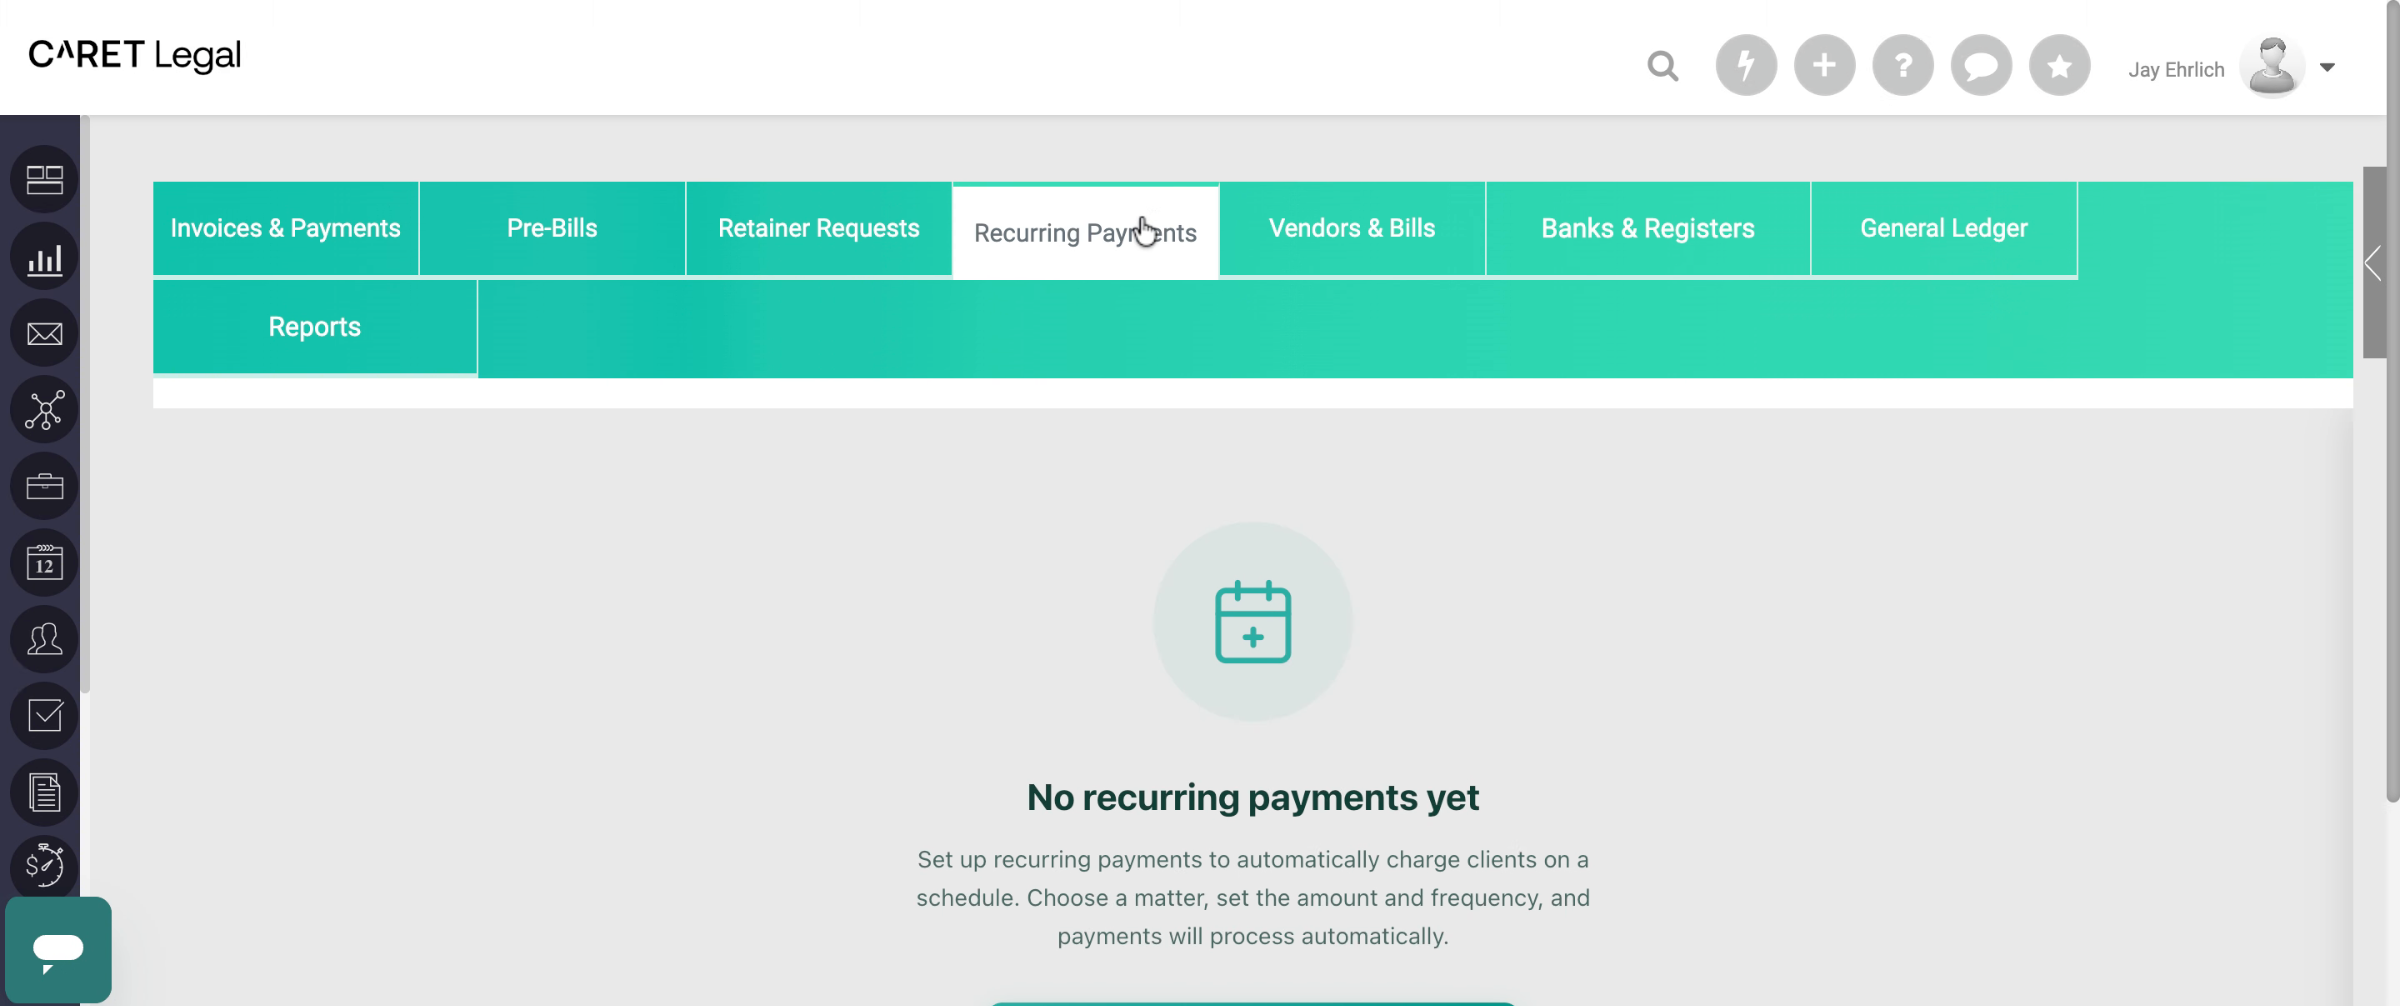
Now, let’s find the Recurring Payments tab together. You might notice that there aren’t any recurring payments set up just yet, but don’t worry there will be one in no time!
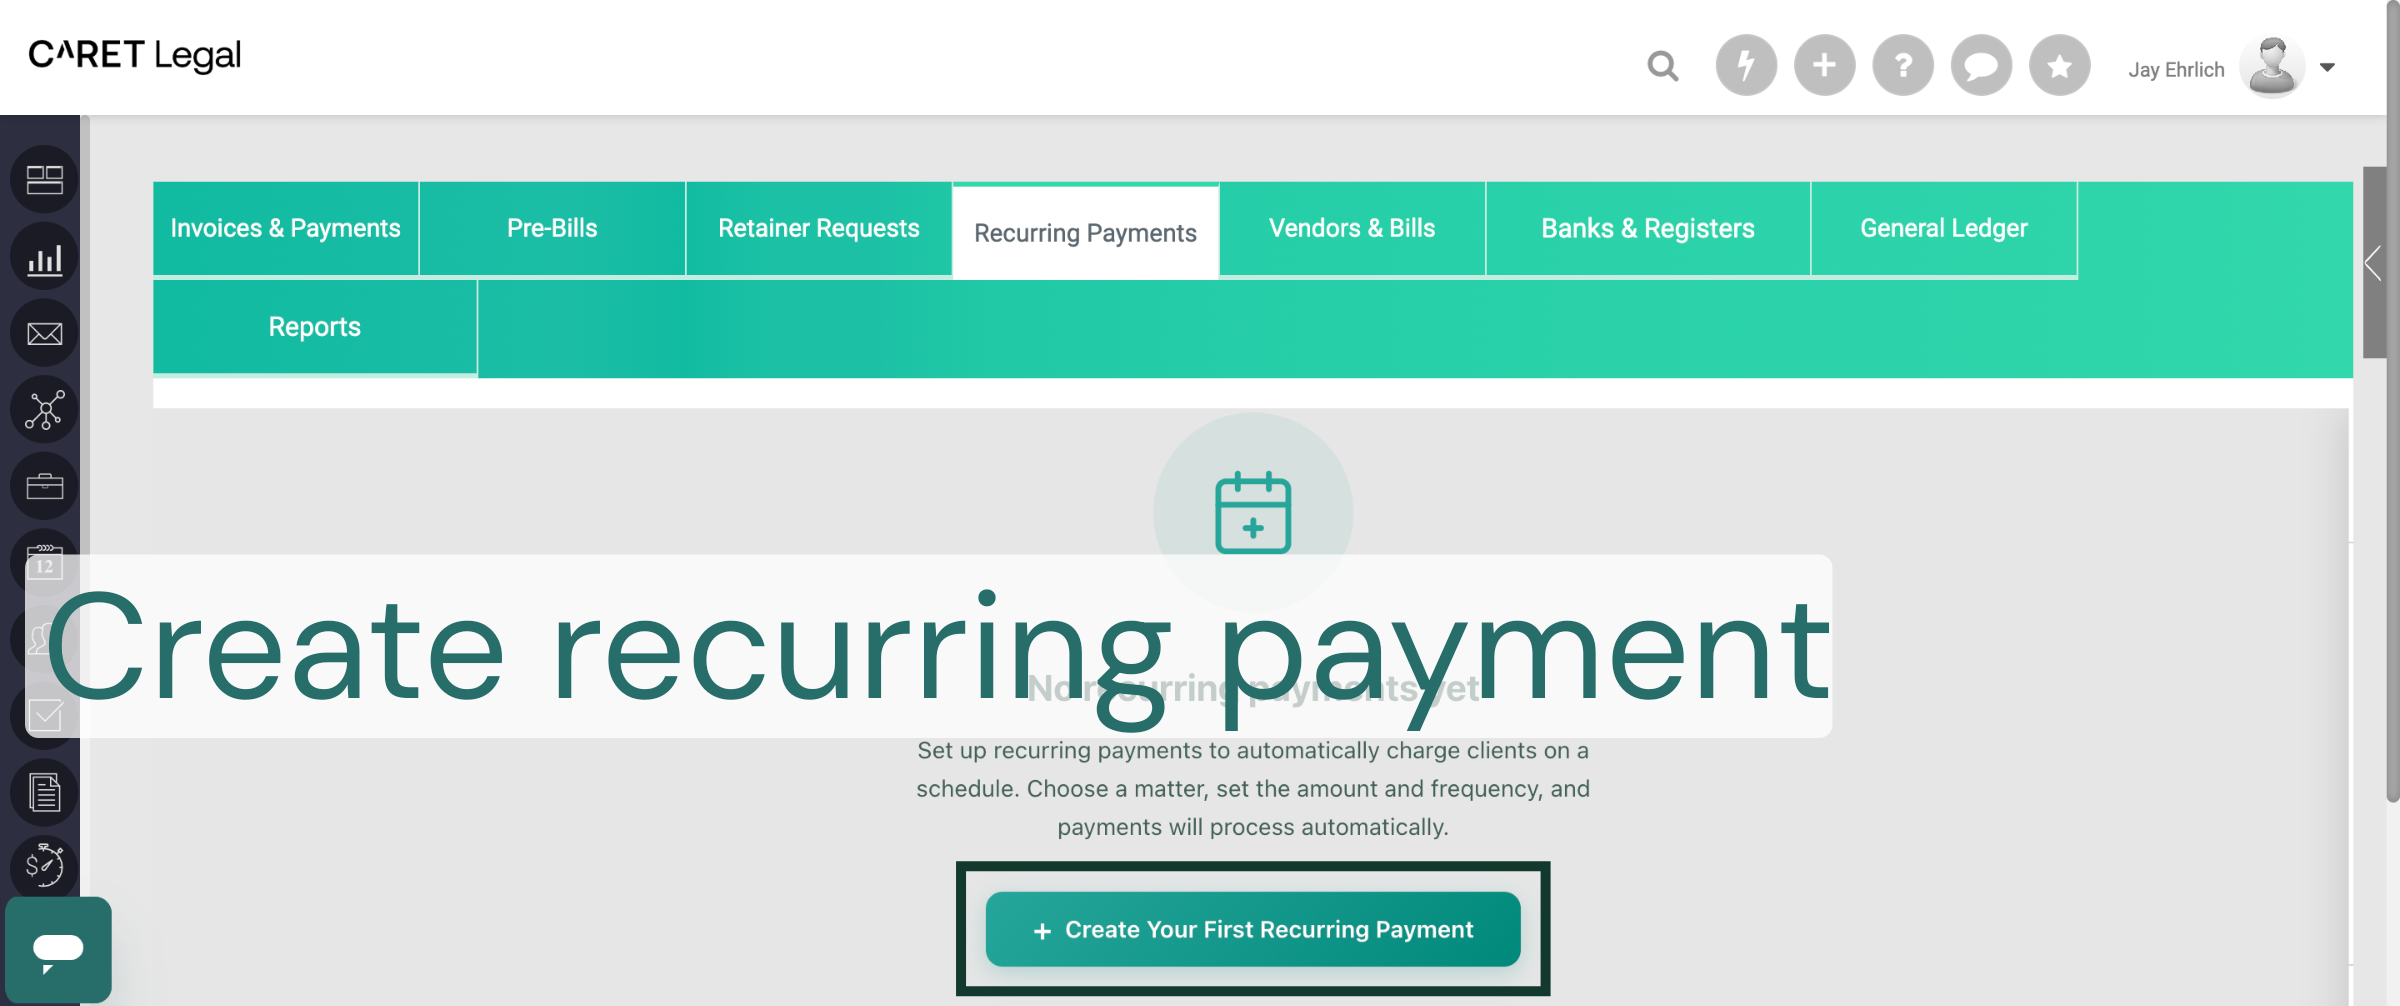
3. Start Creating Recurring Payment
We're excited for you to get started! Just click the button to create your very first recurring payment. You'll love how easy it is to set up your schedule in the CARET Legal Accounting module. Let's make this happen together!
4. Open Recurring Payment Menu Panel
After clicking the create button, you will notice a menu panel sliding open from the right side of your browser.
5. Select Client For Payment
Start by clicking on the client selection field to pick the client linked to this recurring payment in CARET Legal Accounting.
6. Choose Client Matter And Account
Now that you have let us know which client it’s for, specify the matter related to this recurring payment schedule and the bank account where you'd like the funds to go. For today’s demo, we’ll use the trust account!
7. Select Payment Method
Next we will add or select the payment method. If you are already using CARET Pay this will extend those benefits by offering the saved payment methods for processing with a credit card or bank account. It's super simple!
8. Set Payment Recurrence Frequency
Next, let’s set up the recurrence together. You can choose from weekly, bi-weekly, monthly, or quarterly options. You are doing great!
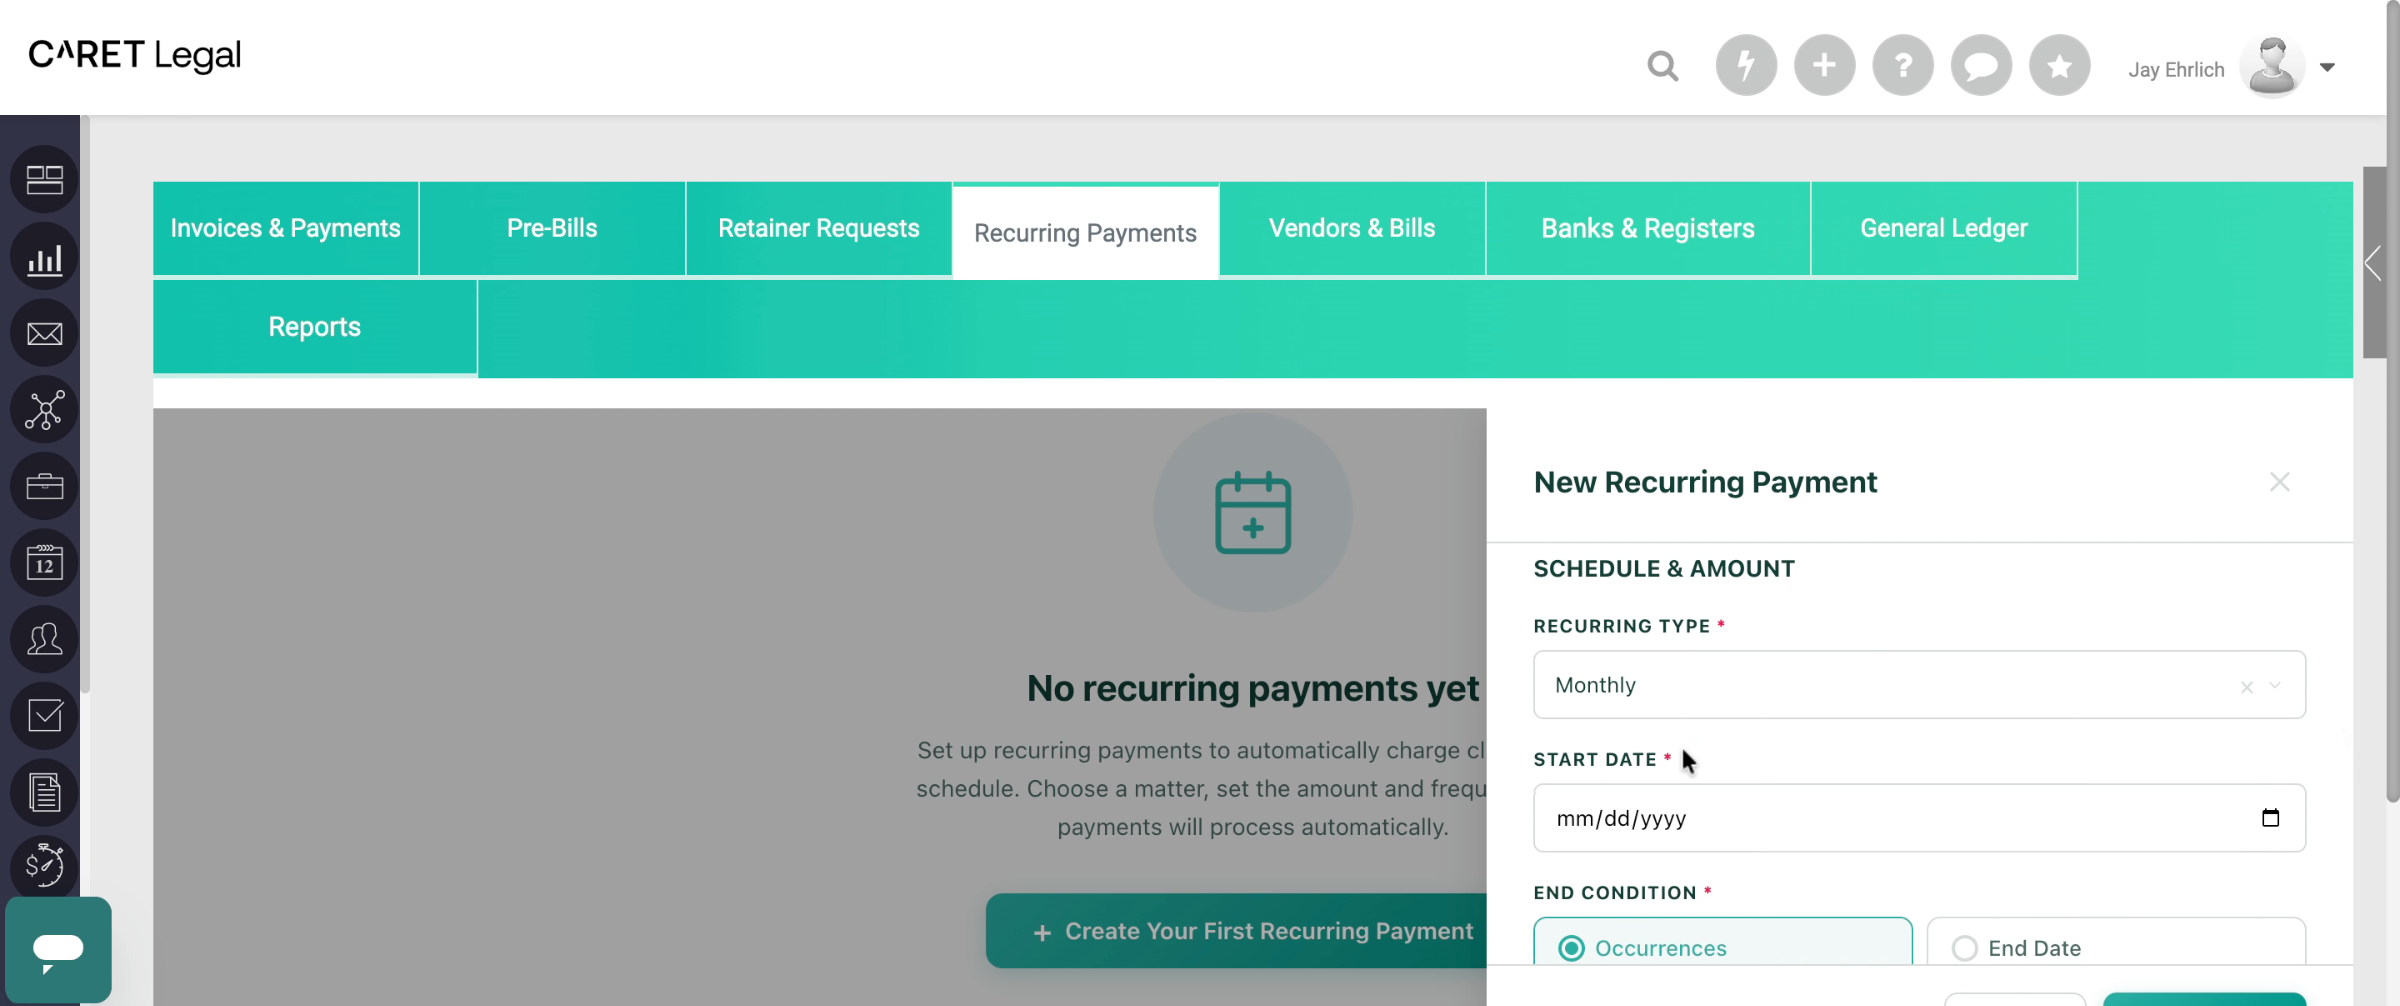
9. Select Monthly Recurrence
For this demonstration, I will select a monthly recurrence.
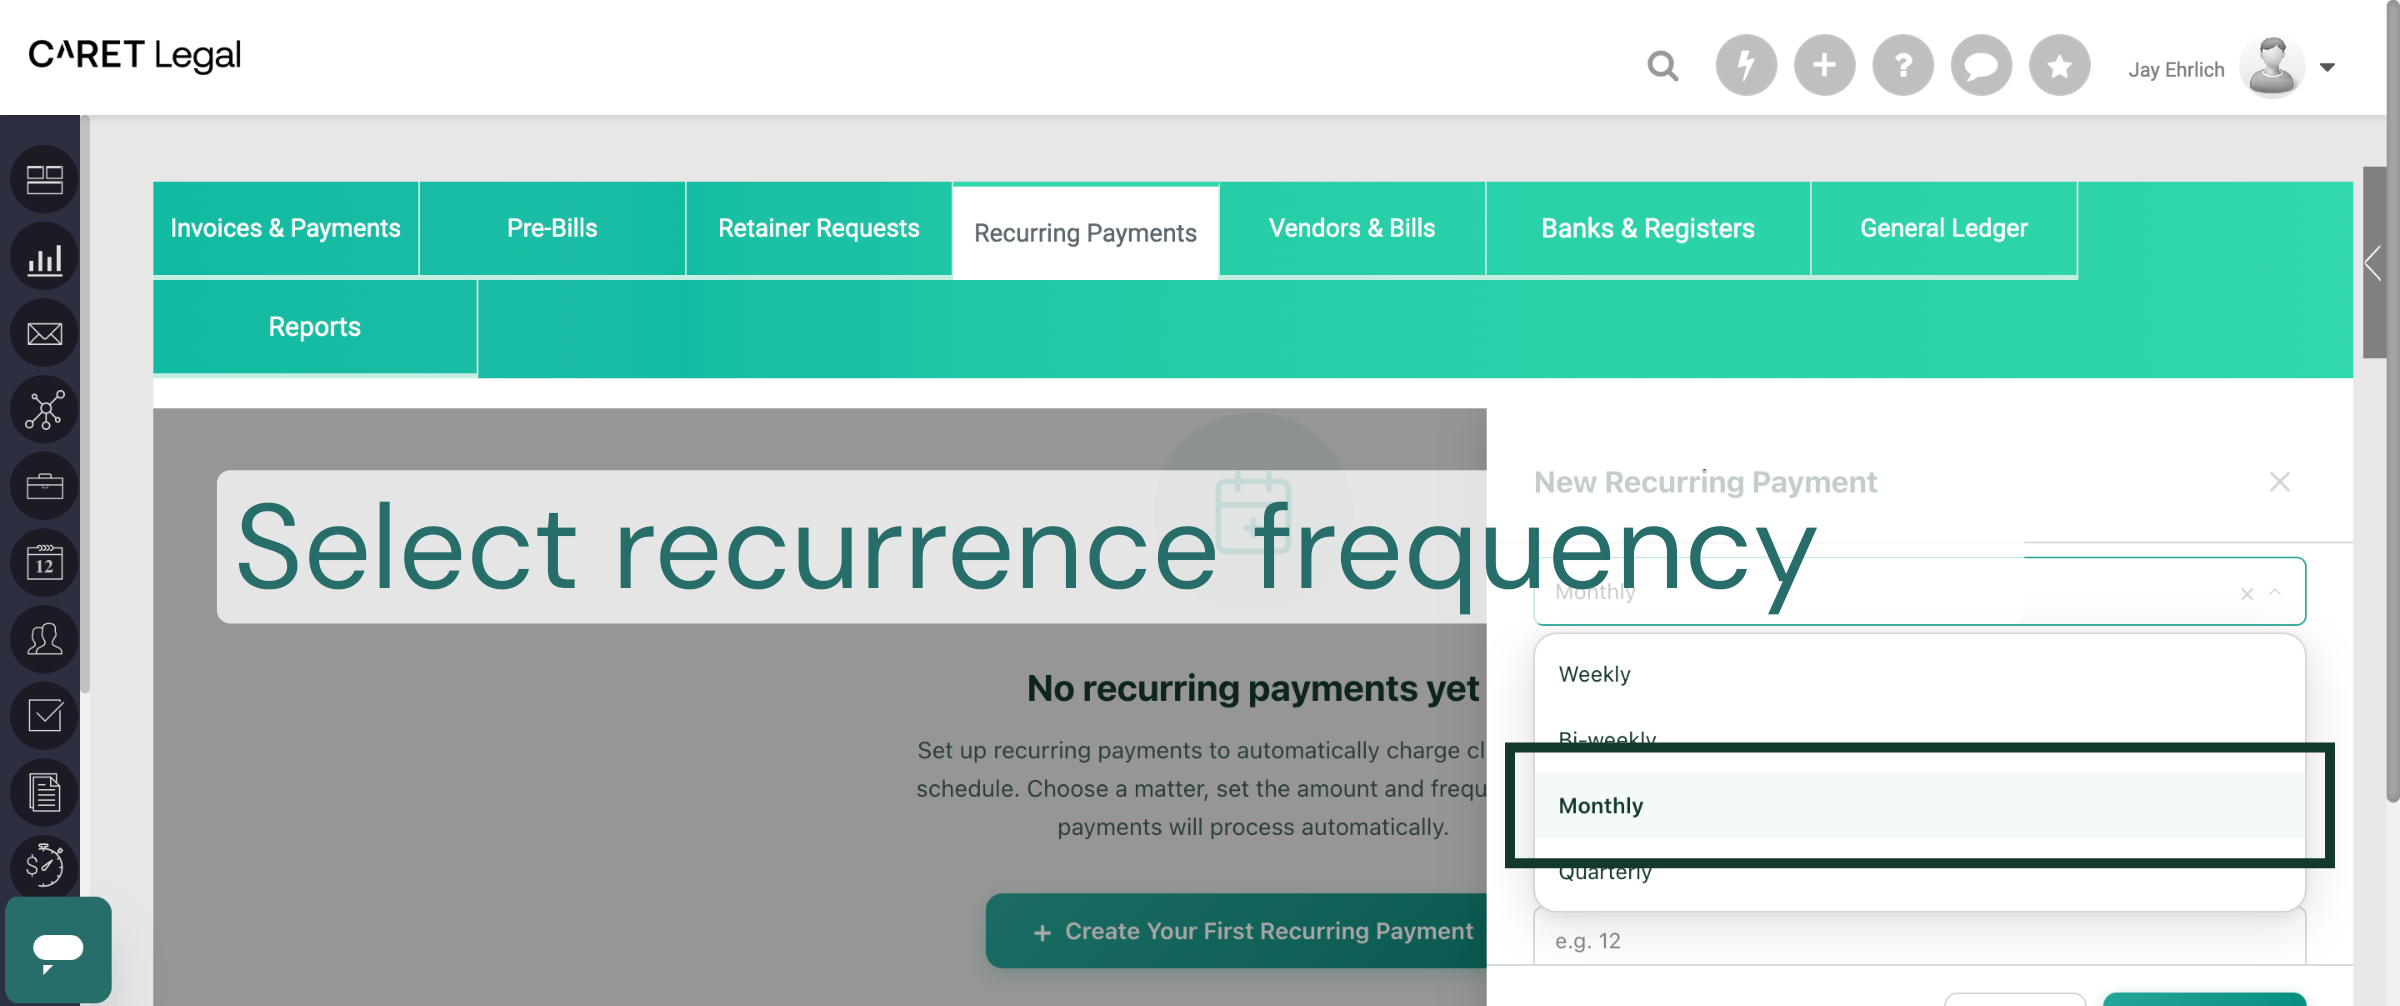
10. Initiate Start Date Selection
I'll also initiate a start date. This will ask you to enter a date or use the calendar menu to select a start date.
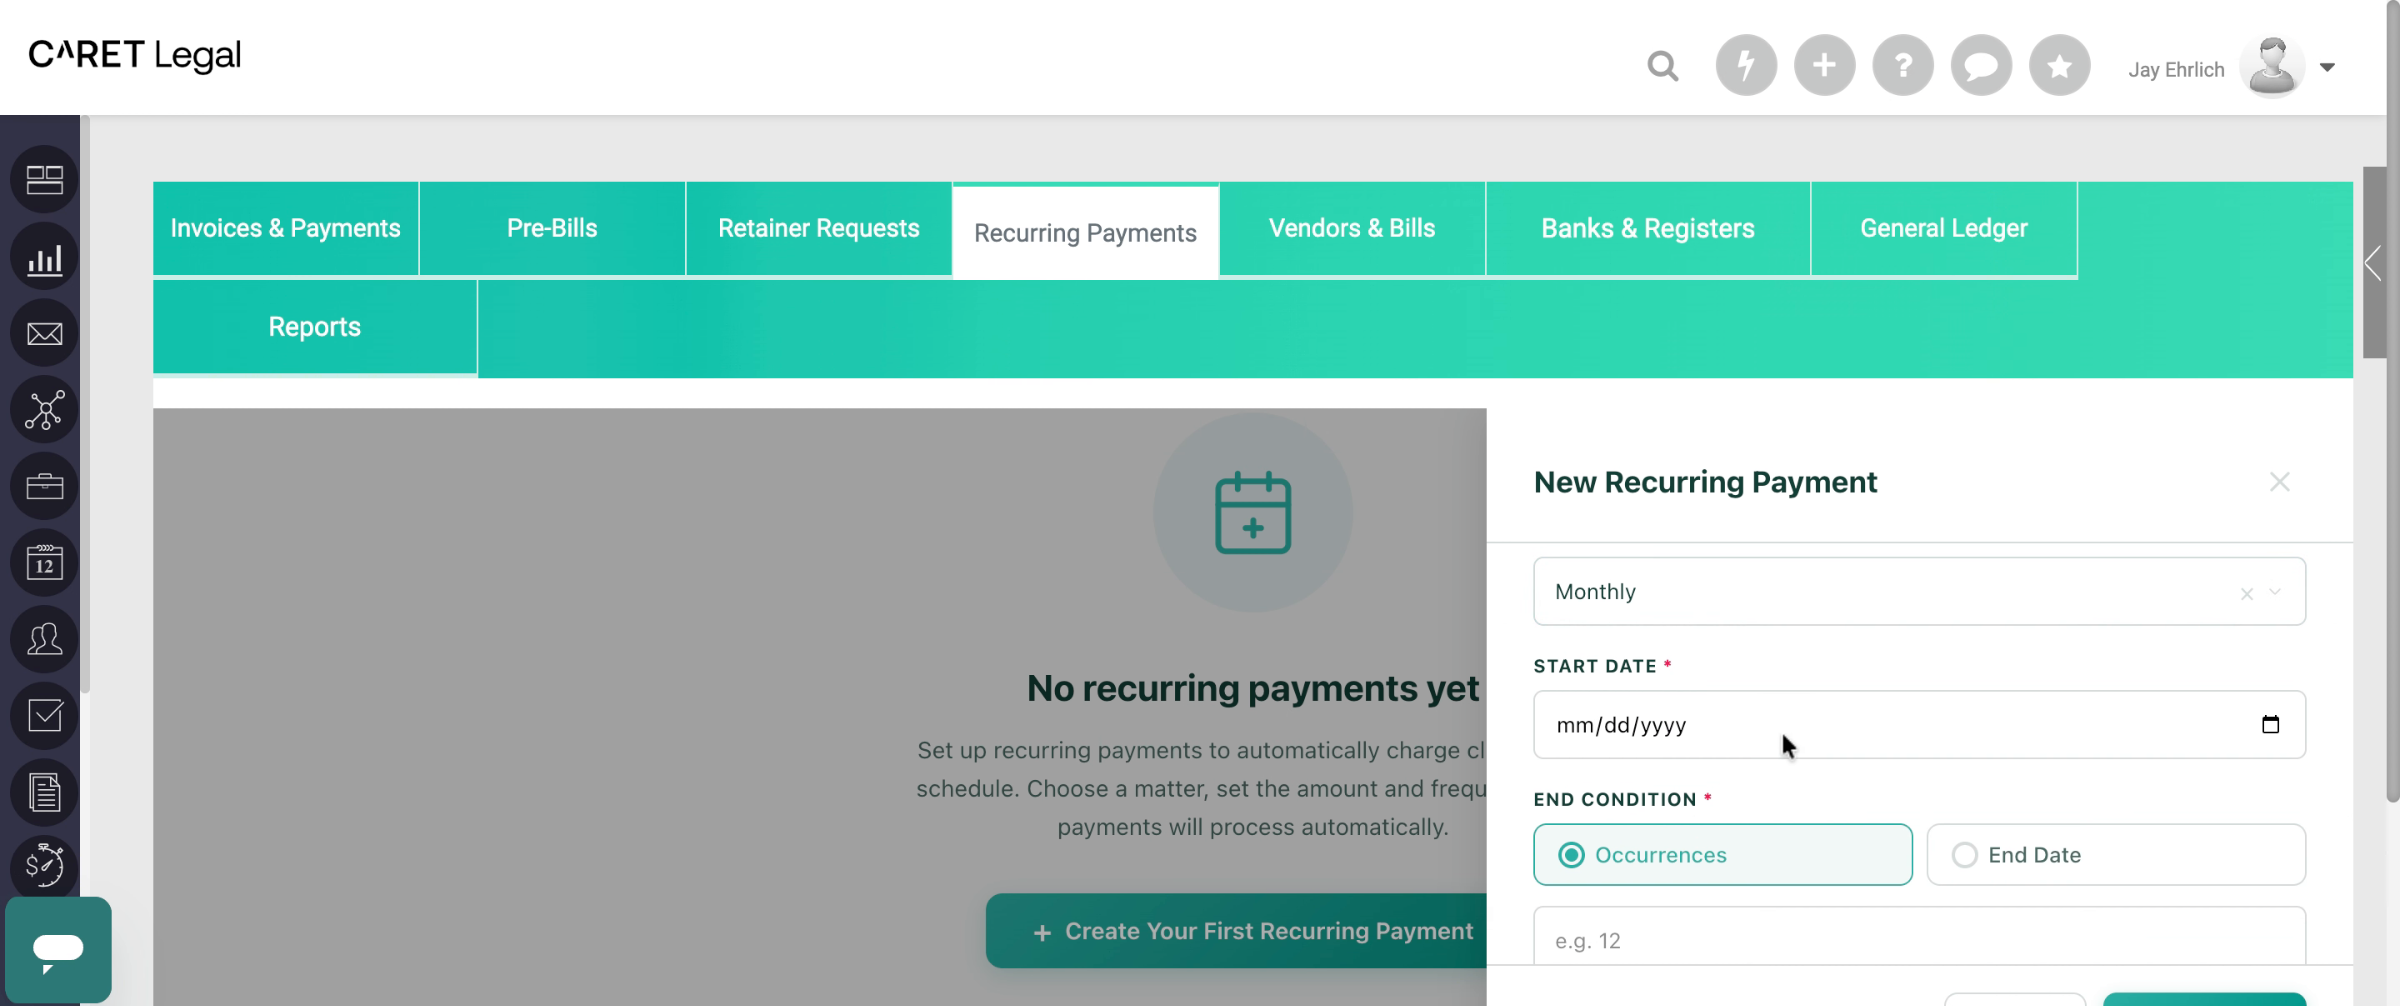
11. Set Installment Amount
Last, you'll be required to explain how the installments for the recurring payments should work. Are we doing set amounts by installment or a total amount instead?
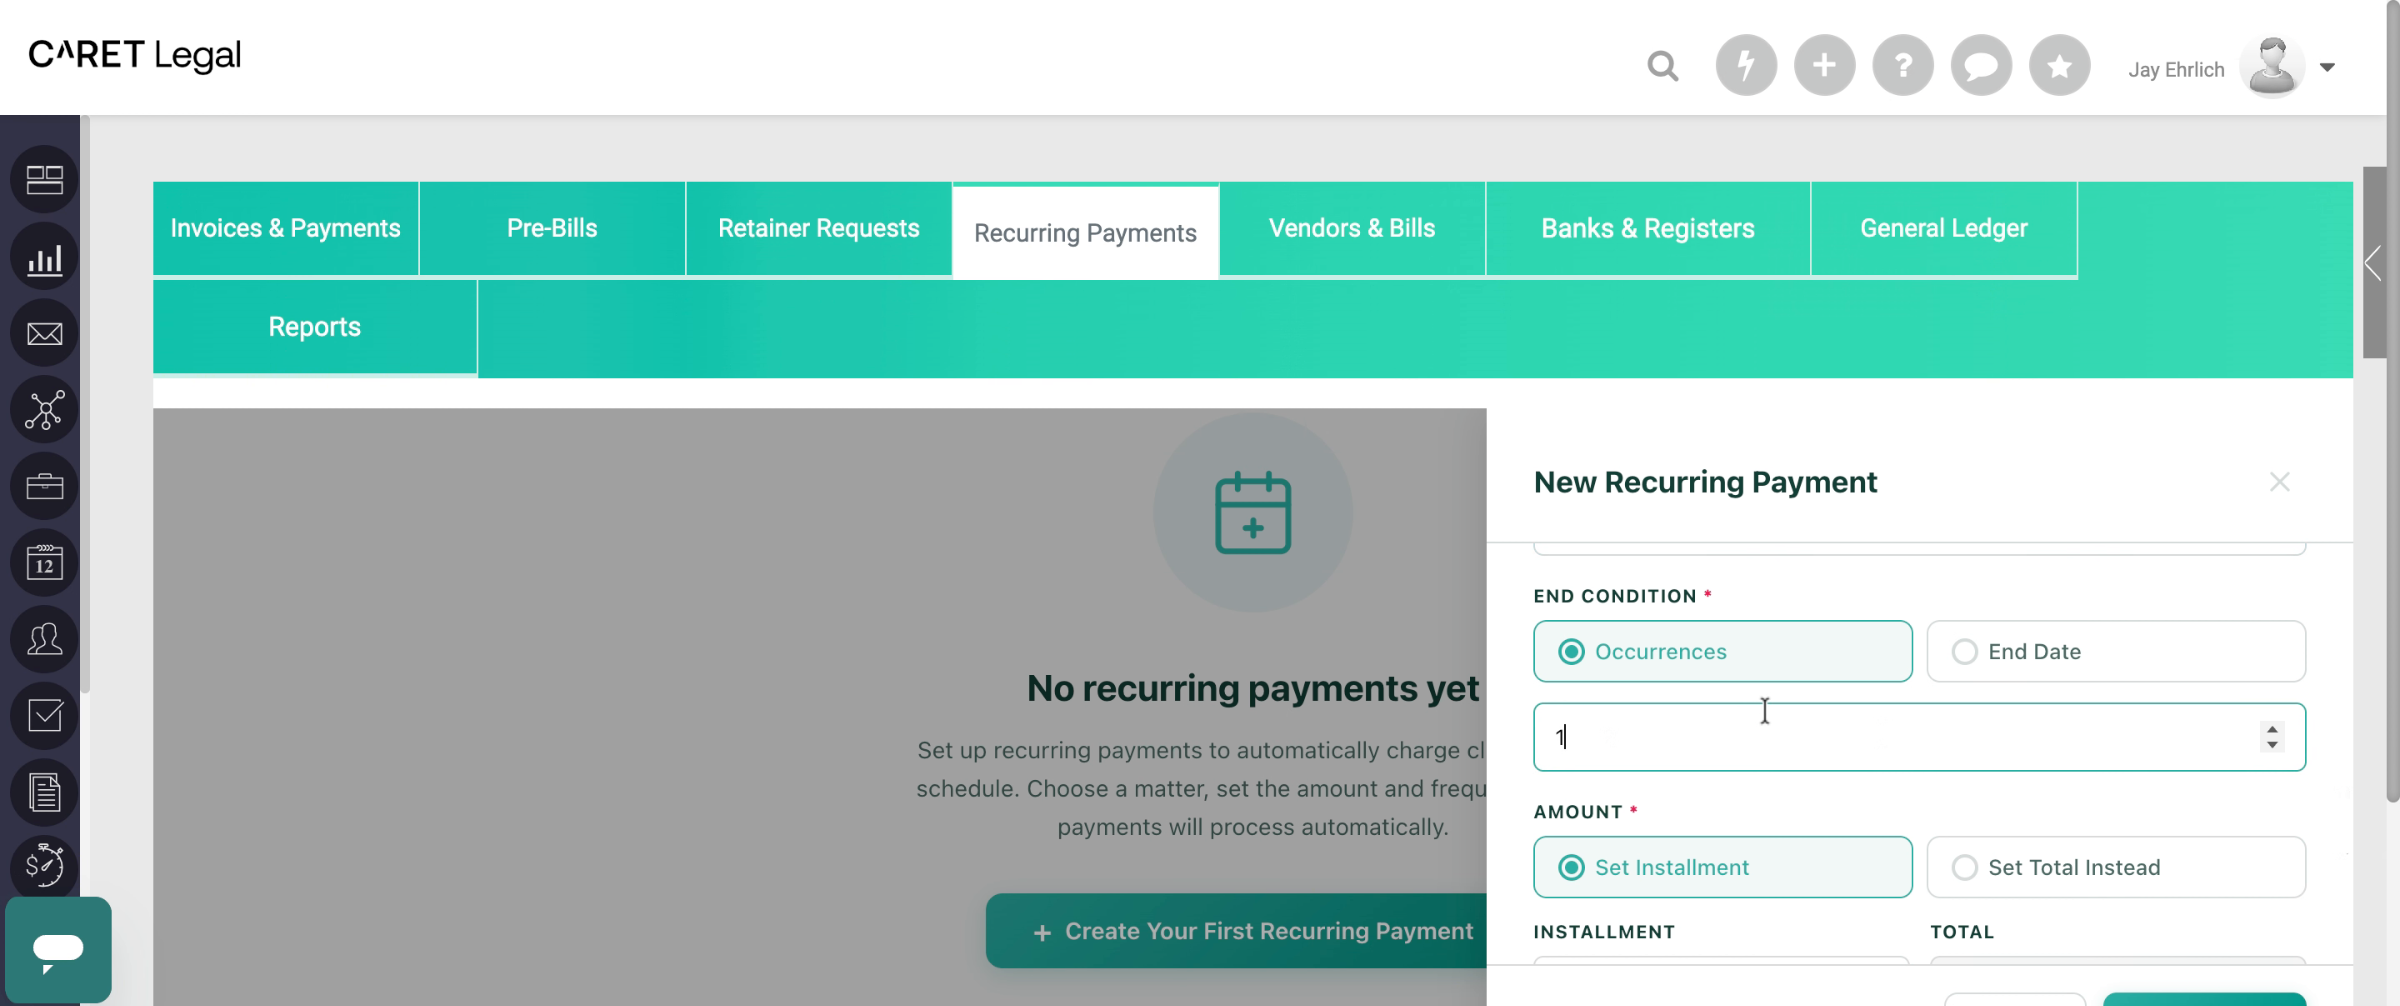
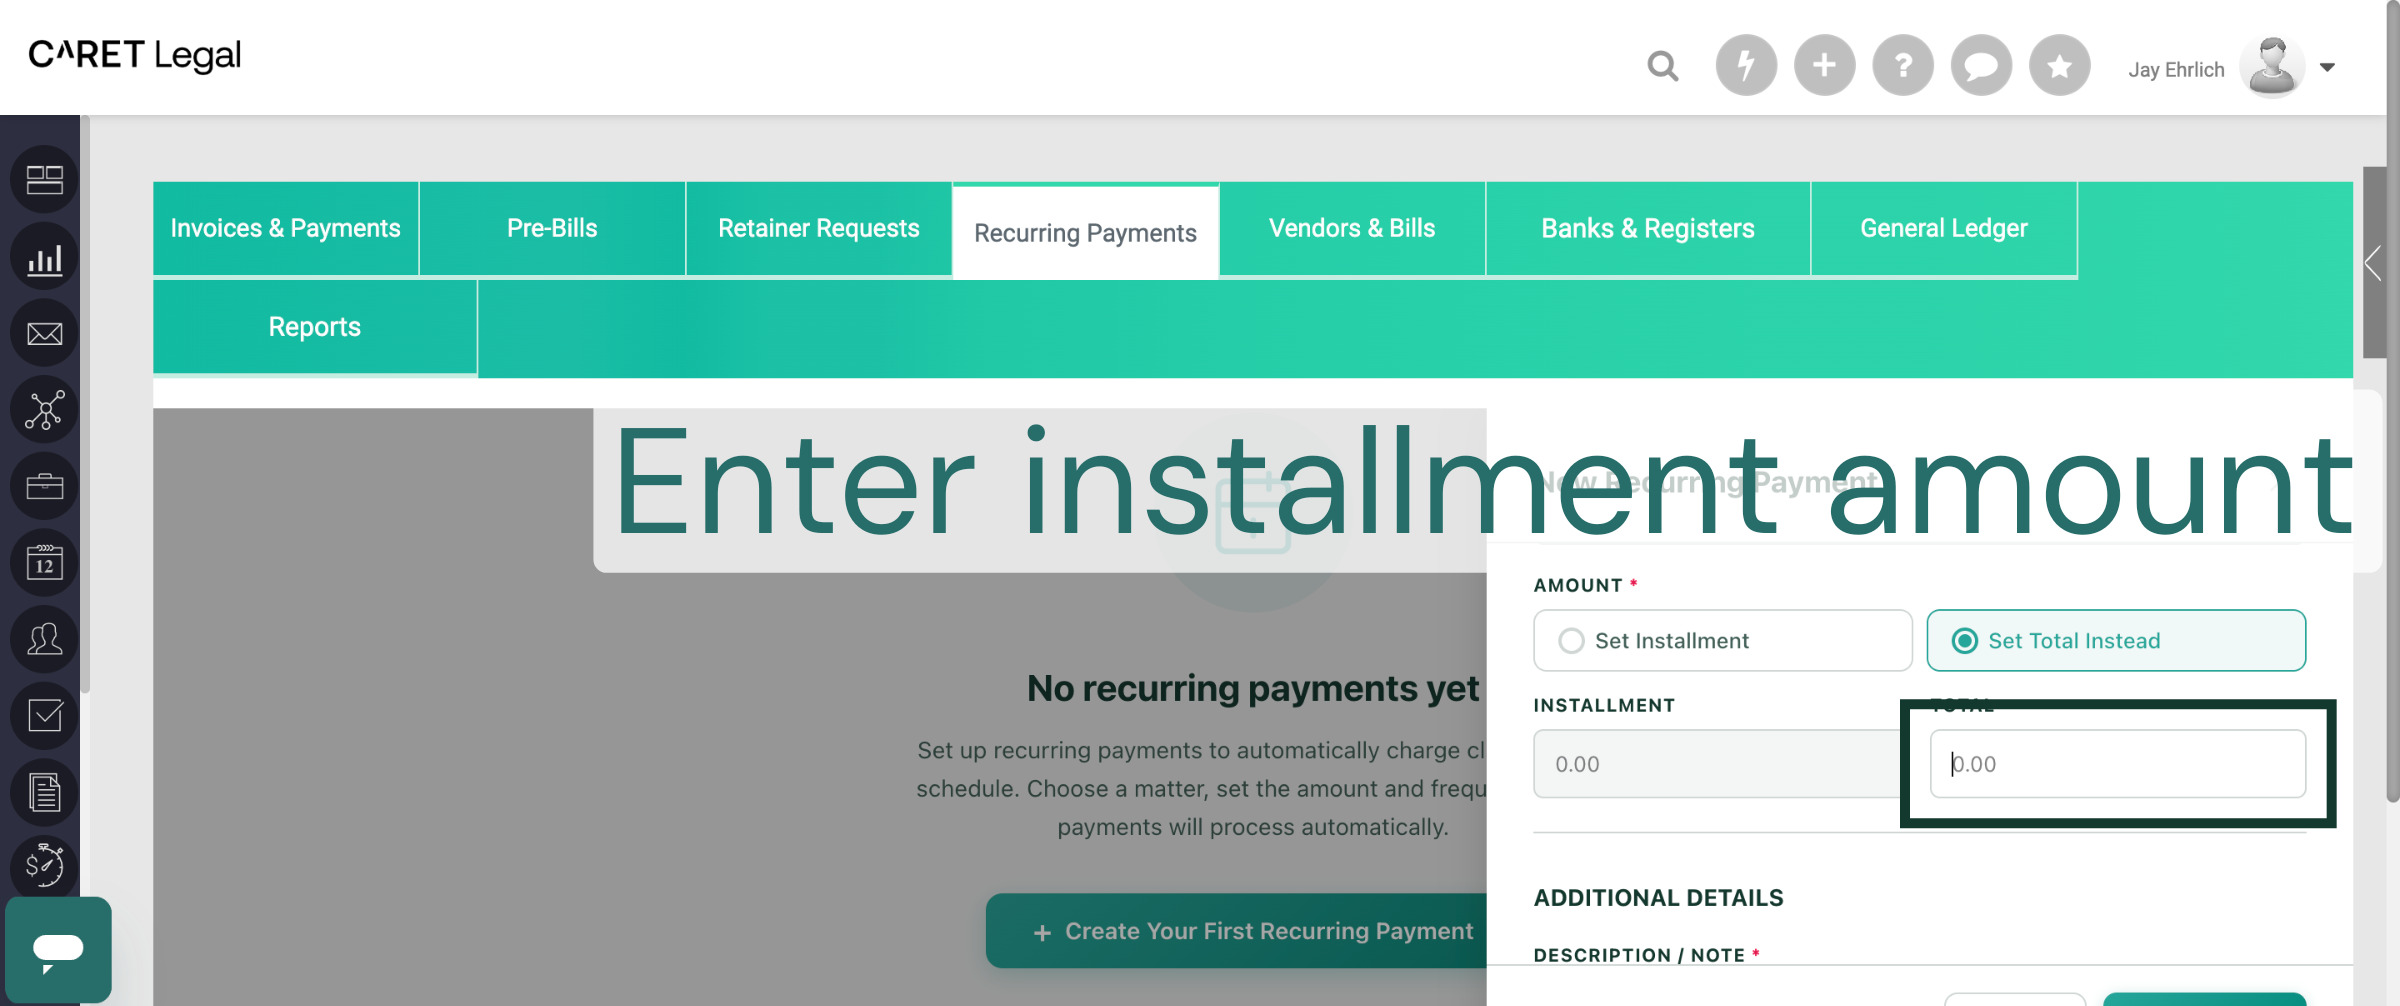
12. Enter Installment Amount
For this demonstration, I will click on the amount field to easily enter the installment amount for your recurring payment.
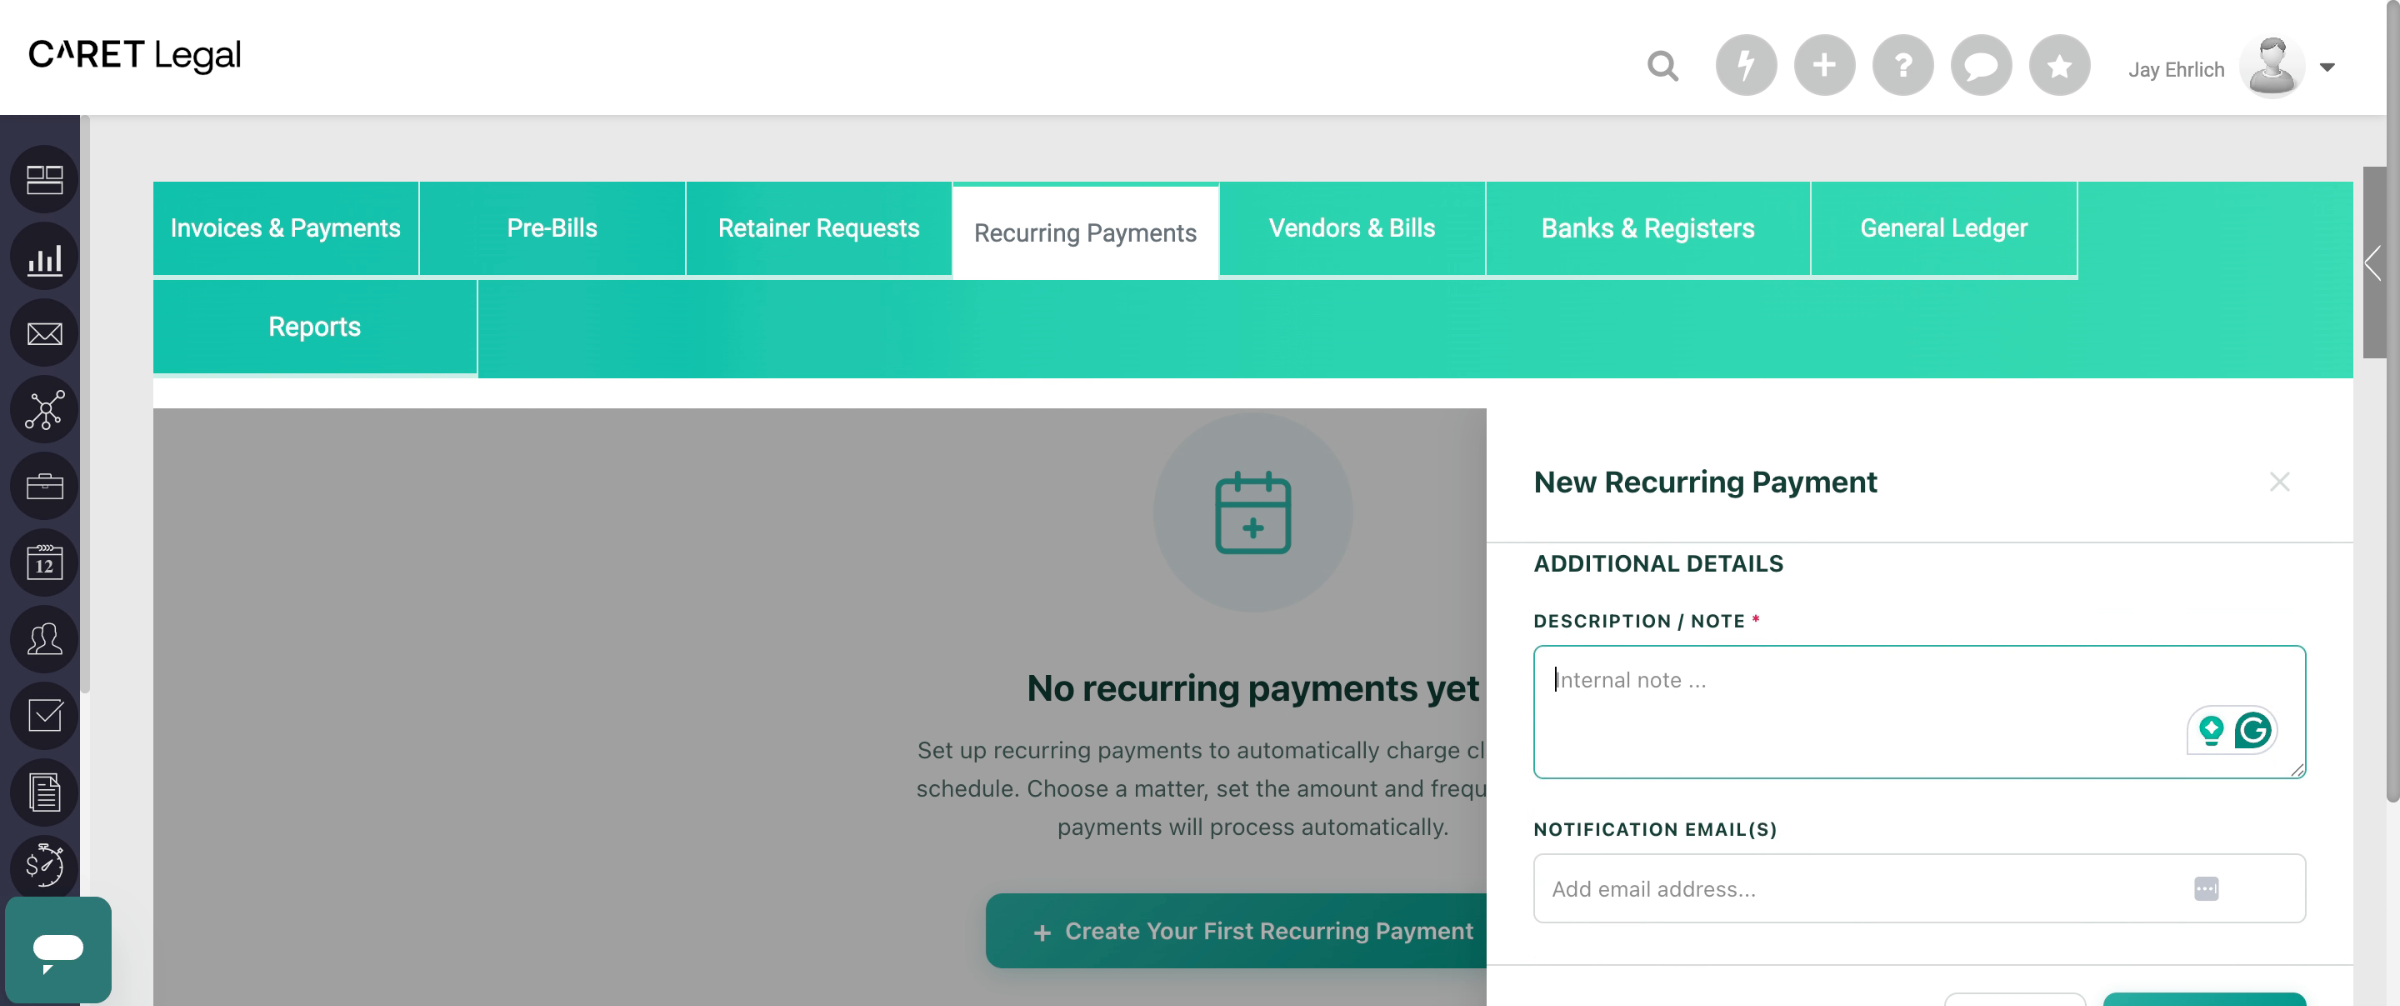
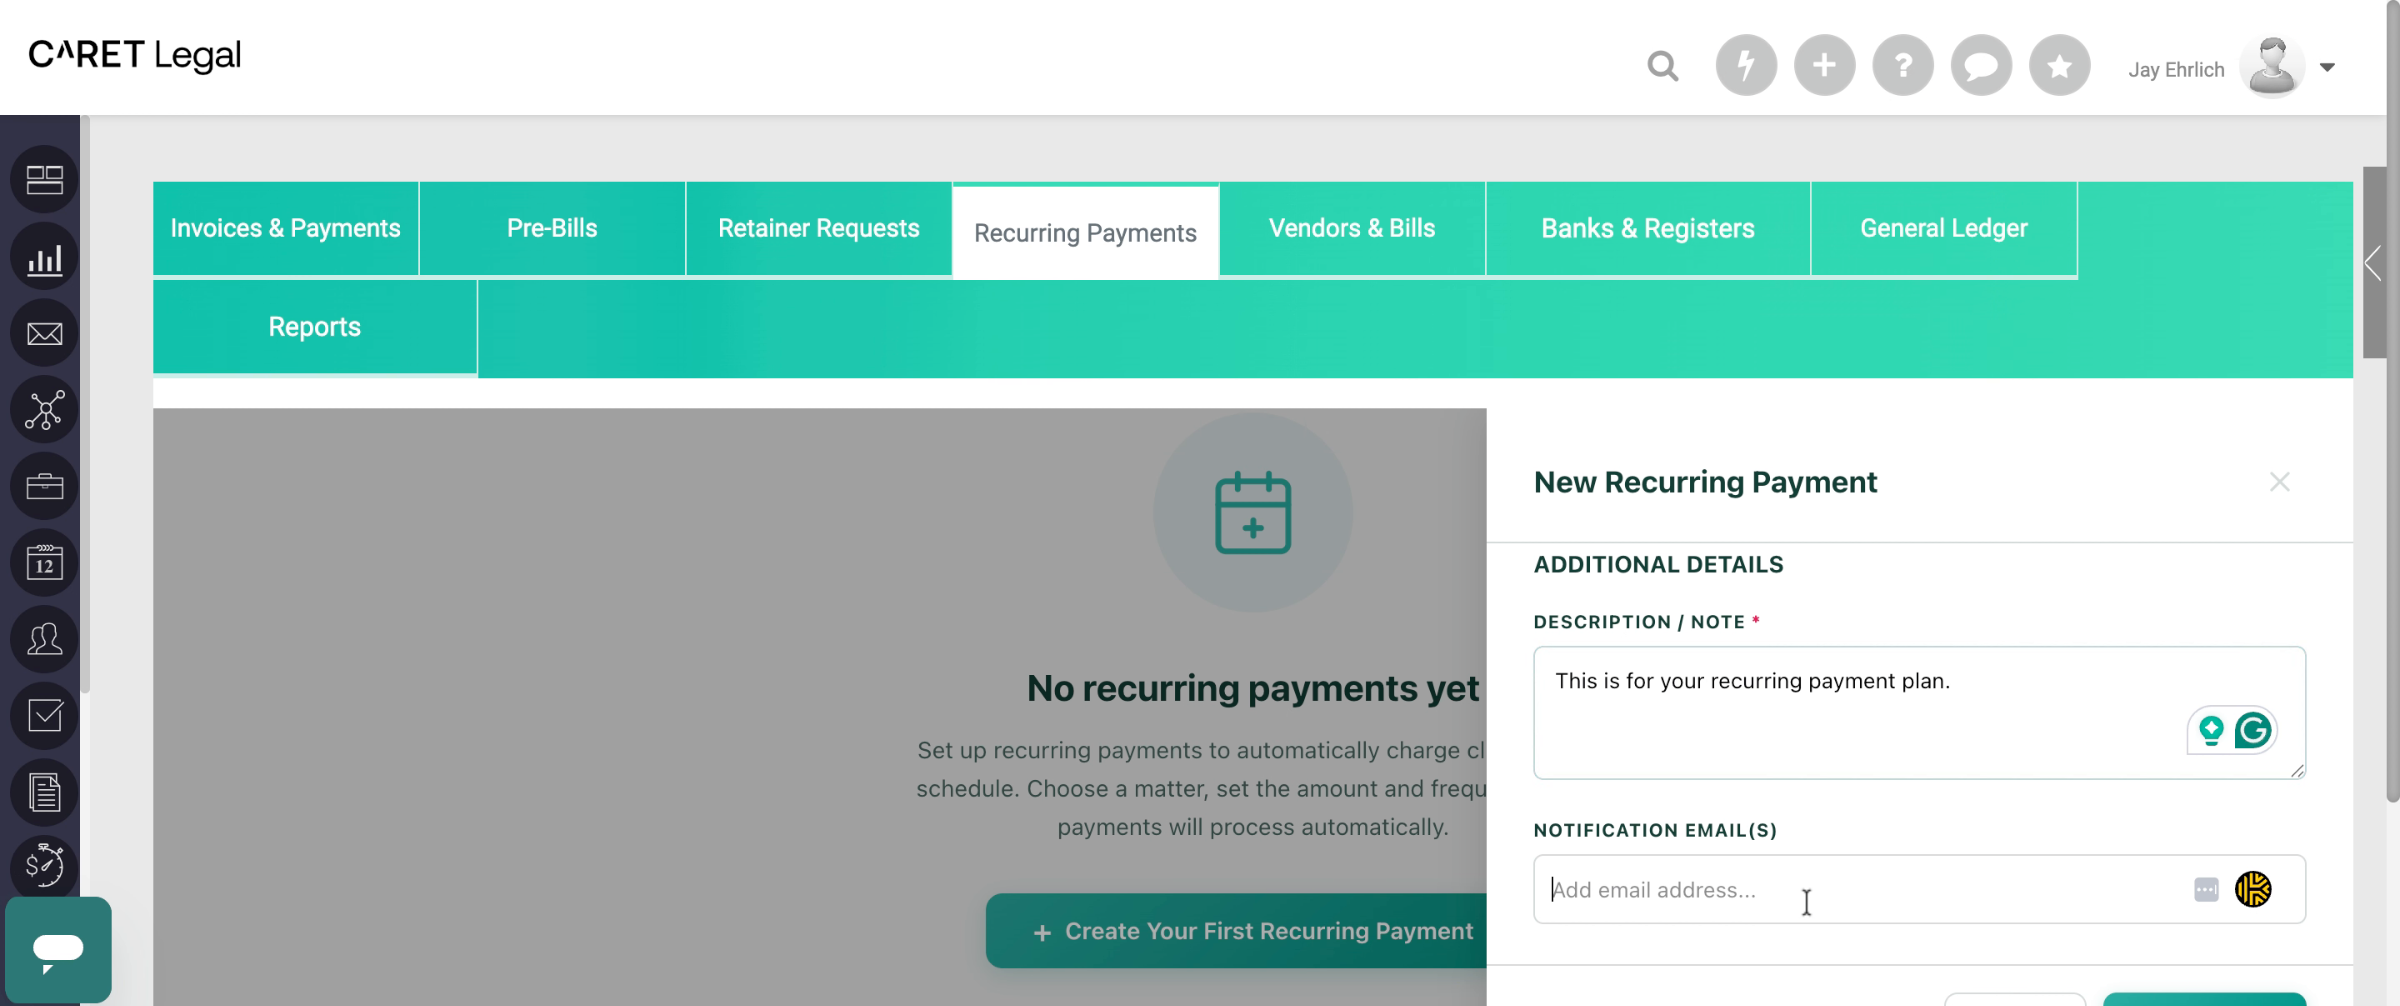
13. Add Payment Description Note
Now you can easily add a friendly description or note here that the payee will see as part of their recurring payment schedule. It's a great way to keep everyone in the loop!
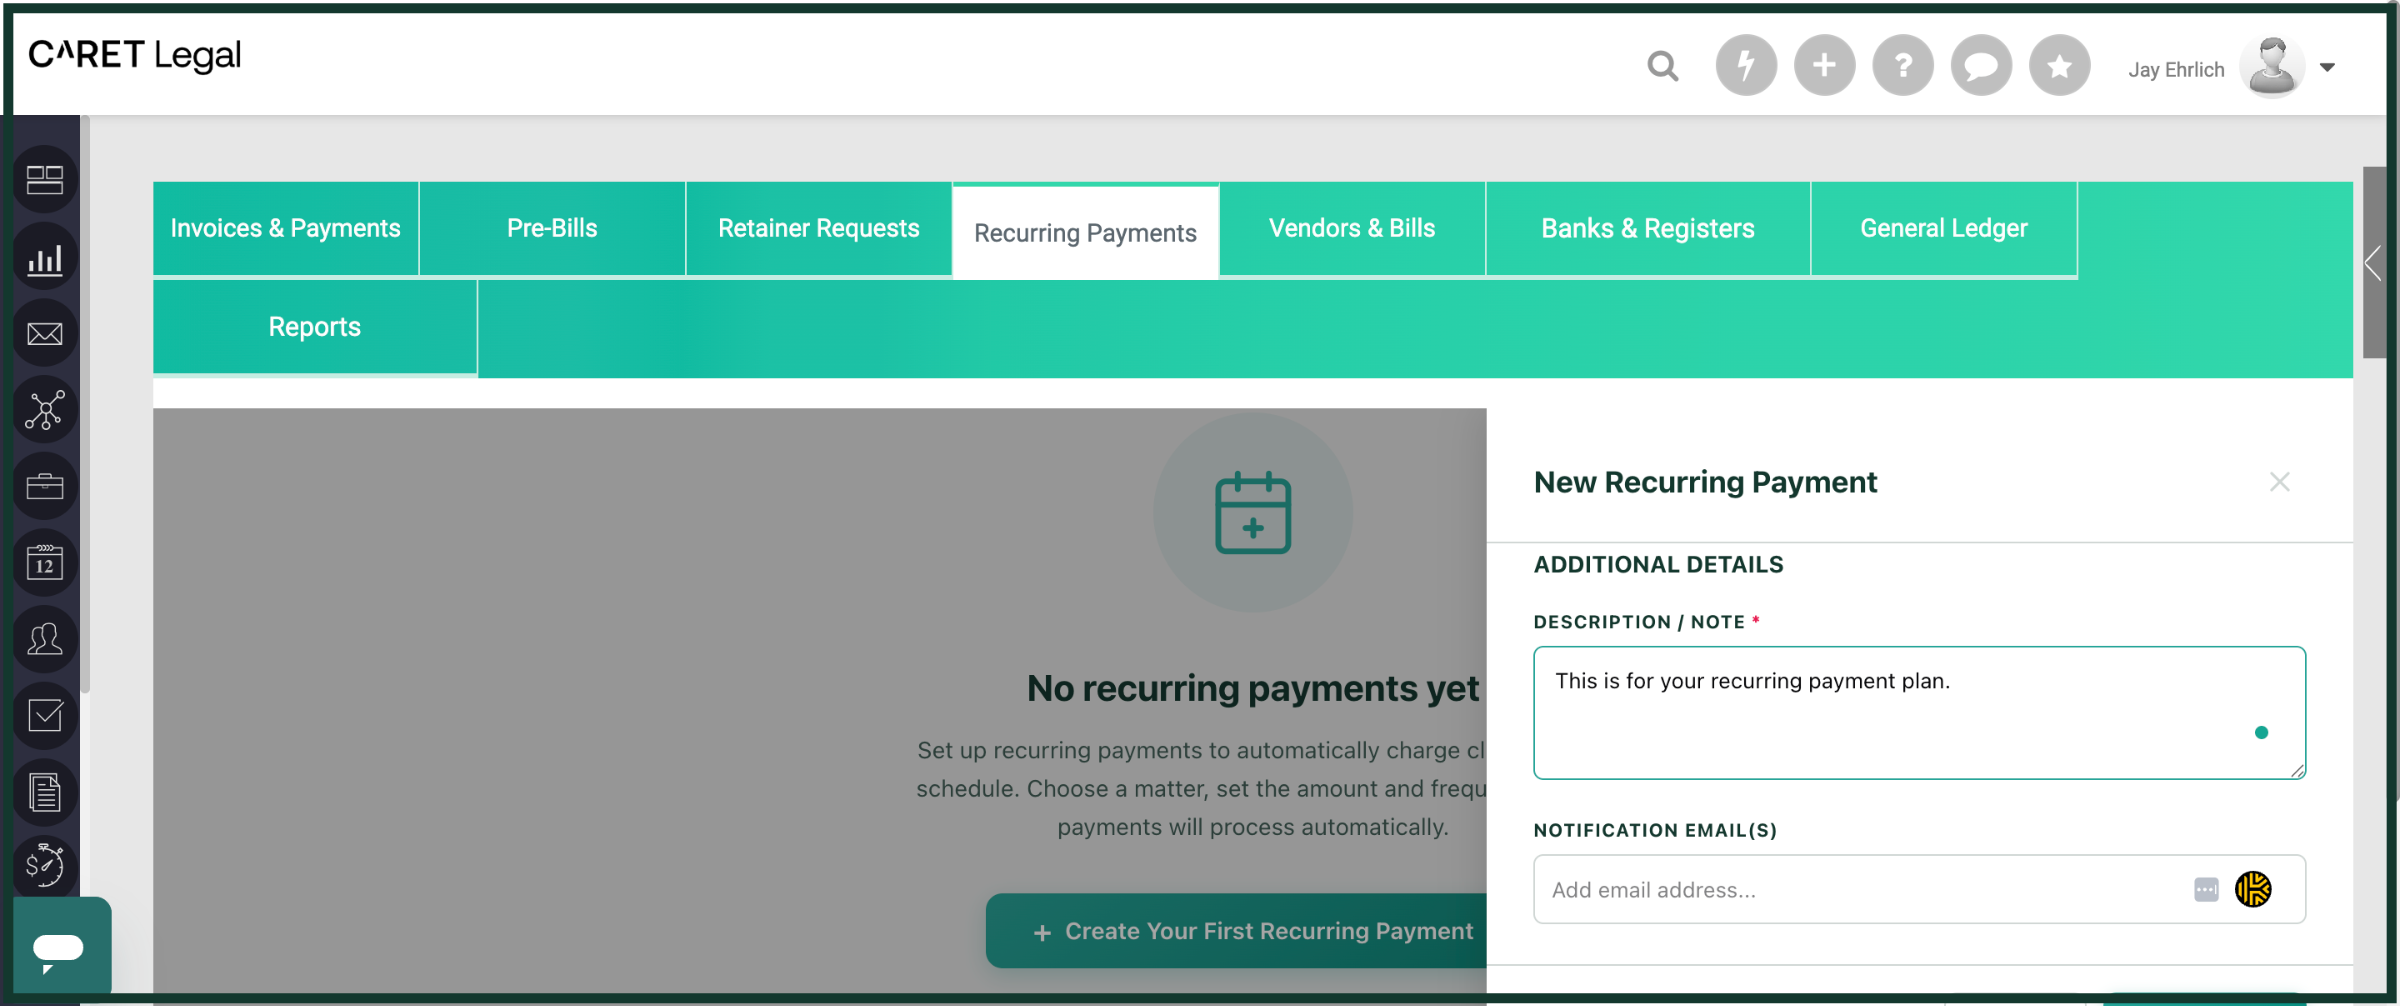
14. Enter Payment Description
Hey there! Please feel free to add a friendly note about your payment. This will help the payee see all the details in the recurring payment plan. We're excited to make this process smooth for you and your client.
15. Add Notification Email
Almost done! Now click on the field to easily add the email address for notifications about your recurring payment.
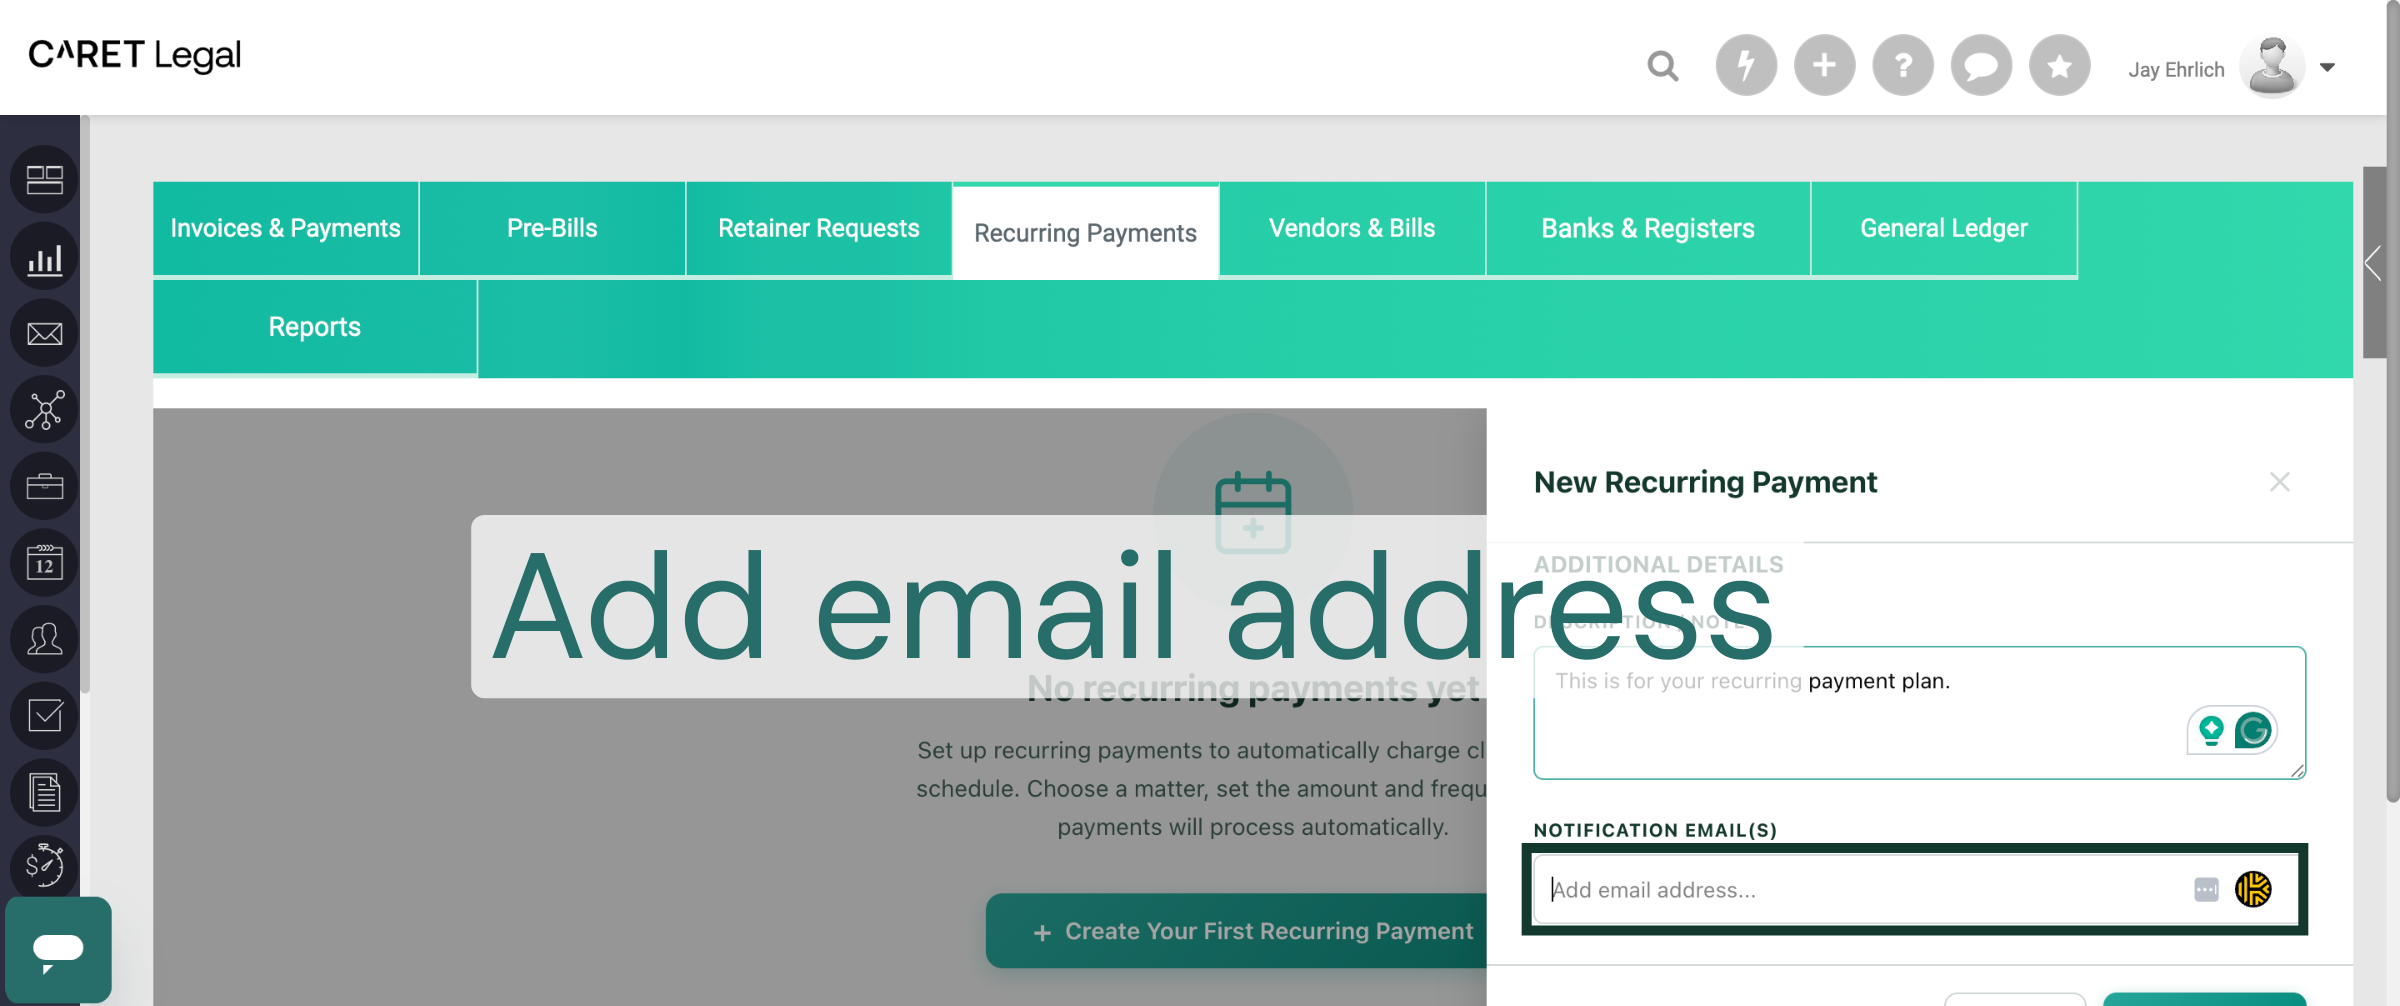
16. Configure Notification Emails
Here's a friendly reminder about your notification emails! Feel free to add more than one email address here—it's super easy!
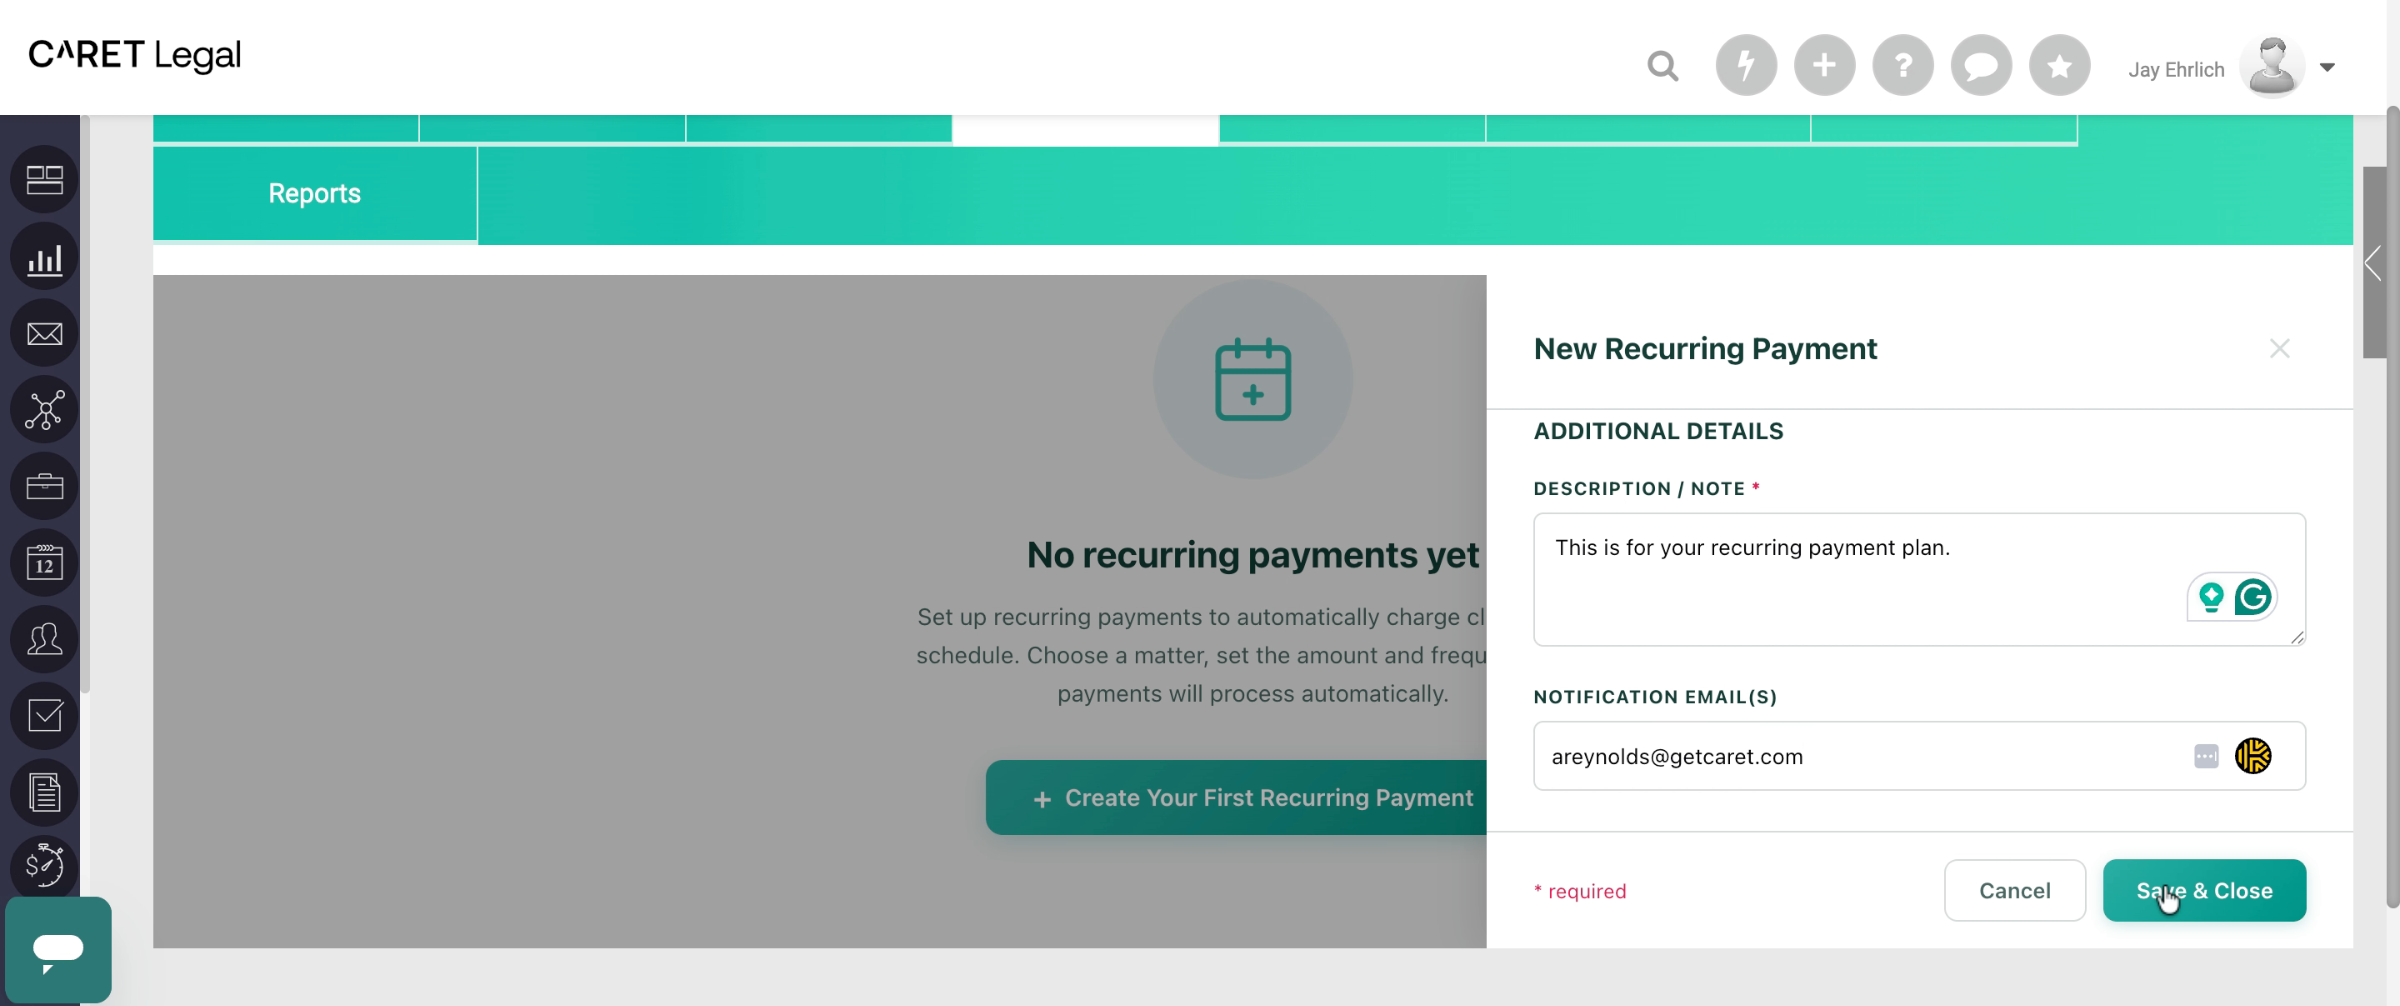
17. Save And Close Recurring Payment
Next, Be sure to click Save and Close. You did it! You have just created your first recurring payment.
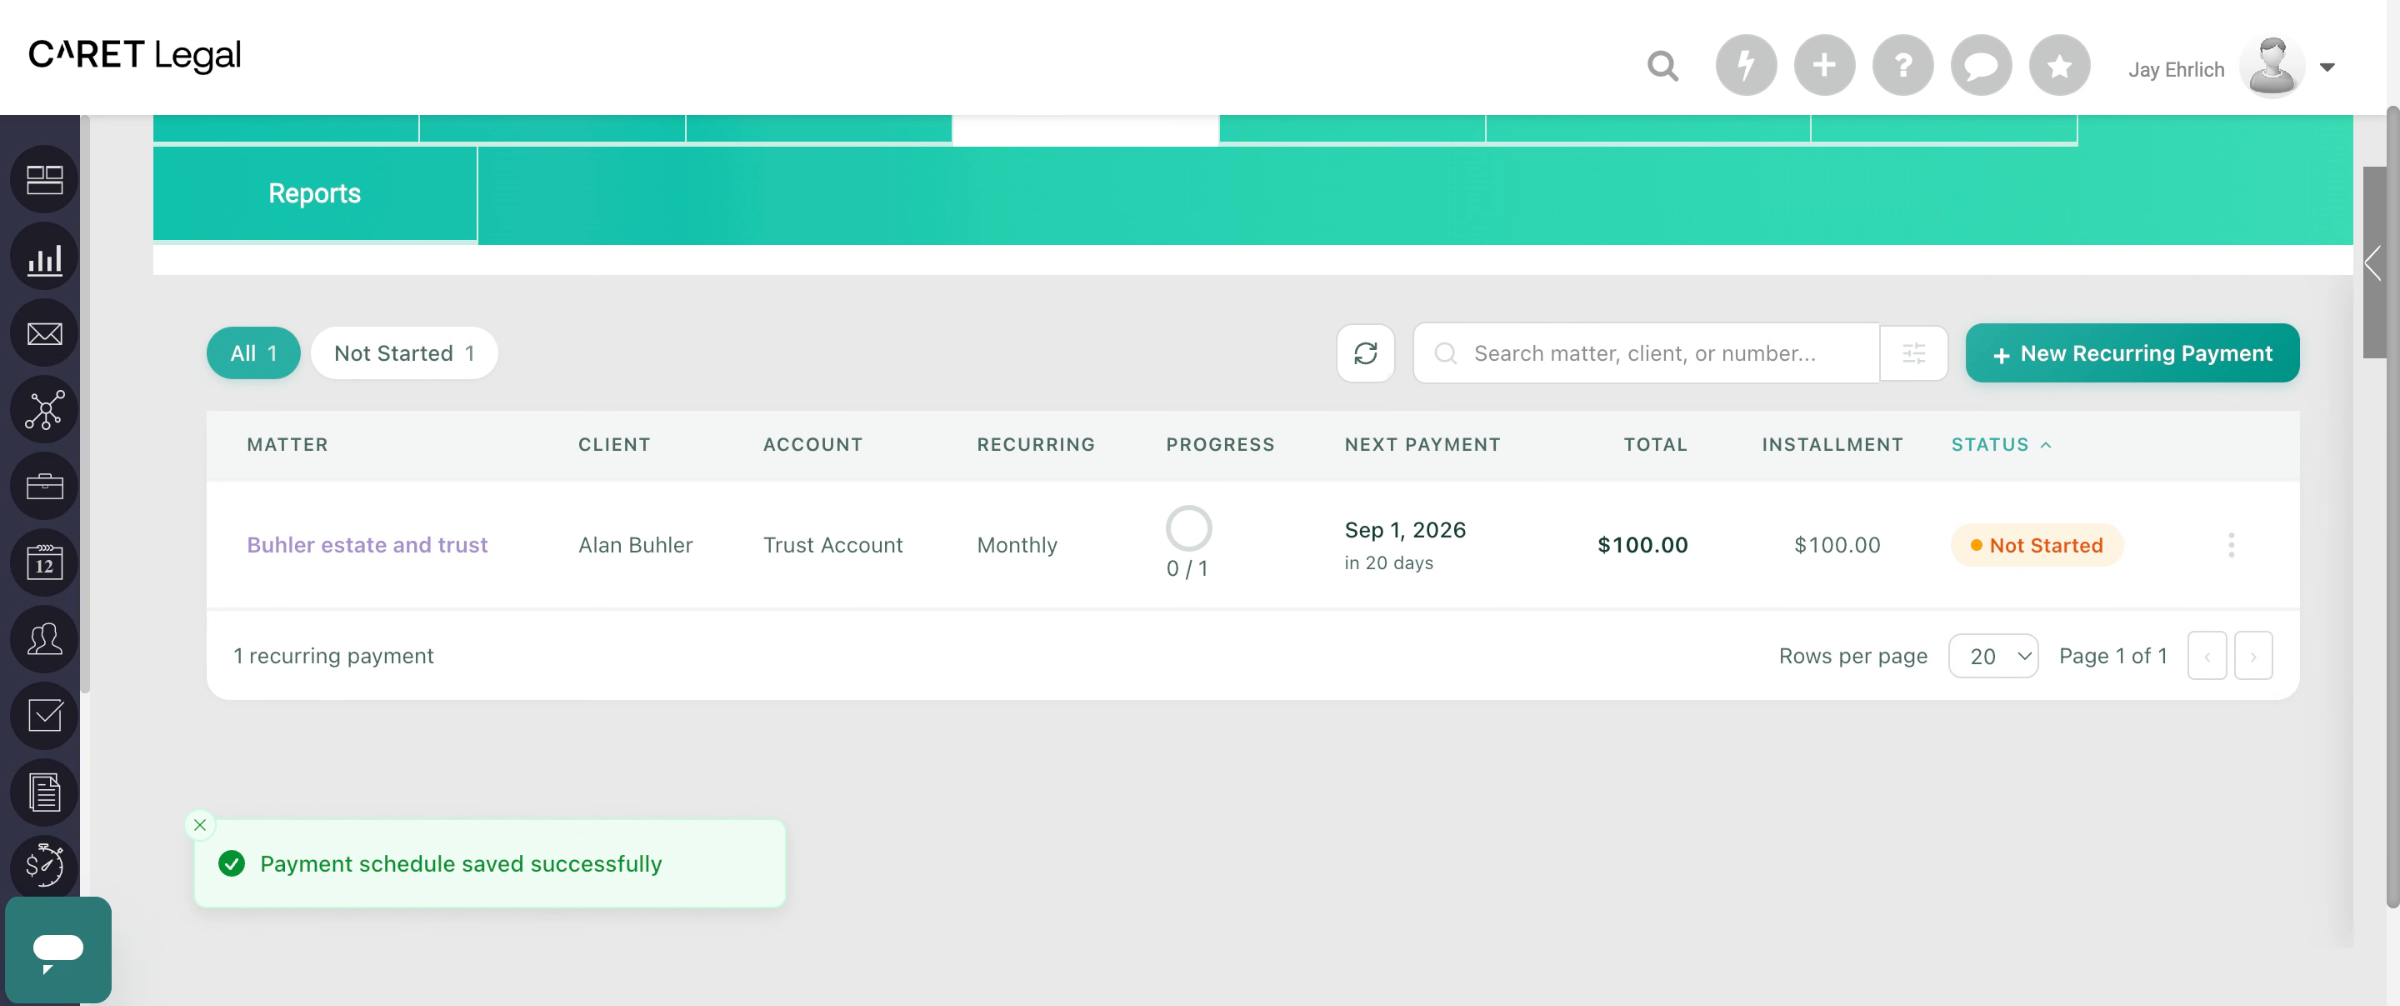
18. View Recurring Payments List
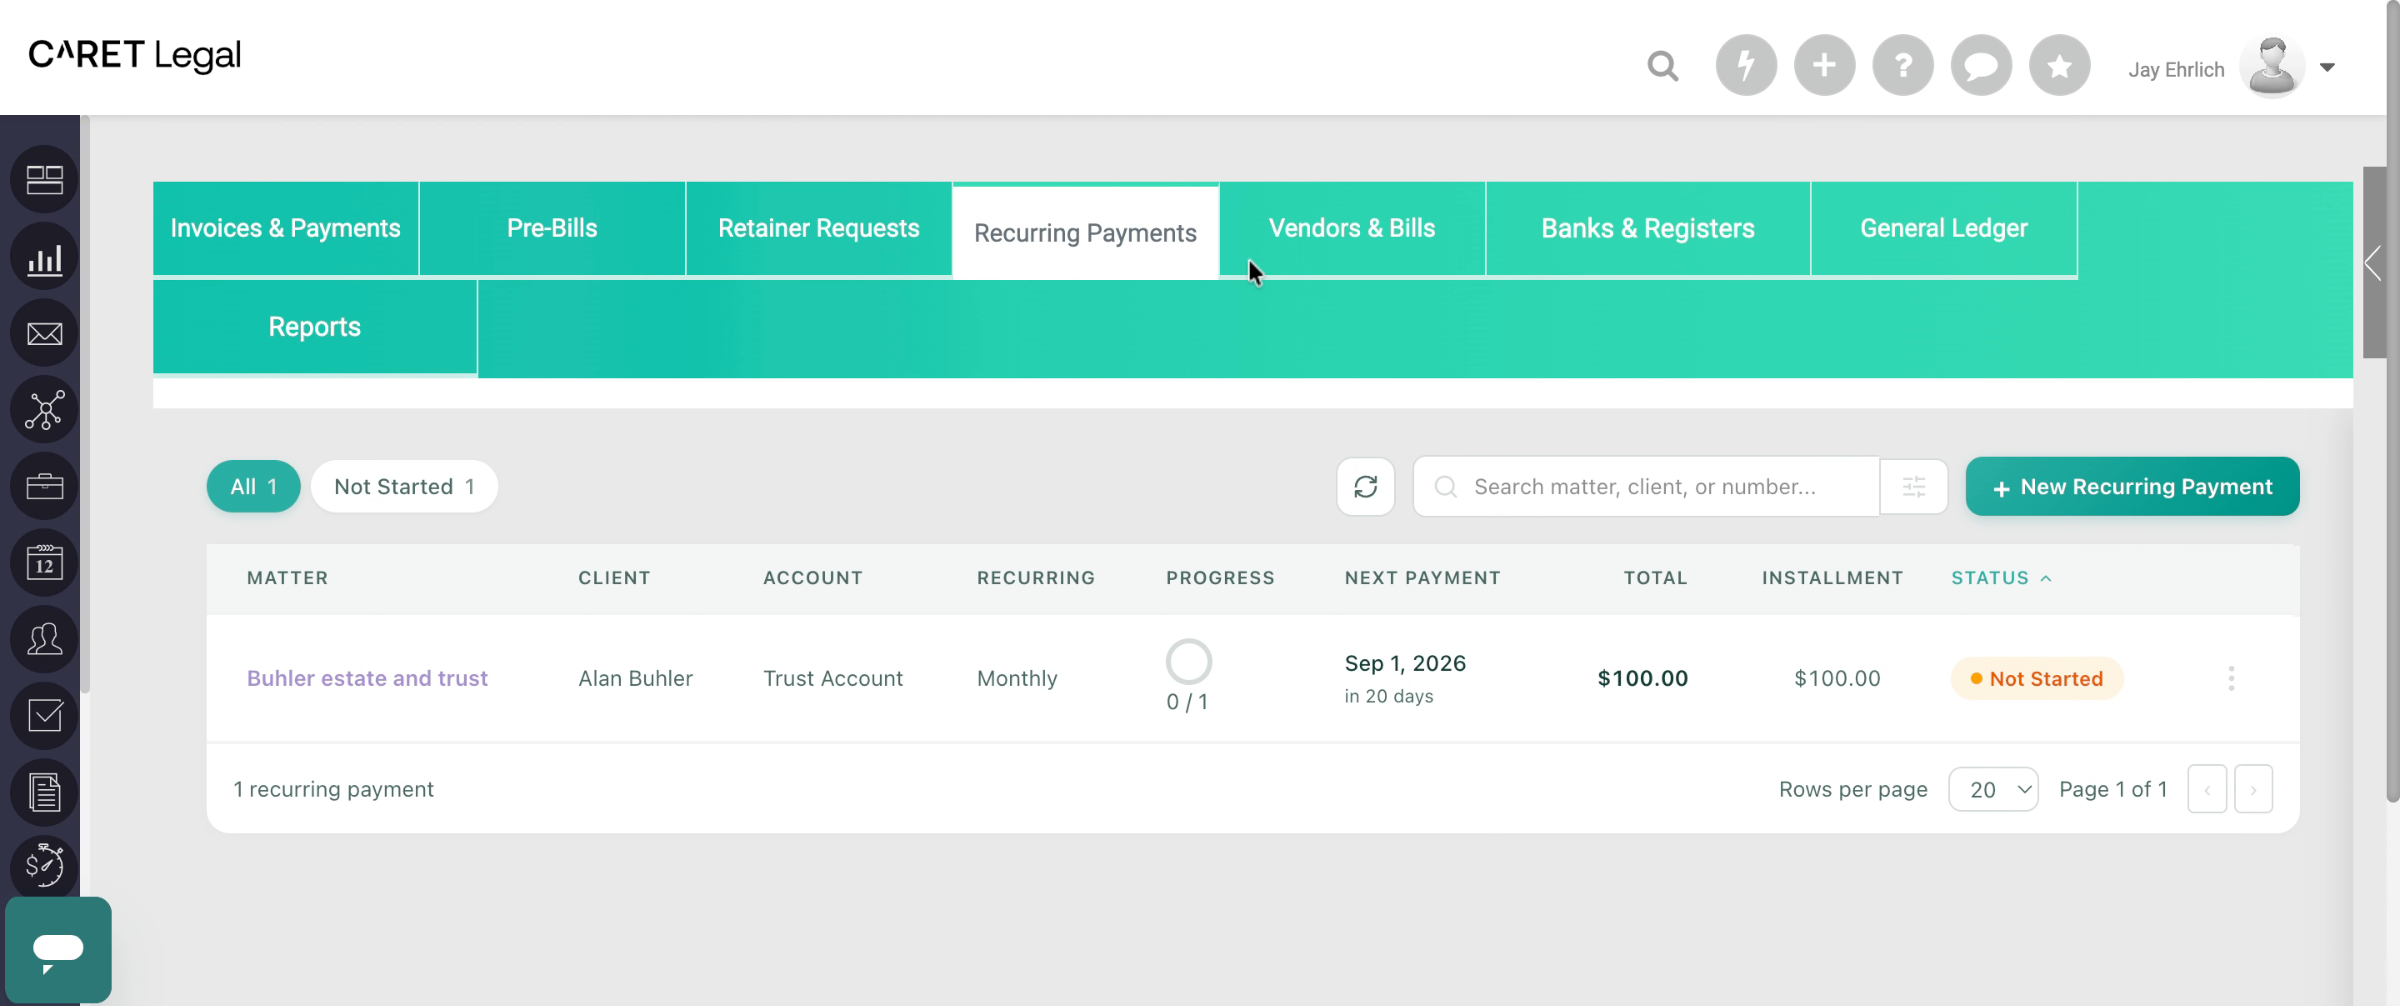
I'm so glad to share that my list is filled with those handy recurring payments! You'll find the name of the matter, the client, and even the bank account where the funds will be deposited. Plus, you can easily track the occurrence and progress, see when the next payment is due, and check out the amount, total, and status. It's all right there for you!
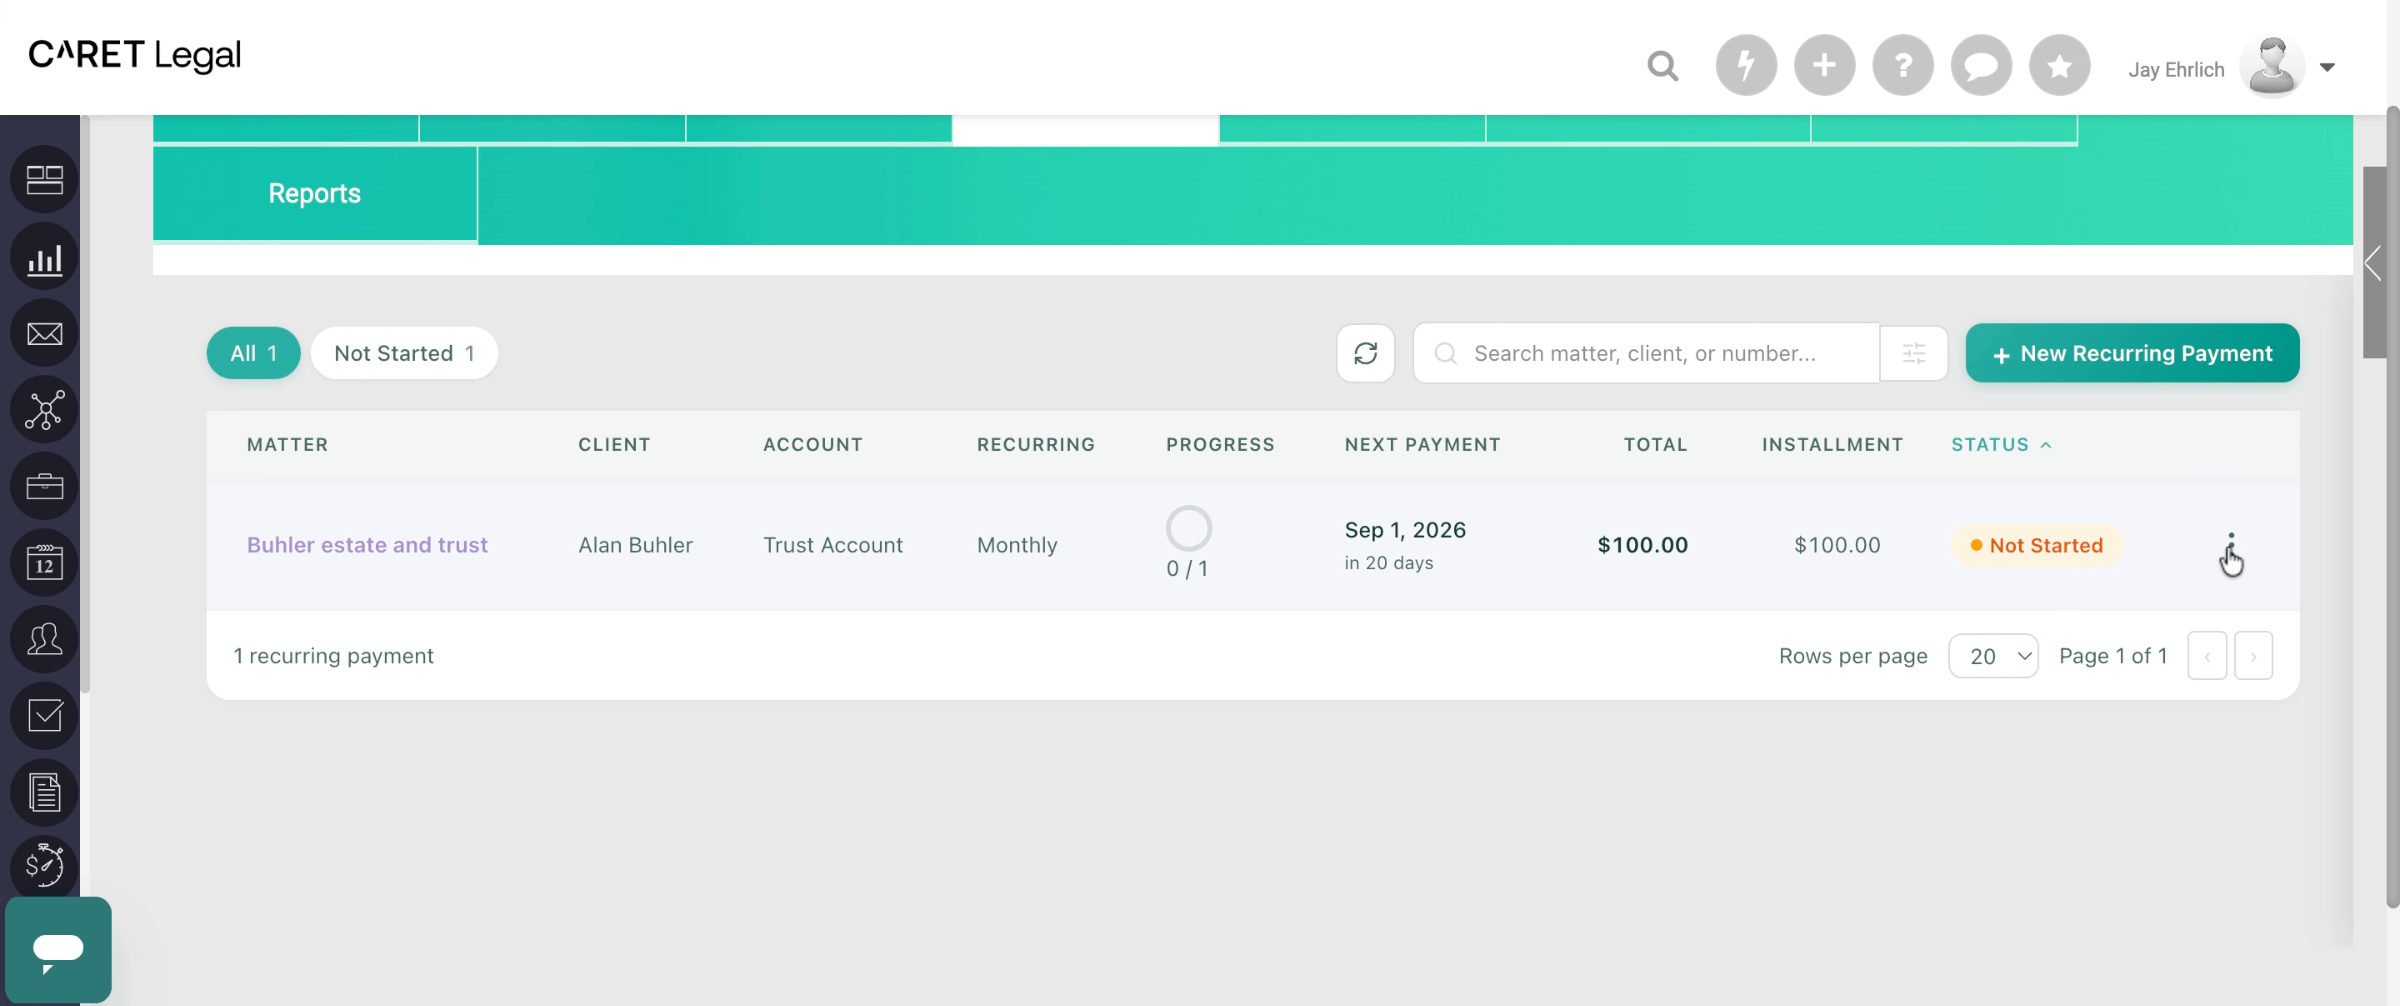
19. Edit Or Delete Payment Schedule
Just a quick tip for you: if you click on the three dots on the right, you'll see a handy menu pop up! From there, you can easily go back and make changes to your payment schedule or even delete it if you need to. Just a friendly reminder, though—once you delete the schedule, it’s gone for good! But don’t worry, you can always set up a new recurring payment whenever you’re ready. You've got this!
20. End Recurring Payments Demonstration
We're excited to share this demonstration of recurring payments in CARET Legal with you! We hope you find it helpful!