This tutorial will guide you through the process of configuring your email signatures in CARET Legal. We are excited to assist you in setting up your new email signature. Let’s get started!
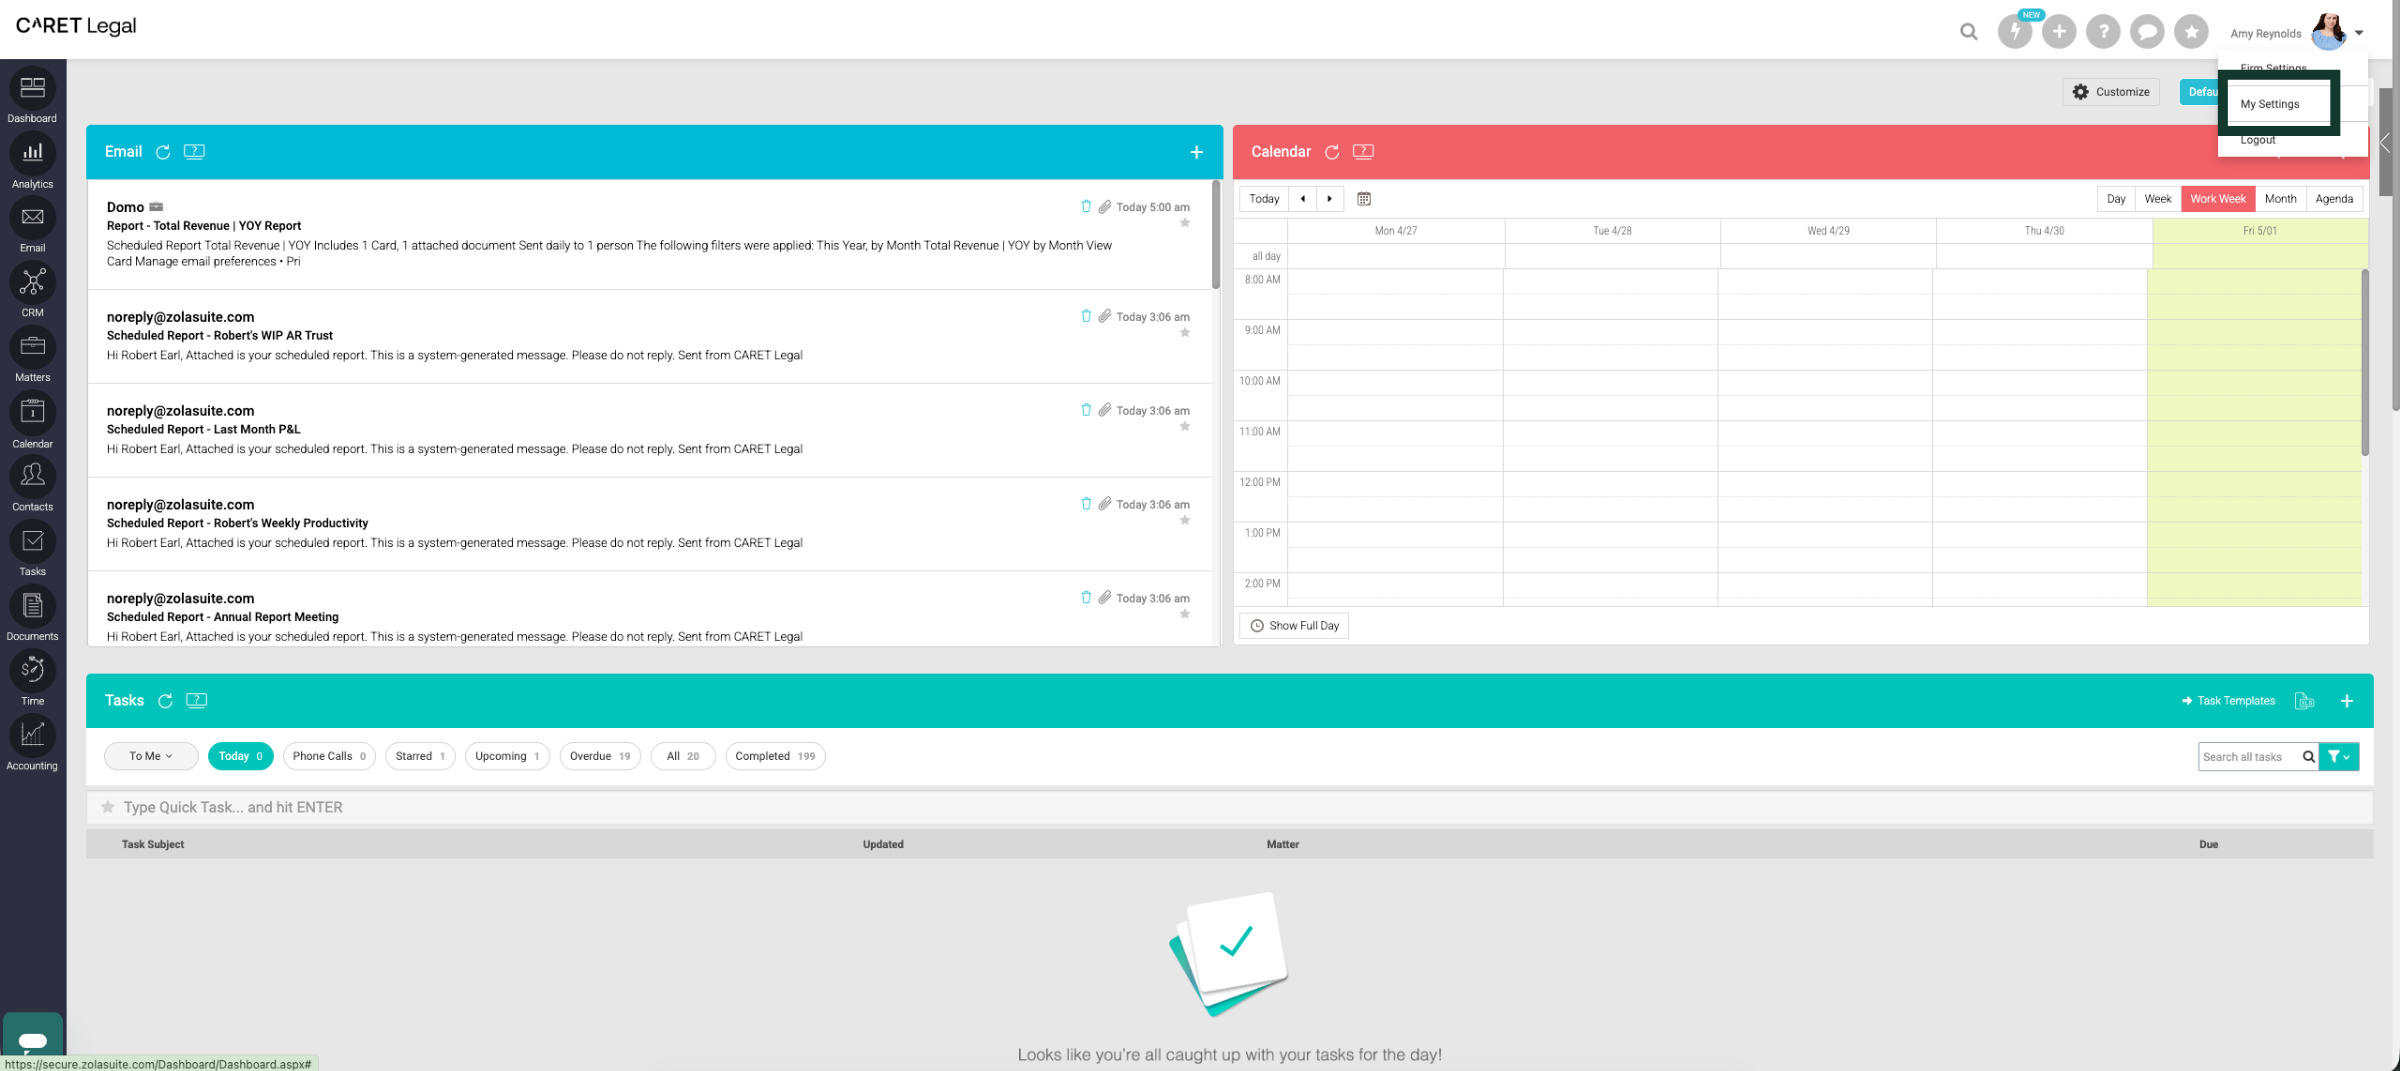
1. Open Settings Menu
Click here to open the menu and reach your settings options. Click My Settings.
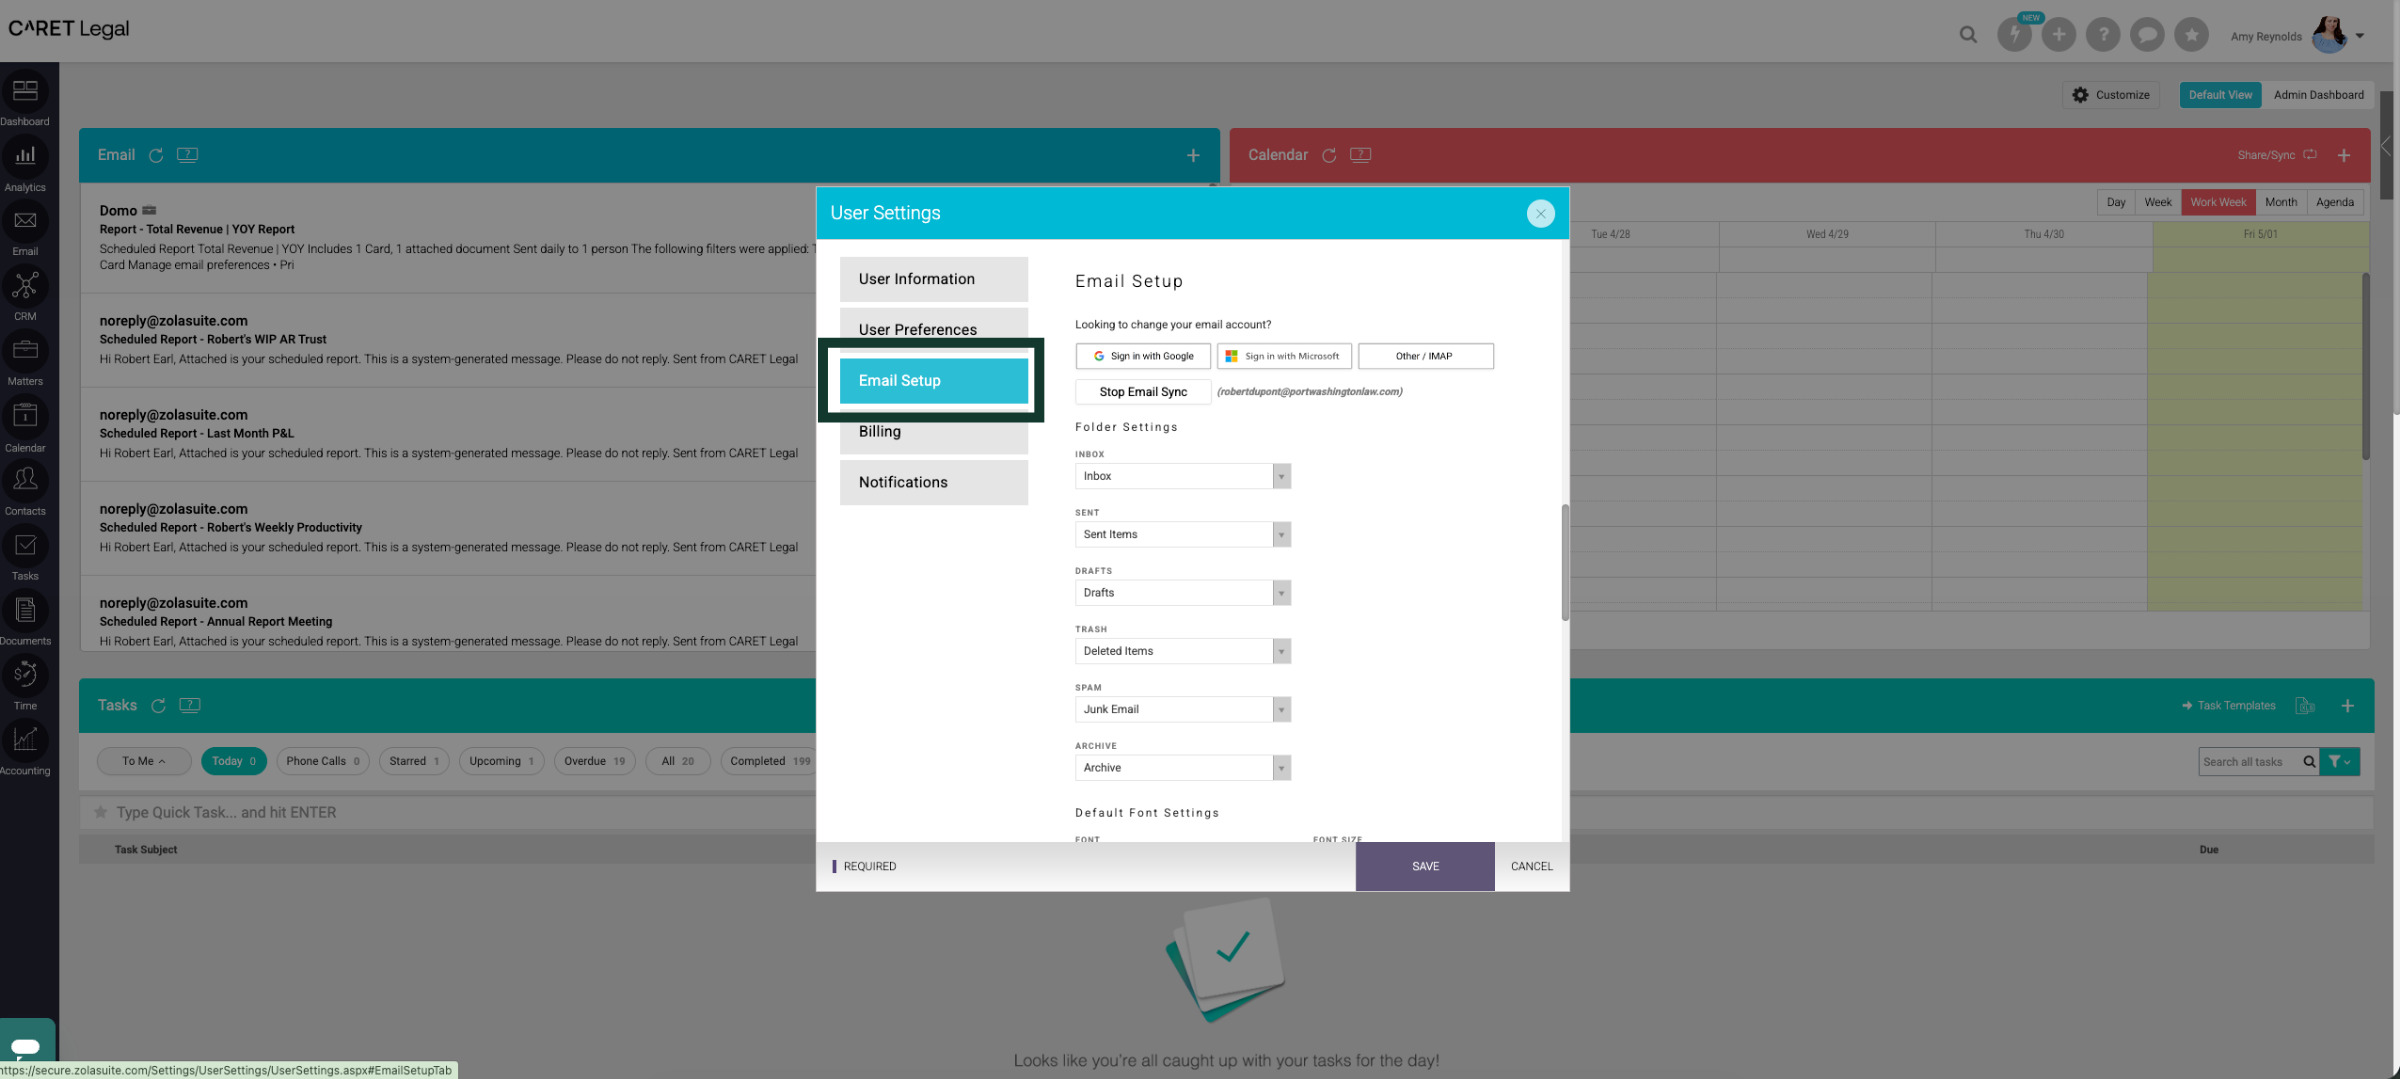
2. Open Email Setup Section
Click "Email Setup" to open the email configuration section.
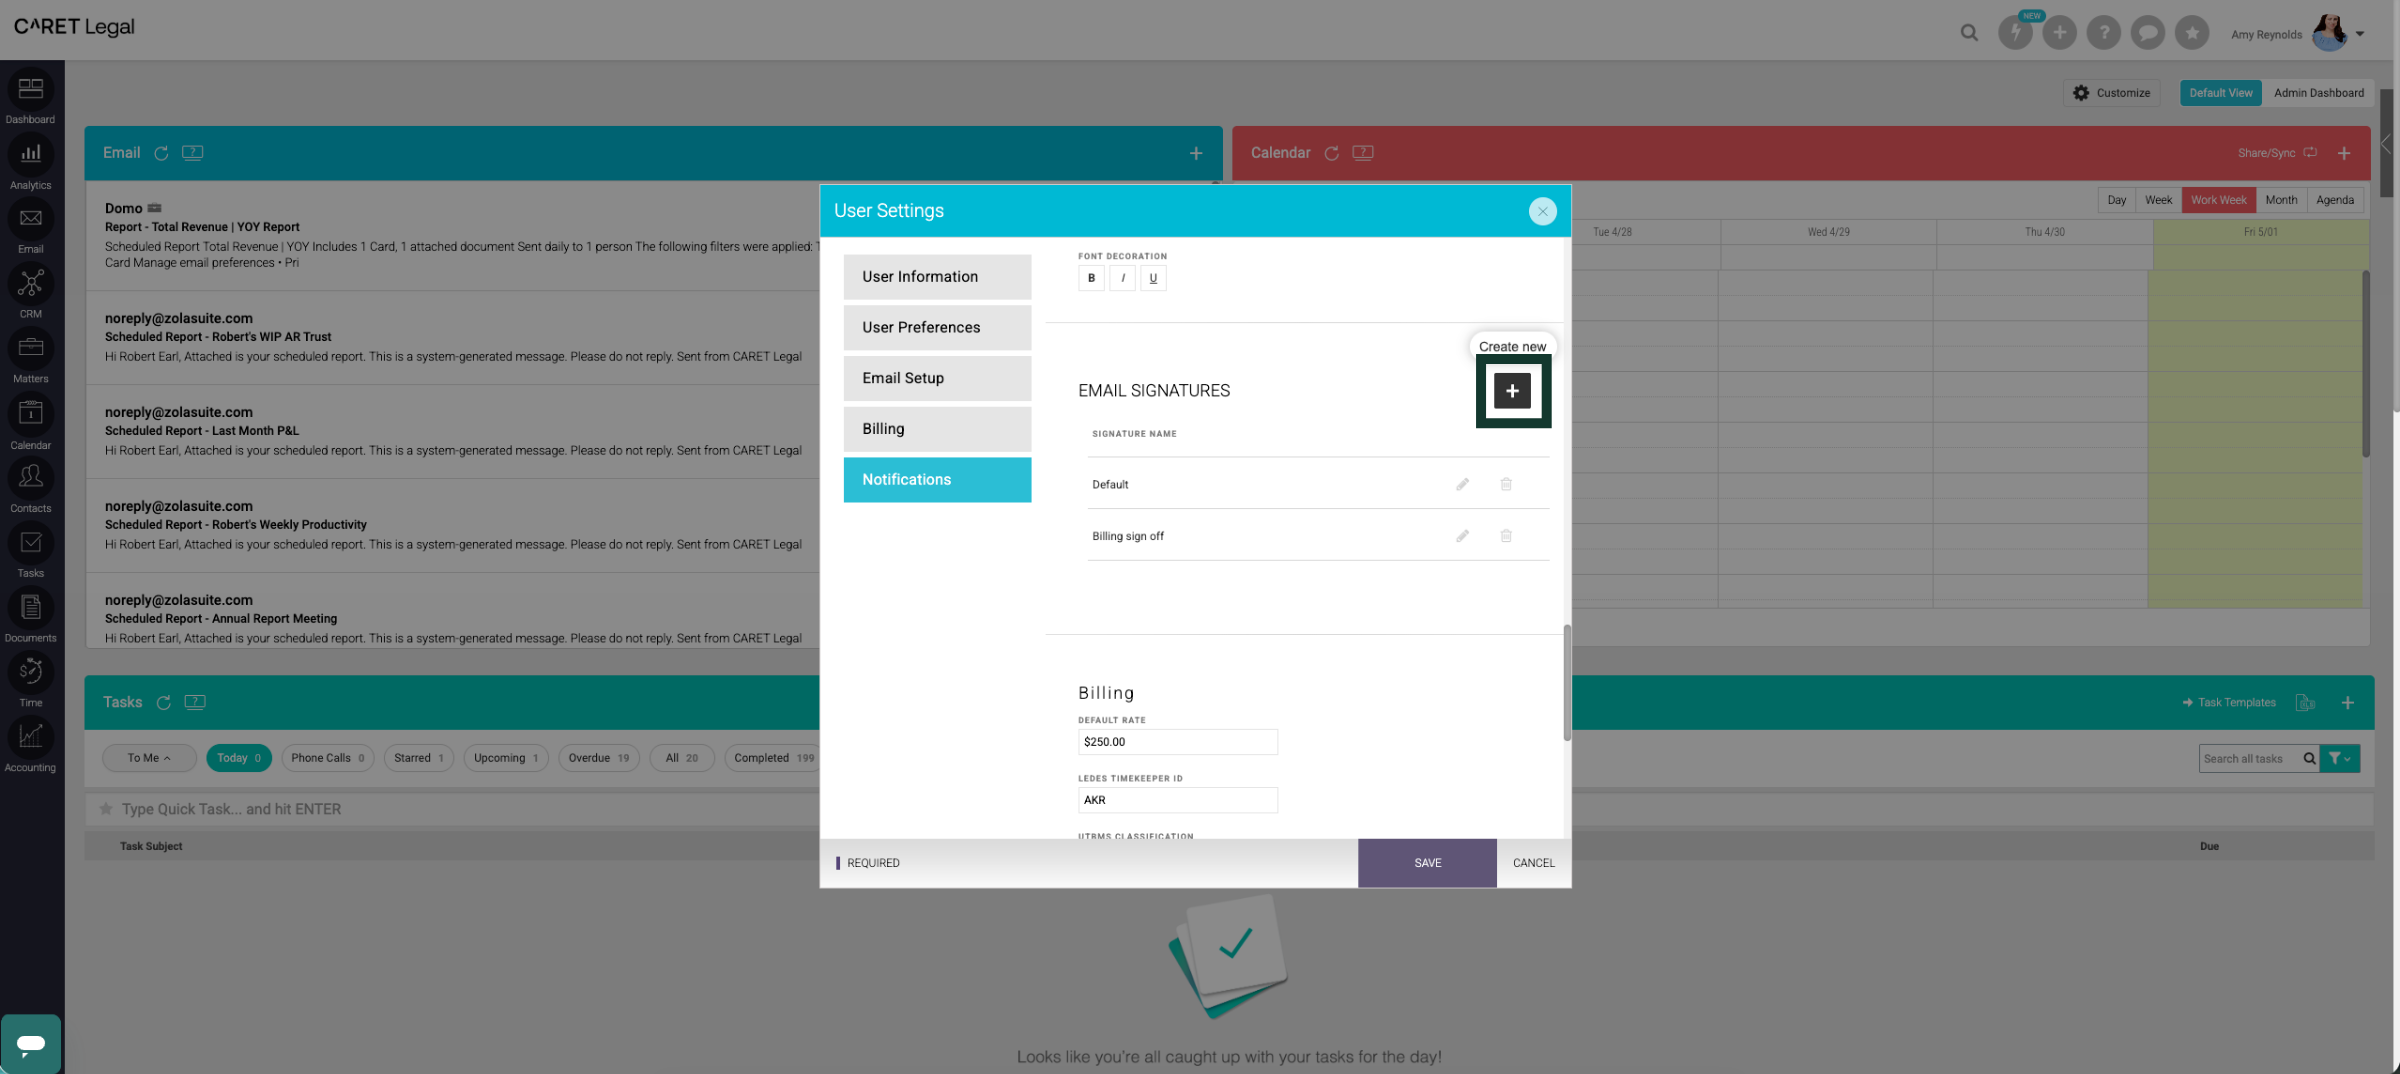
3. Add New Email Account
Click "+" to begin adding a new email signature to your CARET Legal Account.
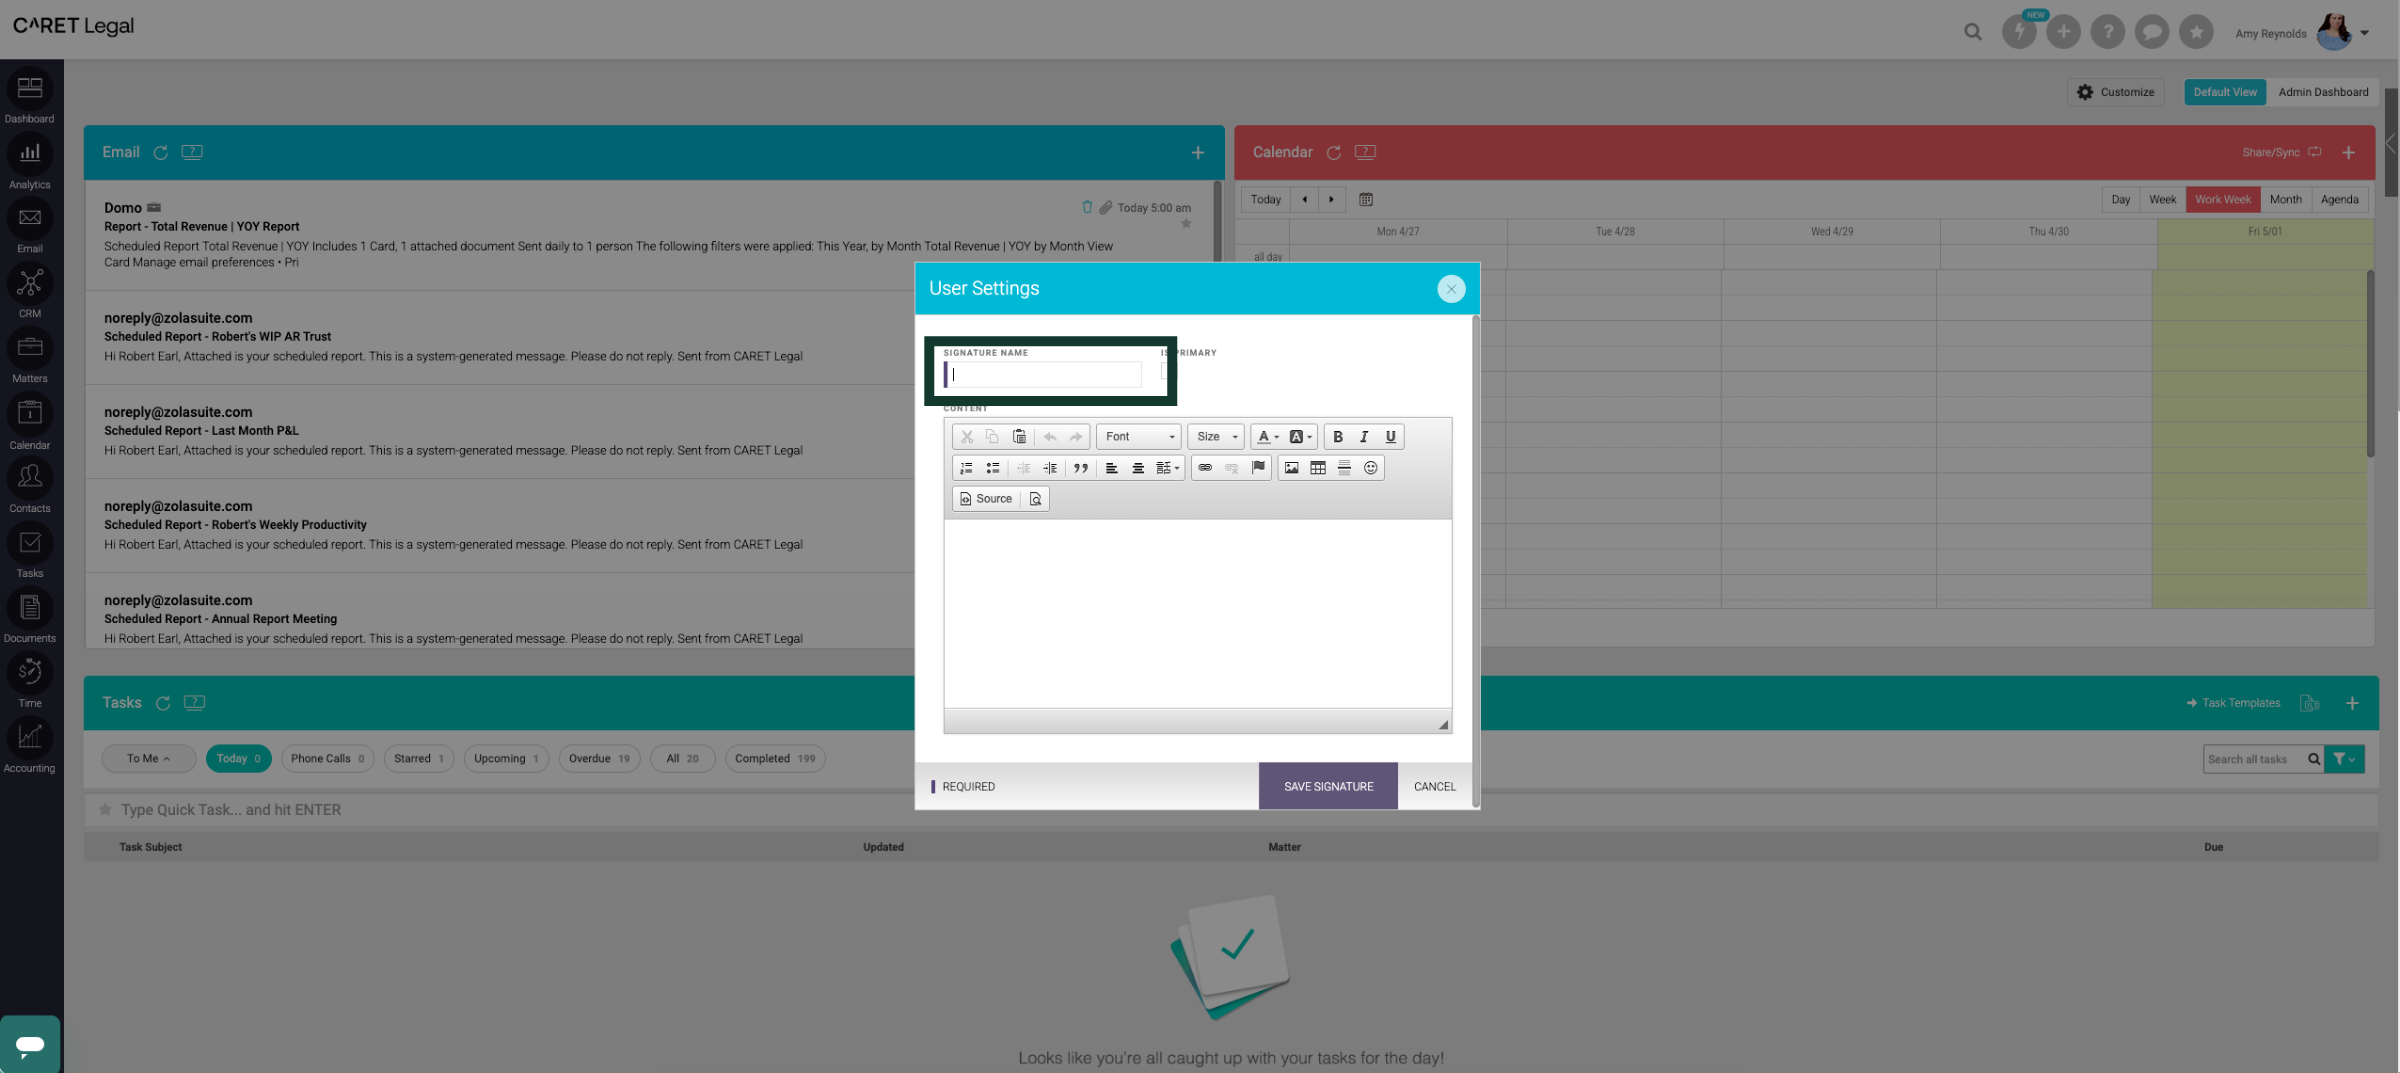
4. Name the Email Signature
Click here to name your email signature.
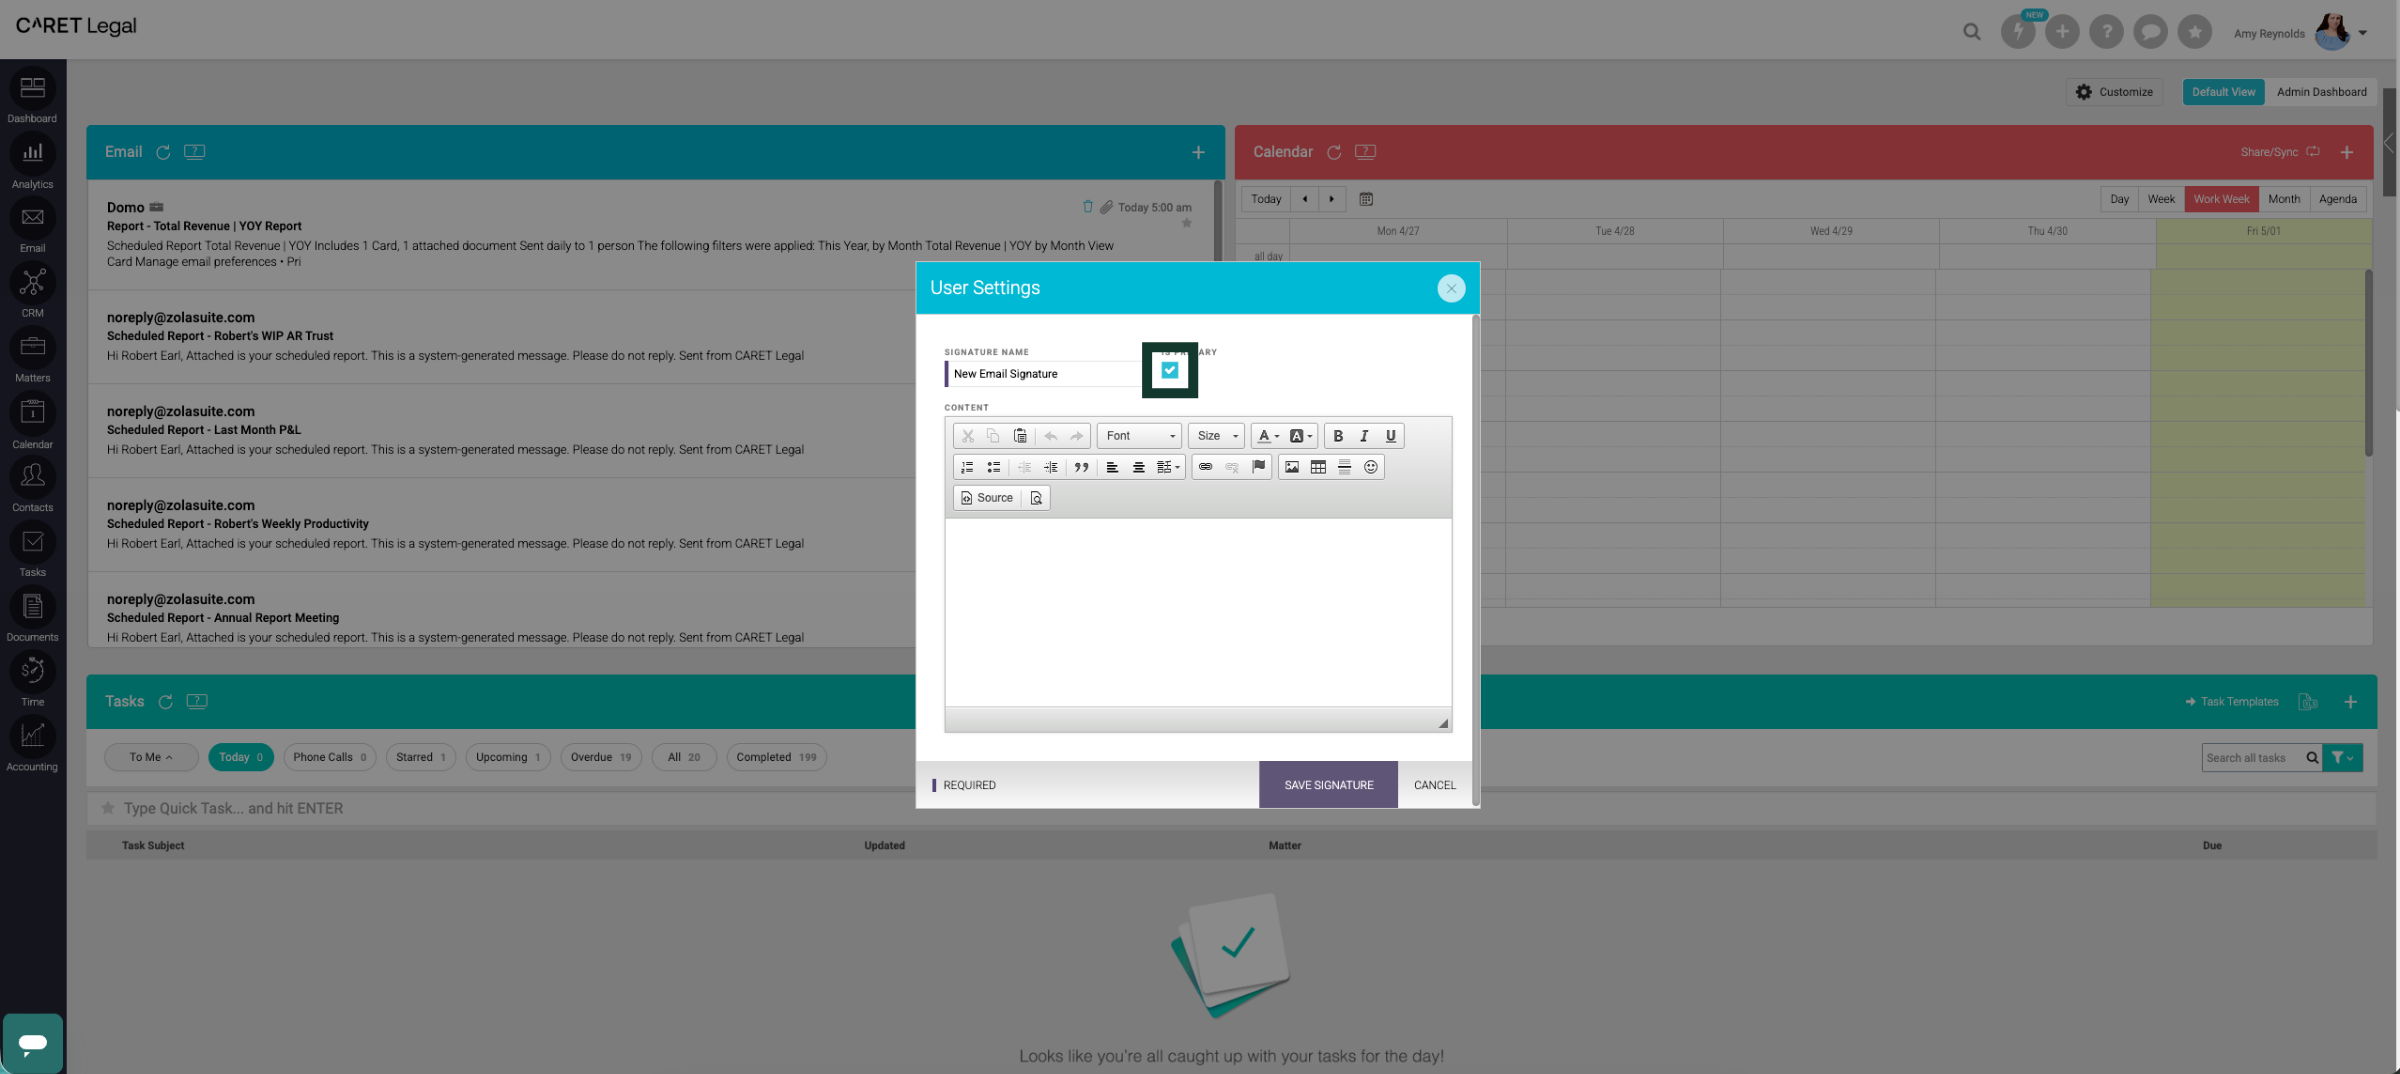
5. Set as Primary
Click here to set this email signature as your 'Primary' signature. This will automatically apply to your emails.
6. Proceed to Next Step
Click here to proceed to the next step in the setup process.
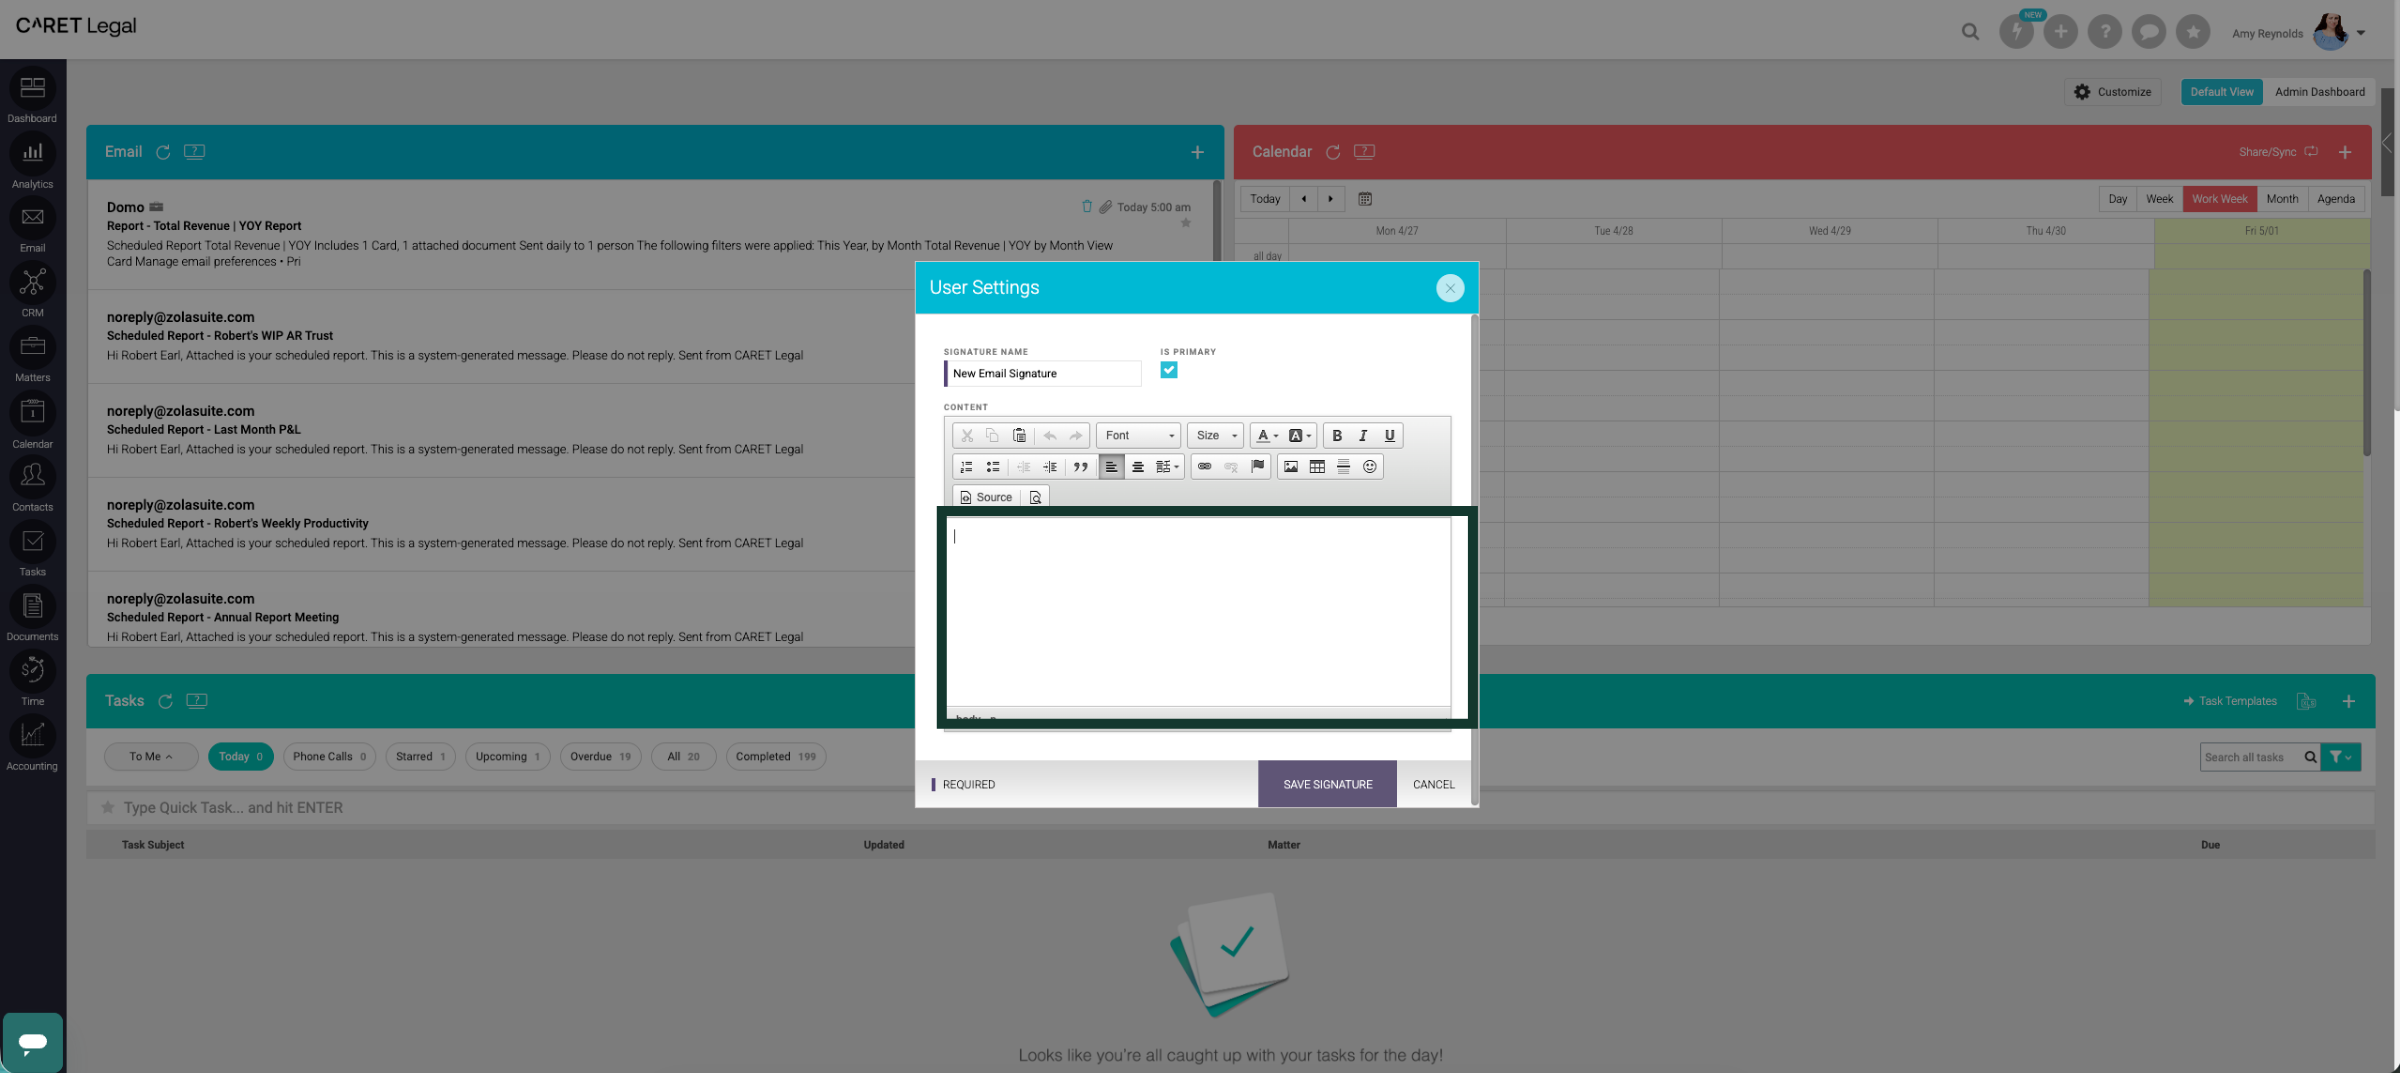
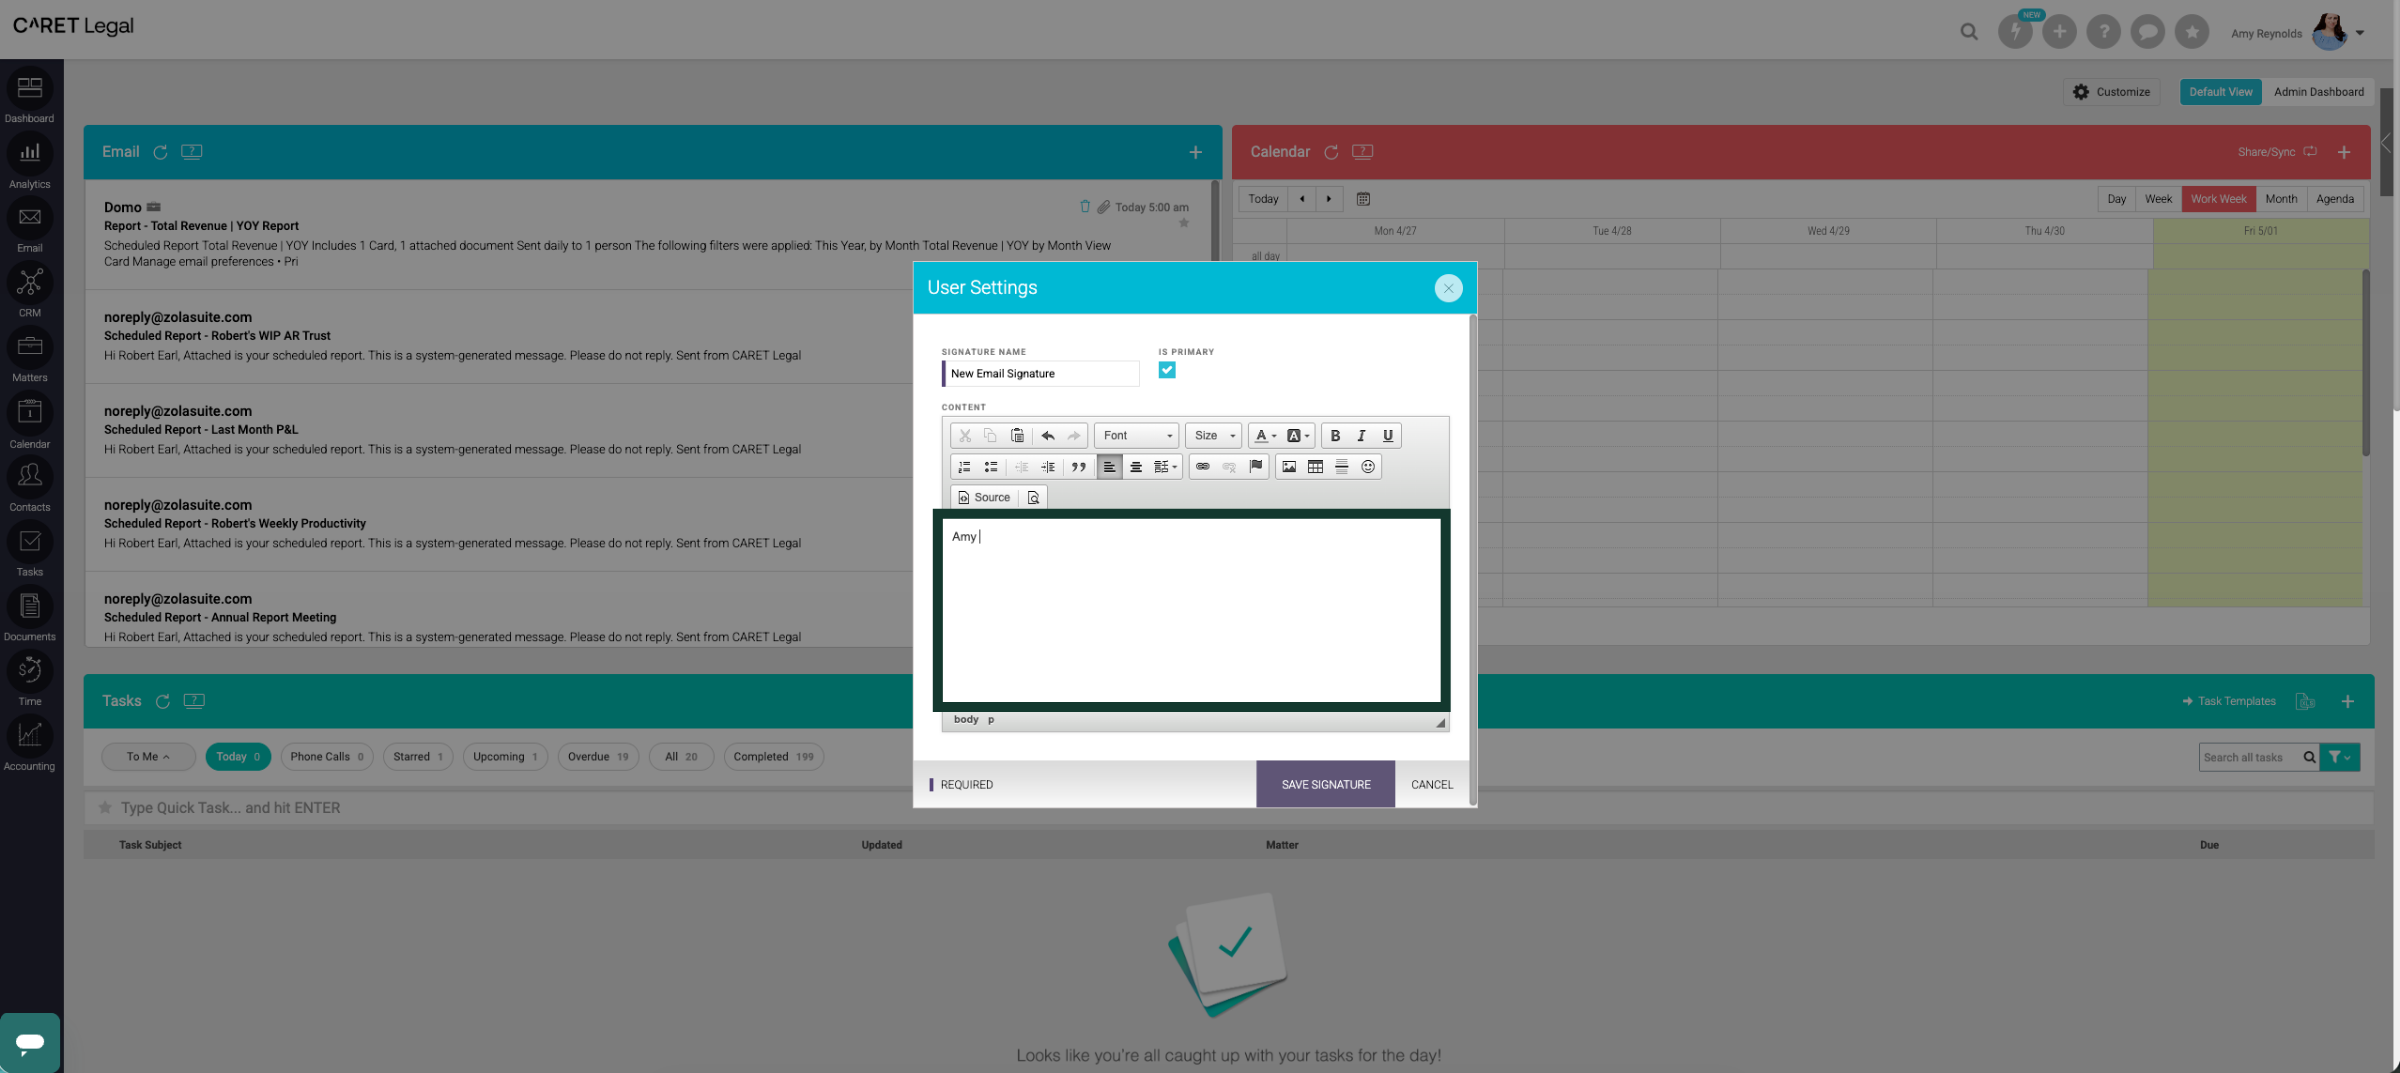
7. Enter Signature Text
Use the Rich Text Field to type in or copy and paste your signature from an email message or other email platform like Outlook.
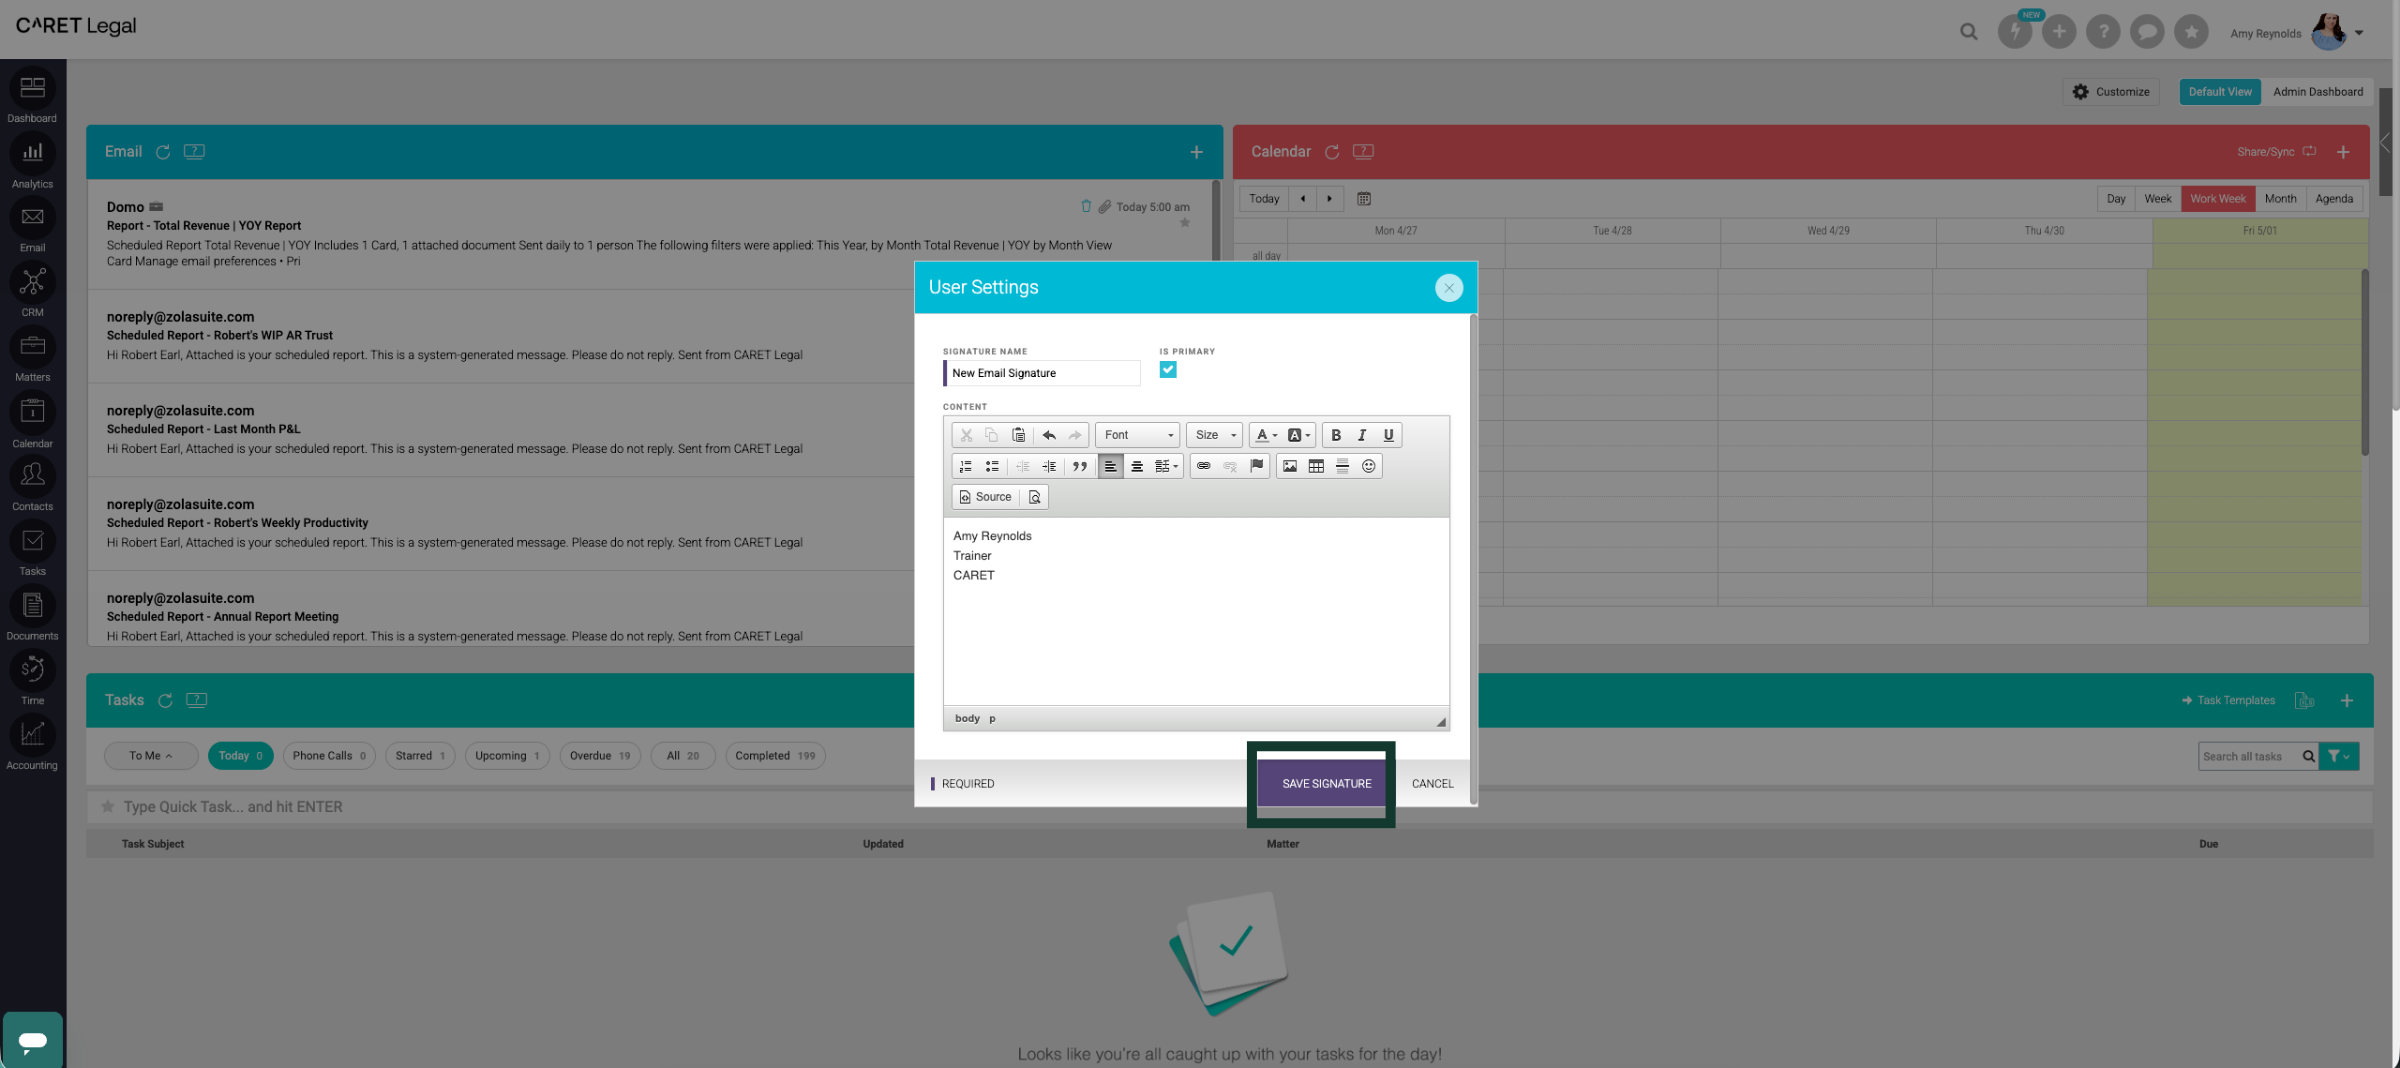
8. Continue Setup Process
Click 'Save Signature' to add this signature to your CARET Legal Profile.
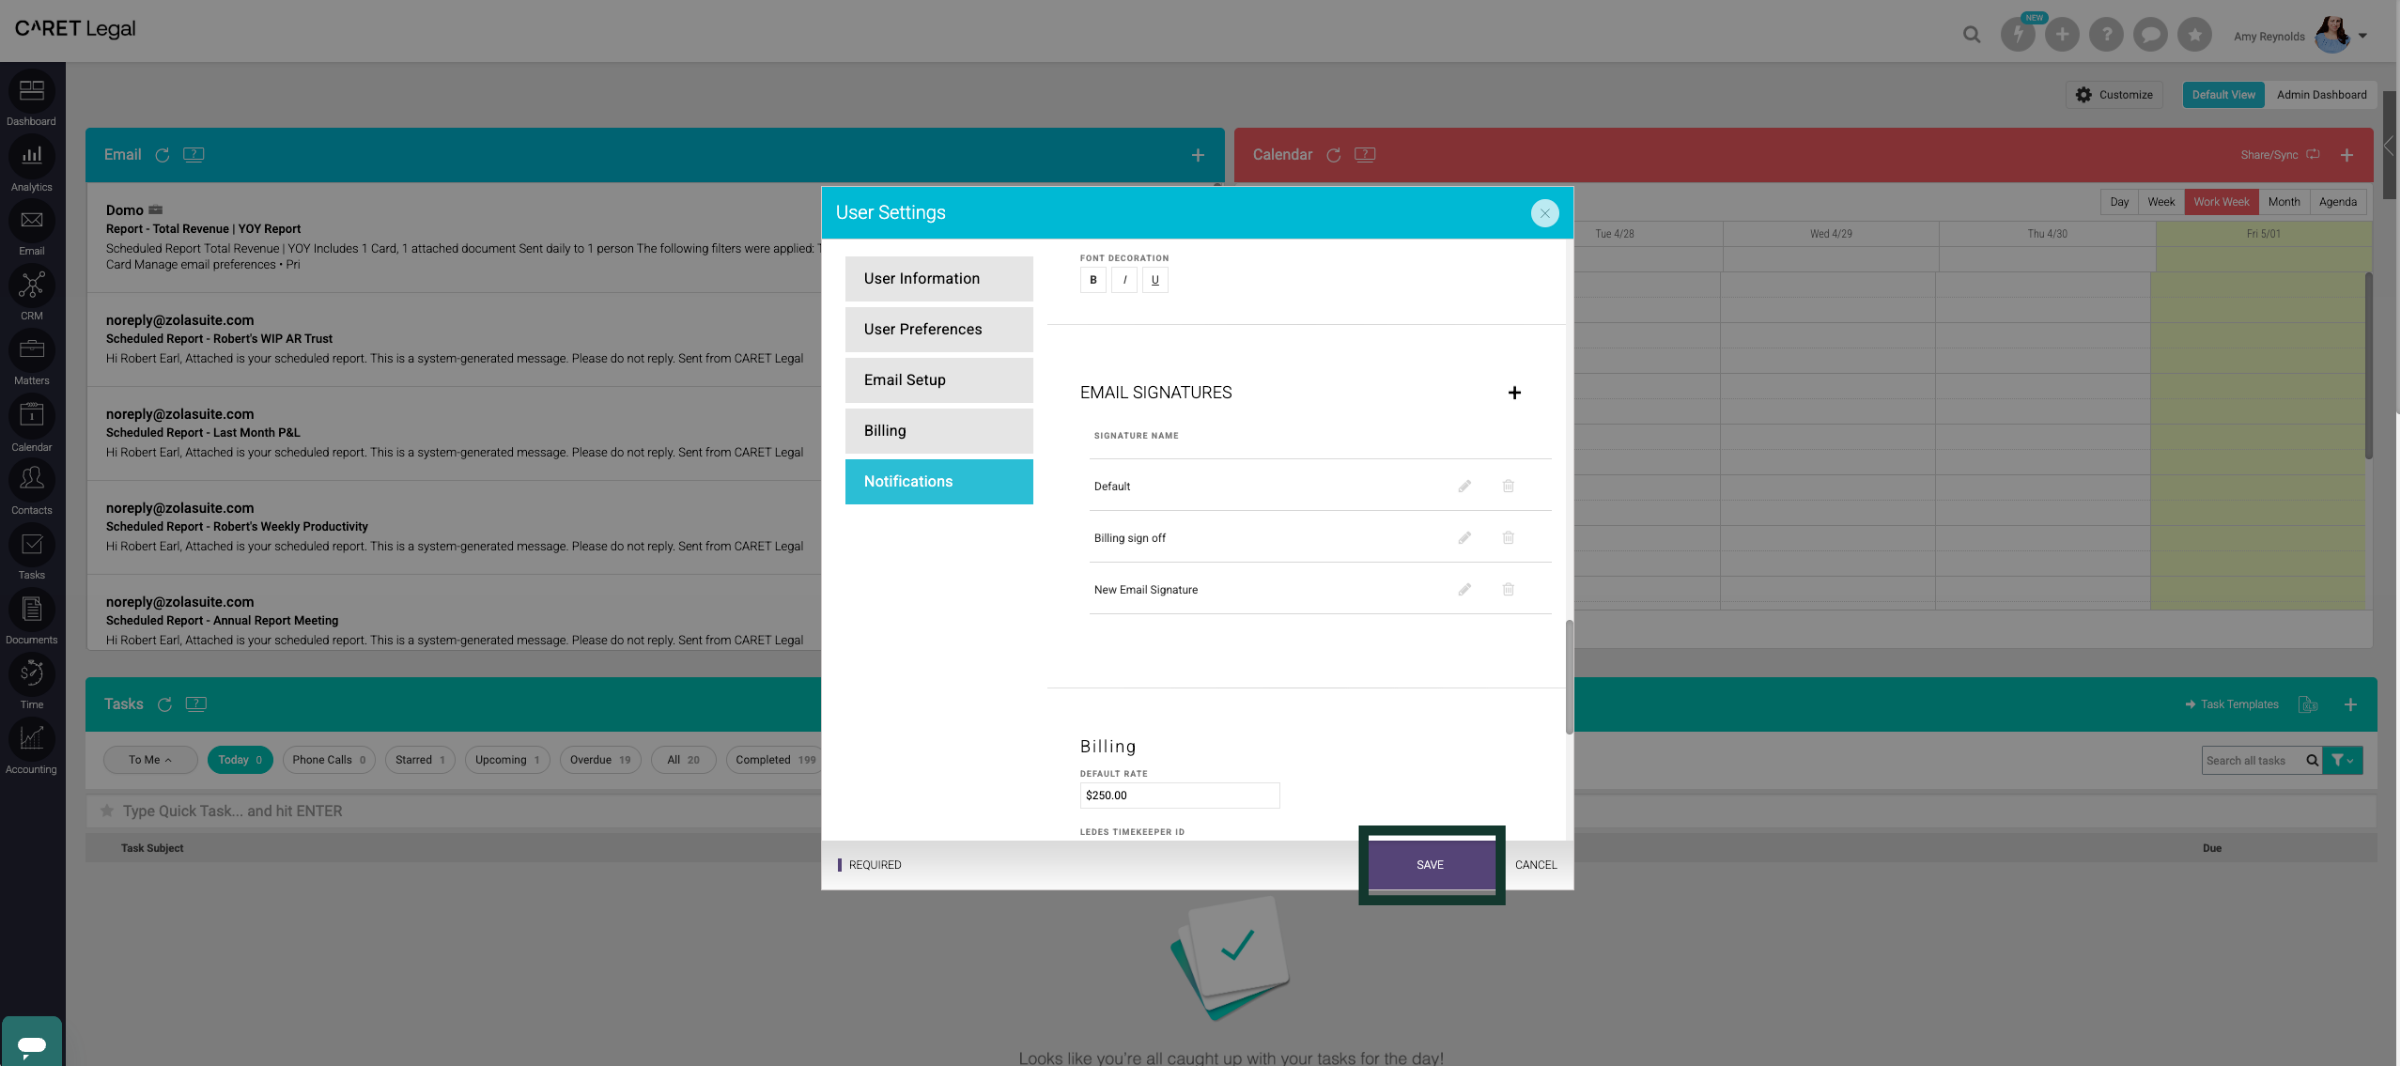
9. Save Email Signature
Click'Save' to update your User Settings and begin using your new email signature.
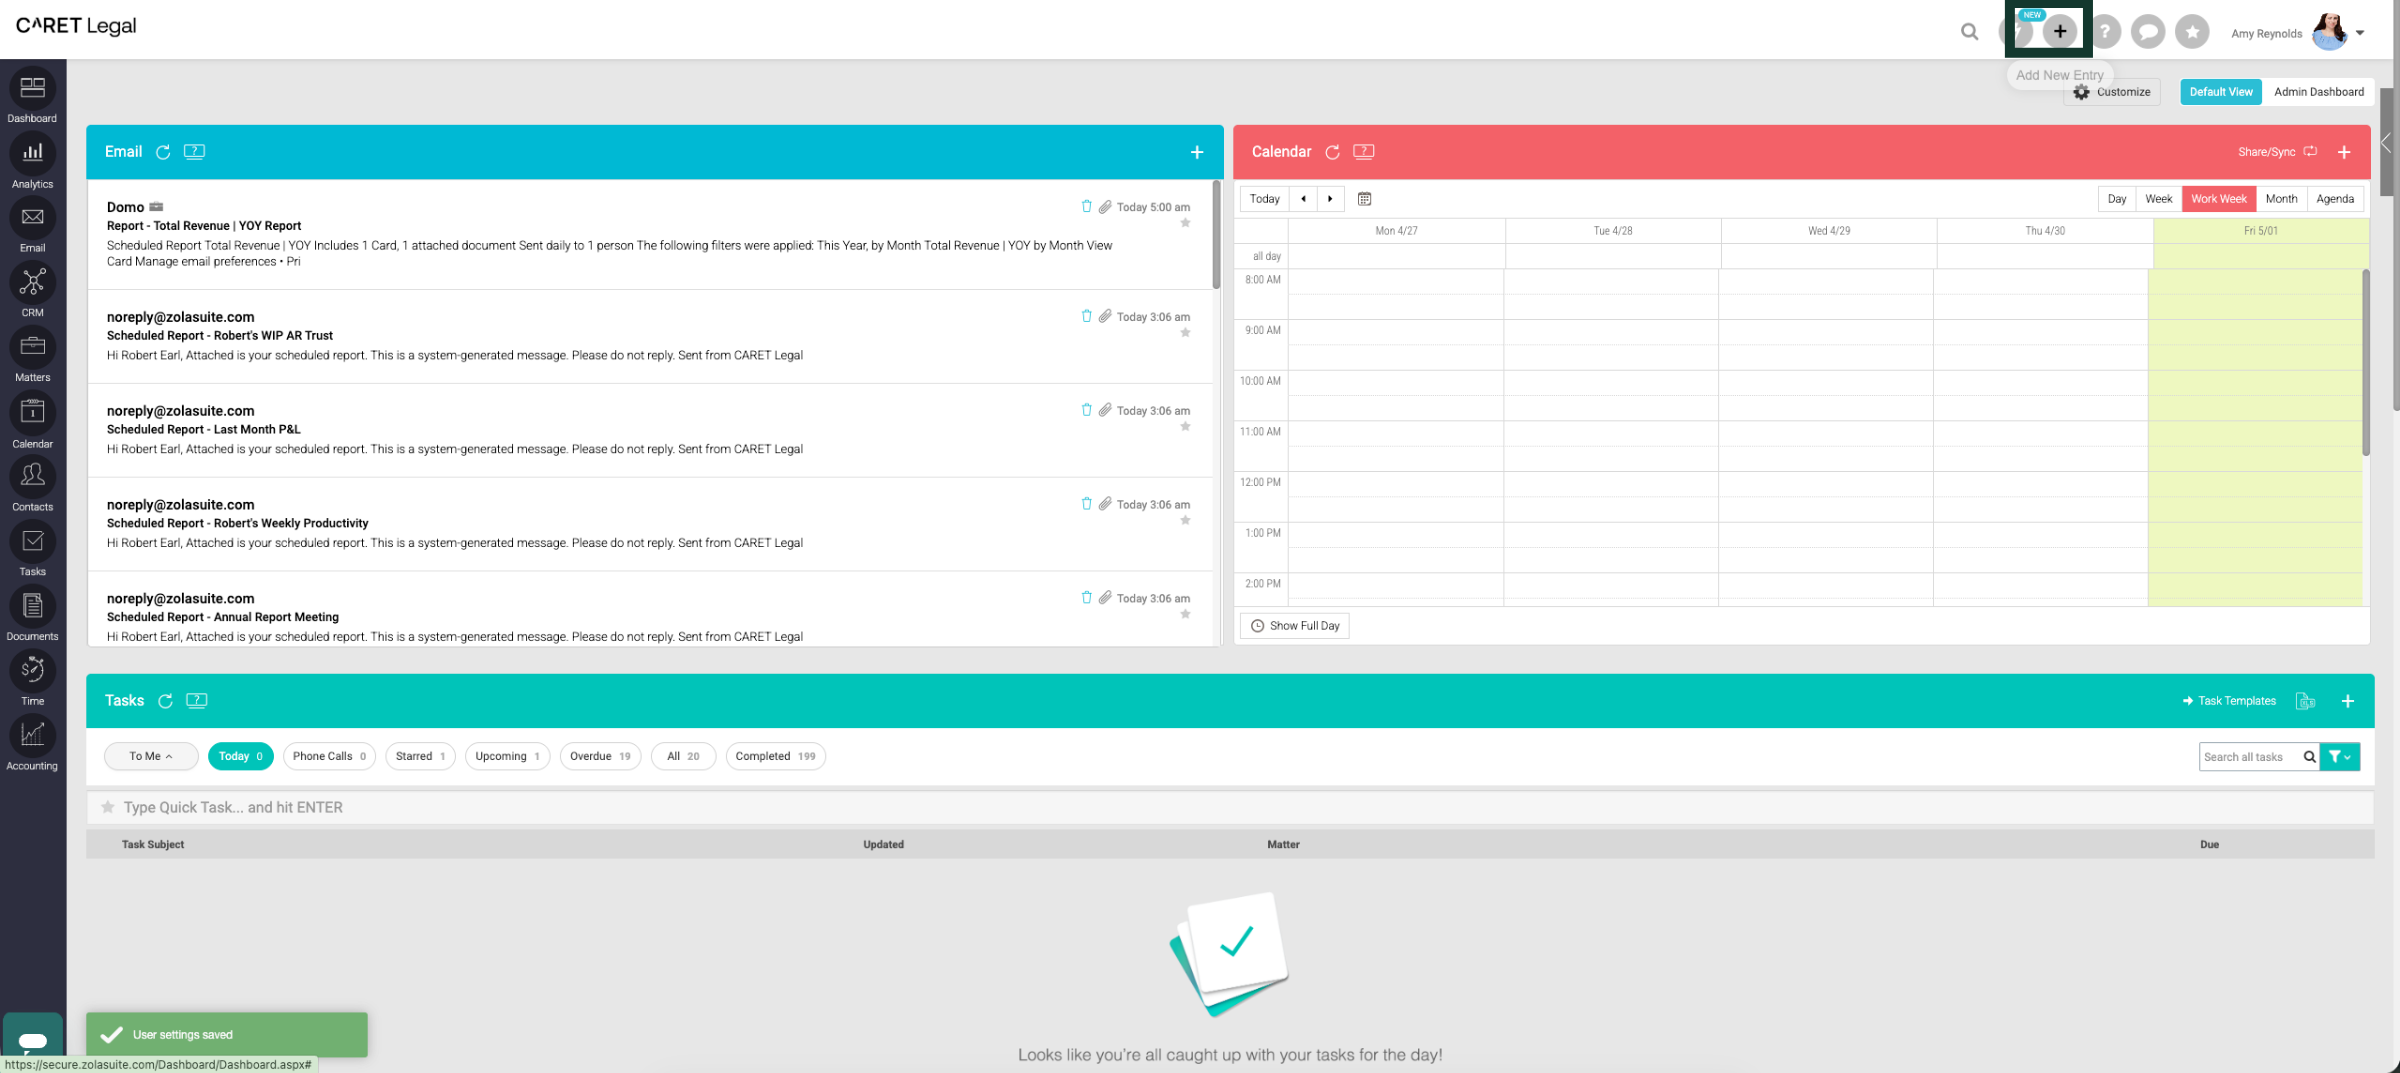
10. Using Your New Signature
Click the plus icon to open the Quick Add menu.
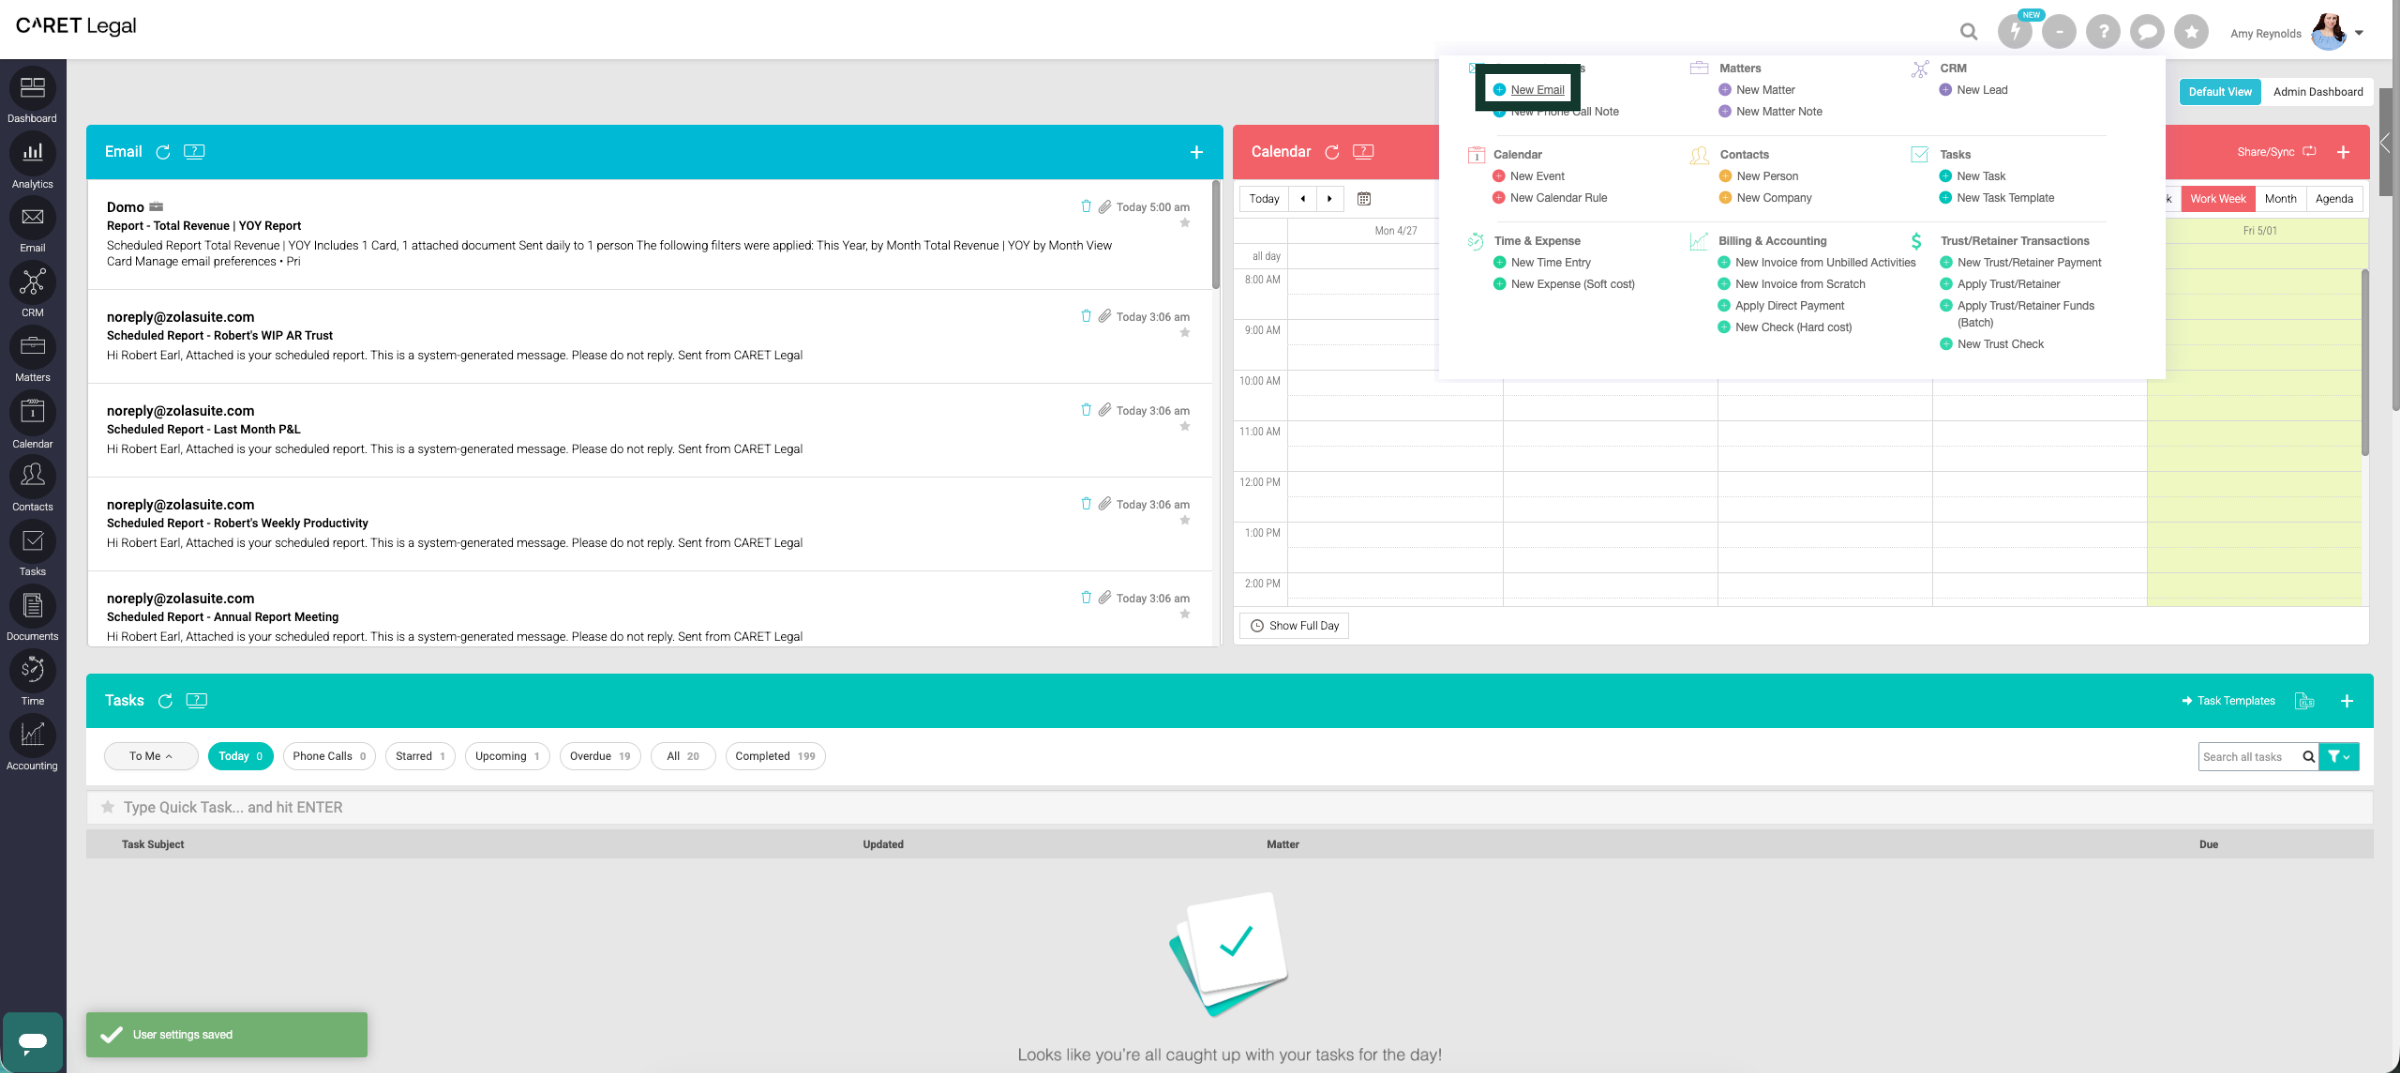
11. Compose a New Email
Click 'New Email' to open an email composure window.
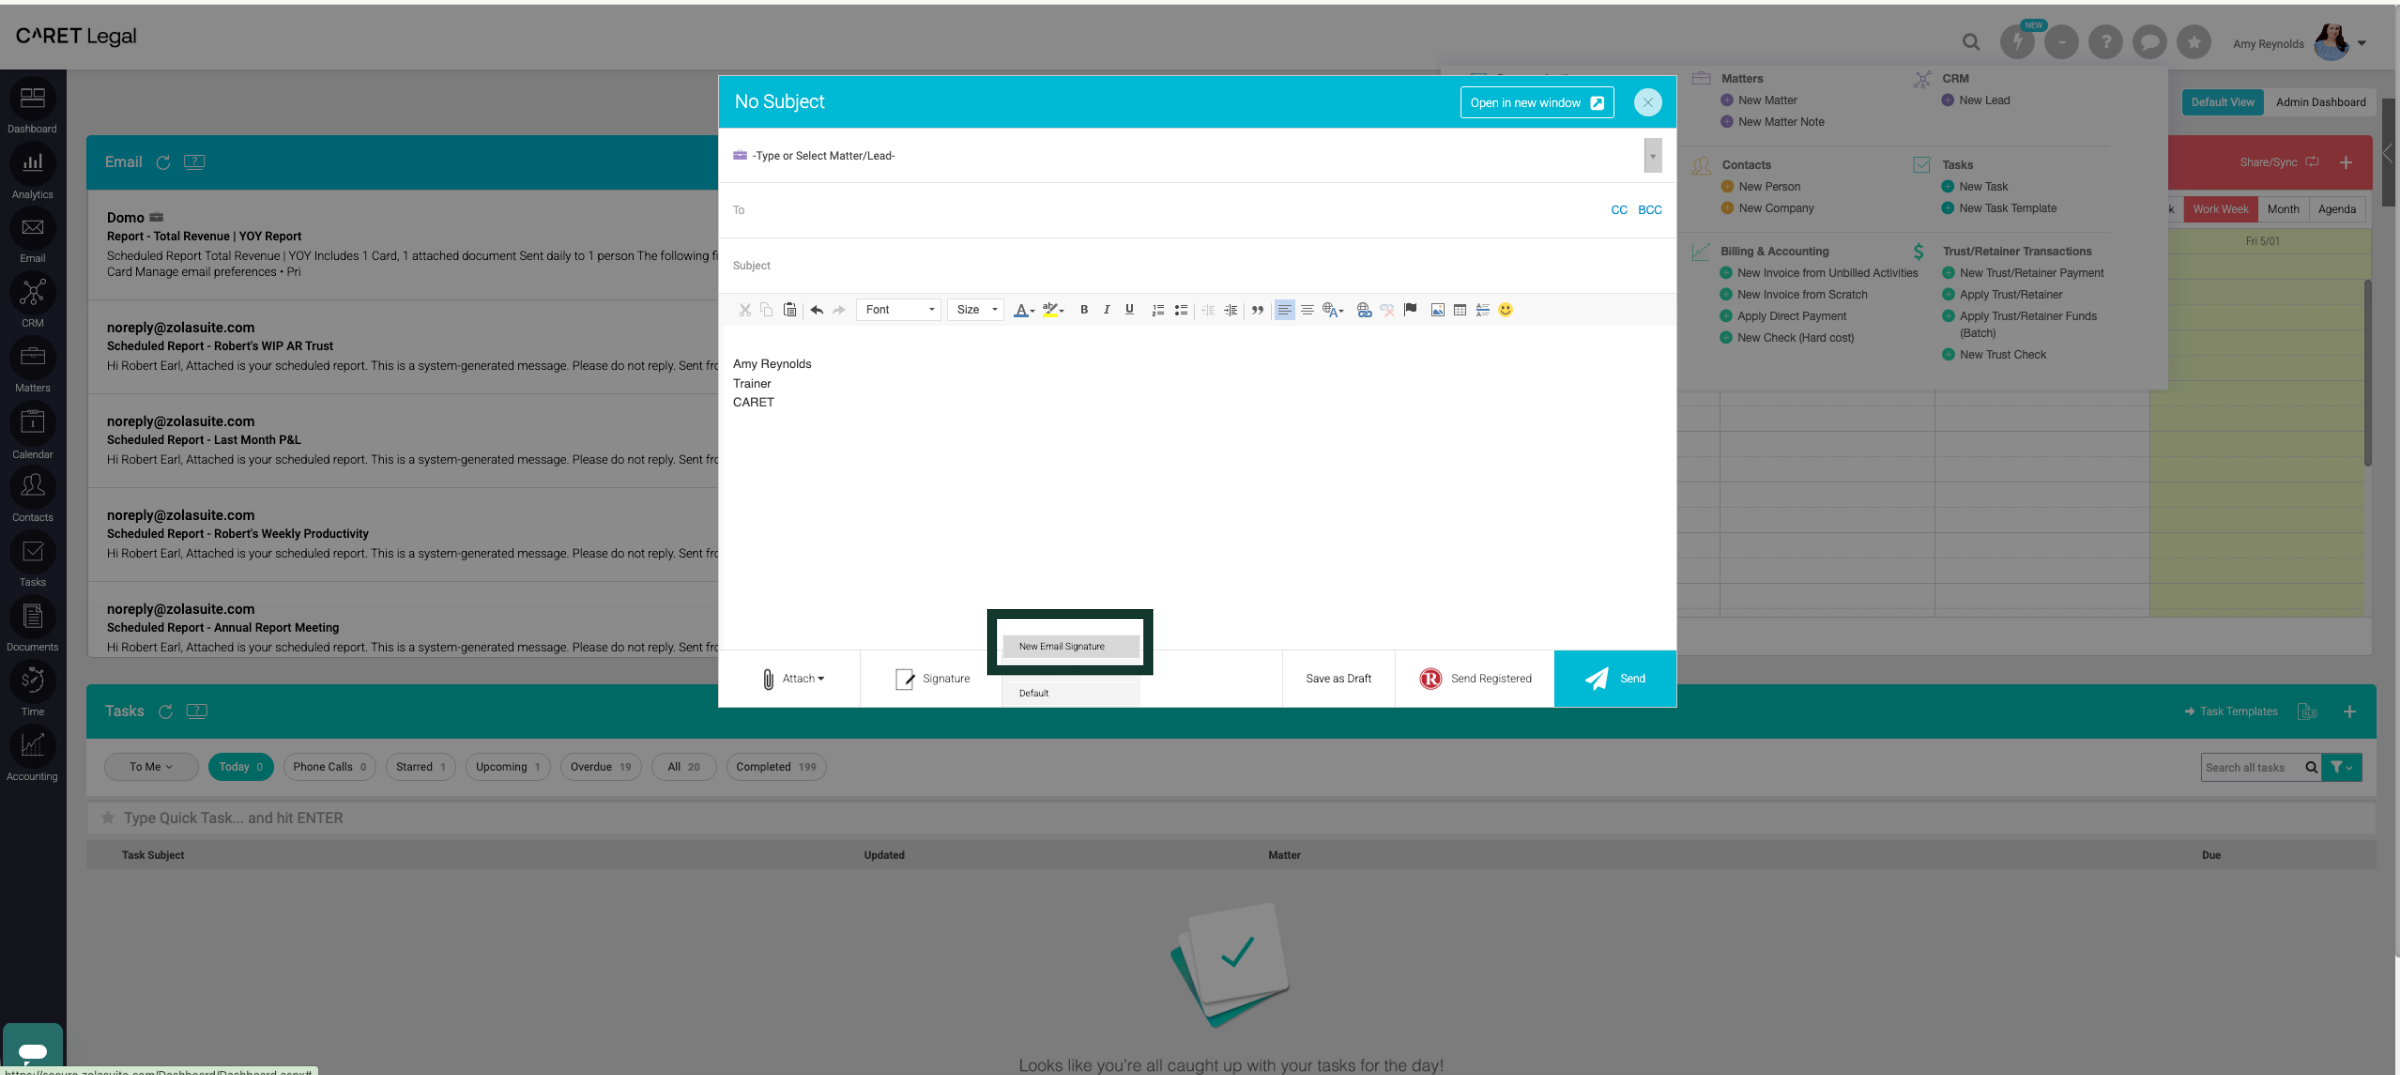
12. Select Signature Tab
Click "Signature" to manage your email signatures.
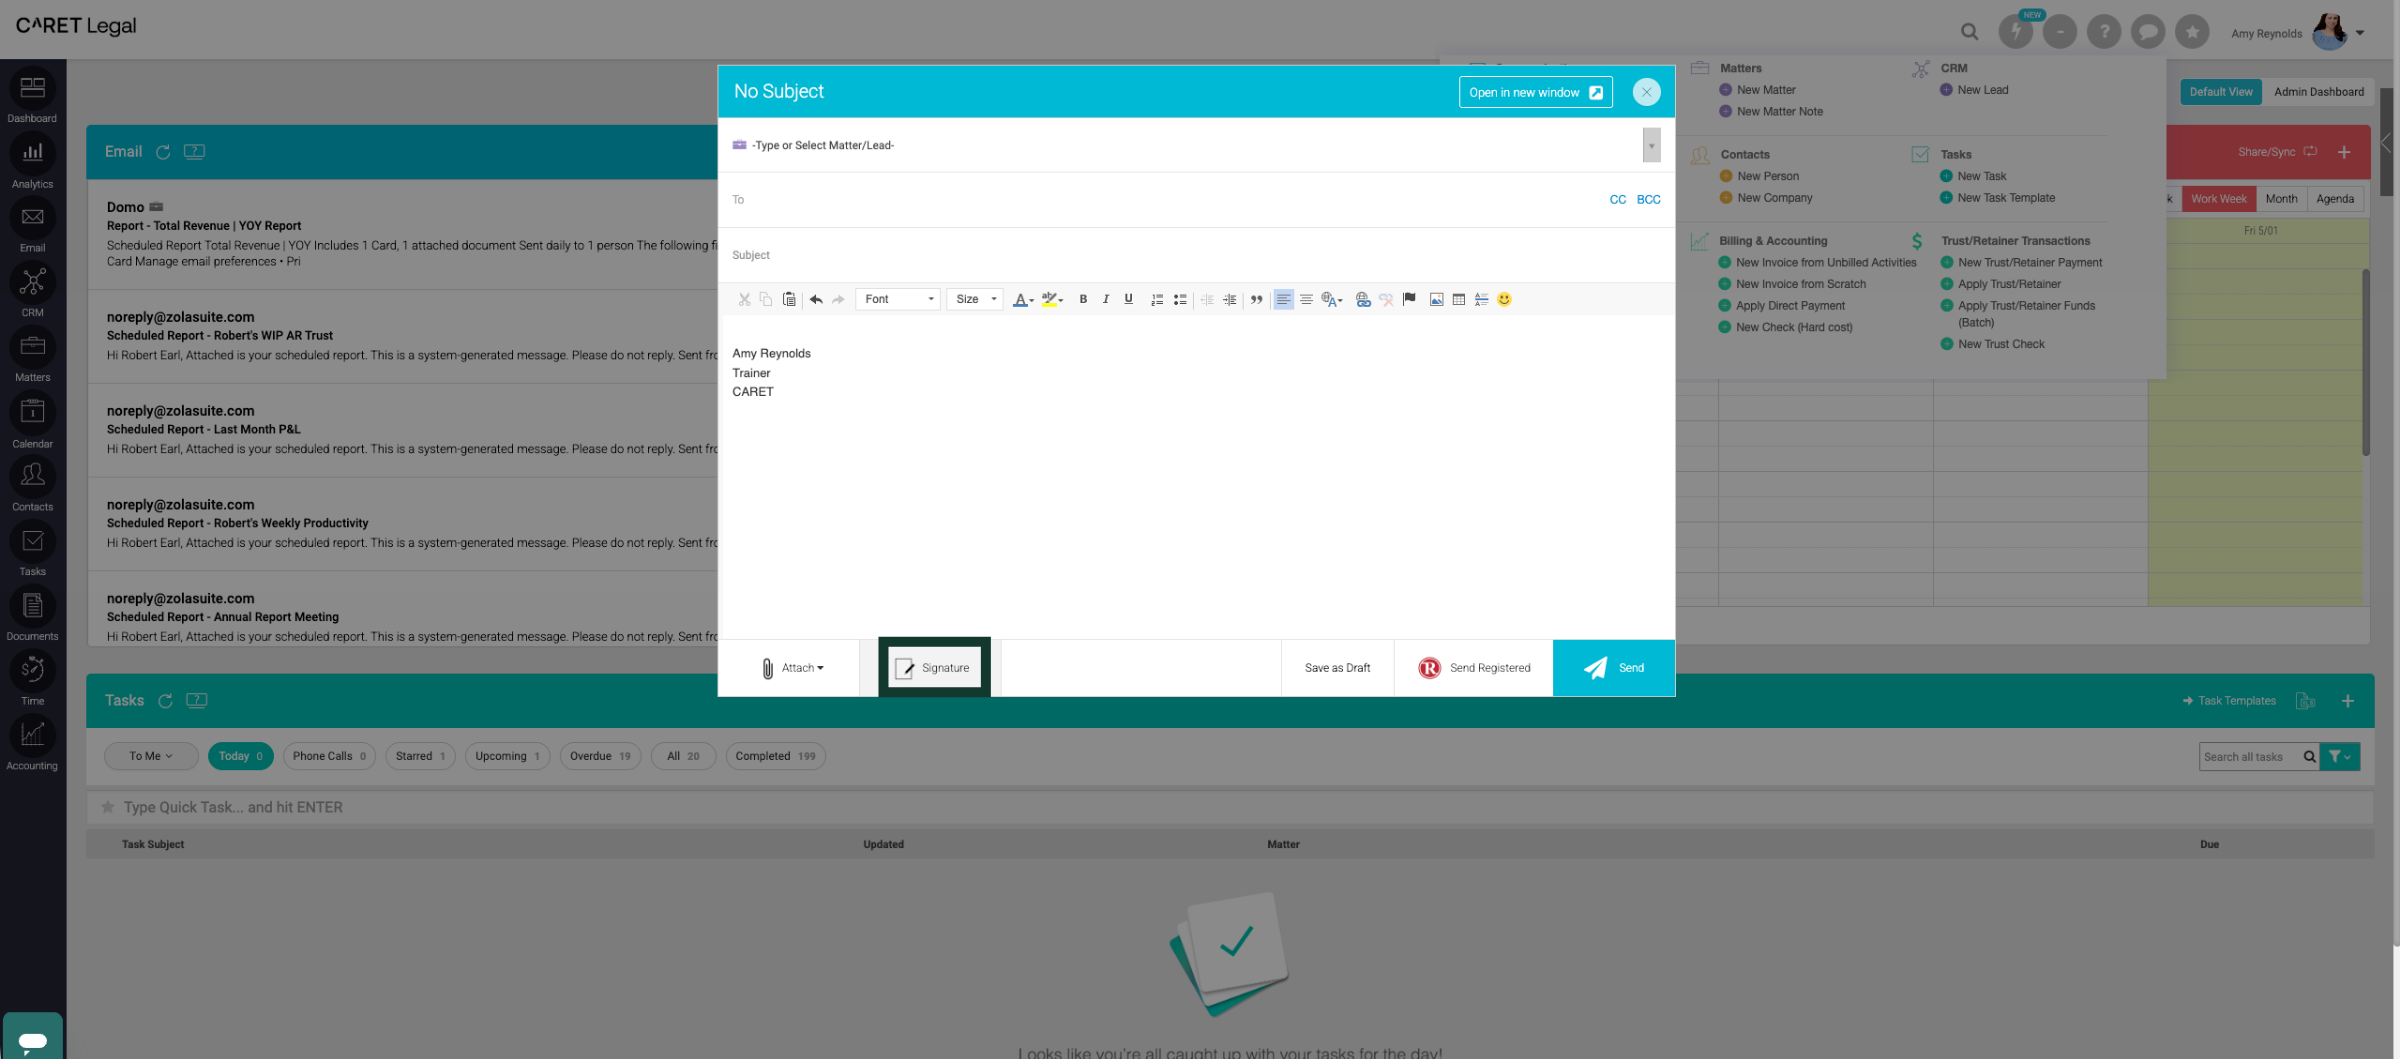
13. Edit Signature
Click here to edit your current email signature.
You have successfully configured a new email signature settings in User Settings. This setup ensures your email is ready for use with personalized signature options.